How to Master Ombre Nails with a Sponge for a Flawless Gradient?

Getting that perfect, seamless gradient on your nails used to feel like a secret reserved for professional salons. You might have tried it before and ended up with a messy, bubbly texture that looked more like a craft project gone wrong than a chic manicure. This guide is here to change that by showing you exactly how to achieve that high-end look at your own vanity.
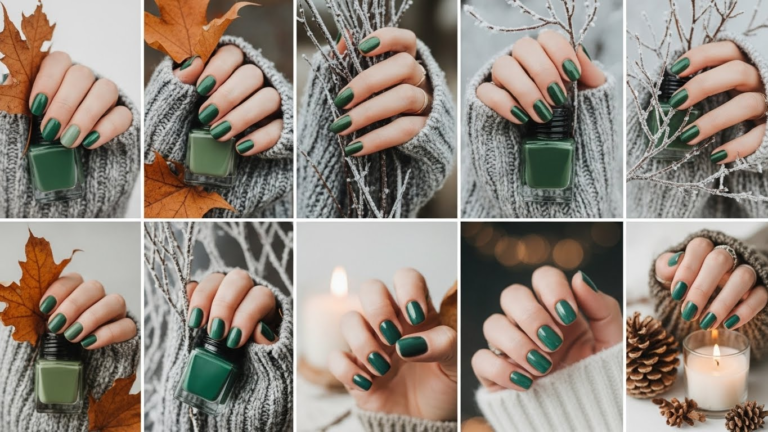
Ombre nails are a staple because they are incredibly versatile, working for everything from a casual brunch to a formal black-tie event. Whether you prefer a subtle “baby boomer” French fade or a vibrant sunset blend, the sponge technique is the most reliable way to get a smooth transition. You don’t need expensive equipment, just a few household items and a bit of patience.
I have spent years perfecting this method to avoid the common pitfalls of smudging and uneven layers. By following these specific steps, you will learn how to control the polish flow and create a professional finish every single time. Let’s get your workspace ready and turn your nails into a canvas for a beautiful, soft-focus gradient.
The Supplies You Need for Salon-Quality Results
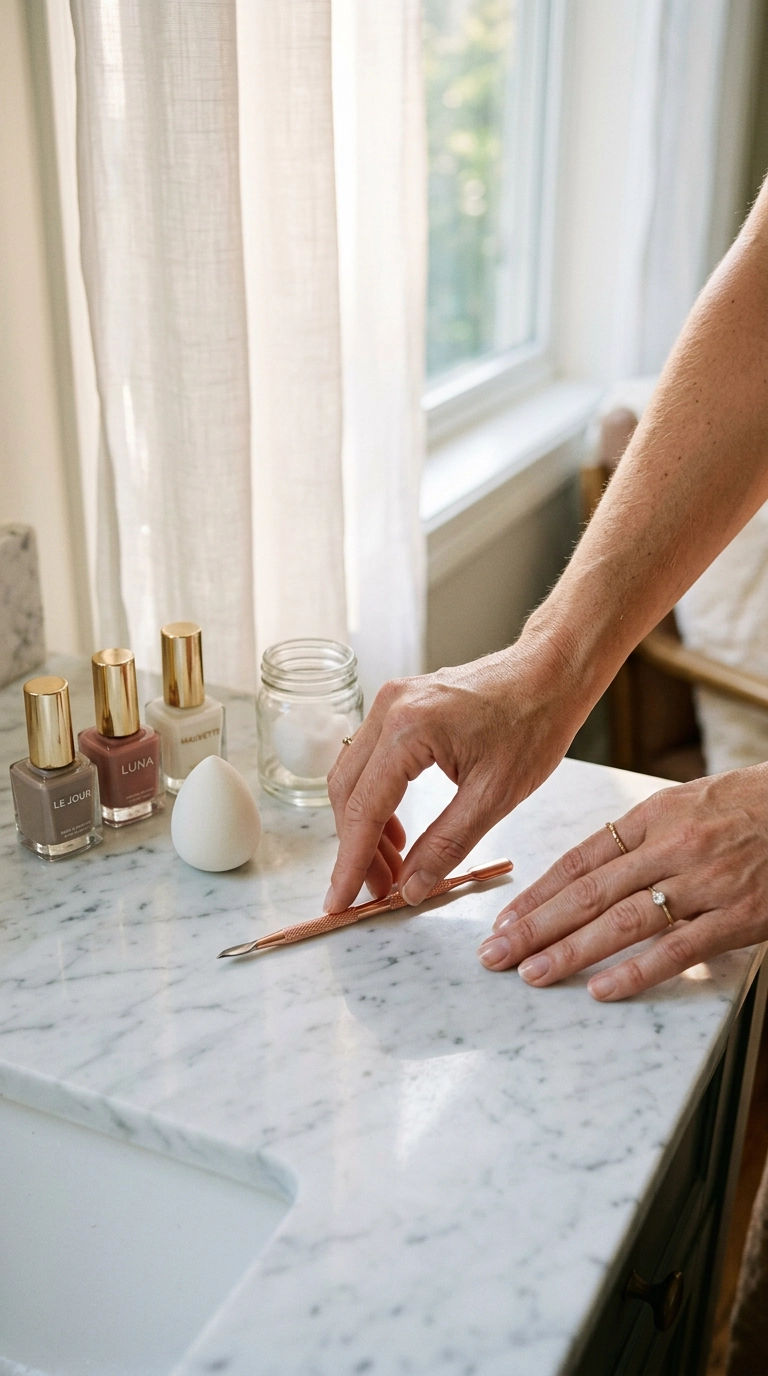
Before you start, gathering the right tools is essential for a clean application. You likely have most of these in your beauty cabinet already, but the quality of the sponge makes a significant difference. A standard makeup wedge is your best friend here because its dense texture helps distribute the polish evenly without leaving large holes.
You will also want to have a barrier for your skin. Liquid latex or even a simple piece of tape around the nail bed can save you twenty minutes of scrubbing later. High-quality polishes with good pigmentation are also necessary, as sheer formulas won’t show up well when sponged on.
- Makeup Sponges: Latex-based wedges work best for a smooth finish.
- Base and Top Coats: A strengthening base and a high-shine, fast-drying top coat.
- Two or Three Polishes: Choose colors that blend well together, like light pink and soft white.
- Liquid Latex: To protect your cuticles from the “stamping” mess.
- Acetone and a Clean-up Brush: For those tiny edges that need sharpening.
Choosing the Right Colors for a Seamless Blend
When selecting your palette, think about the color wheel. Choosing shades that are next to each other, such as a soft peach and a muted coral, will result in an easier blend. If you choose colors that are too different, like neon green and dark purple, you might end up with a muddy brown line in the middle.
I always recommend starting with a three-color gradient if you are a beginner. This allows for a middle “transition” shade that bridges the gap between the darkest and lightest colors. It creates a much more professional look than just two colors slapped together.
Step 1: Prep and the Foundation Layer
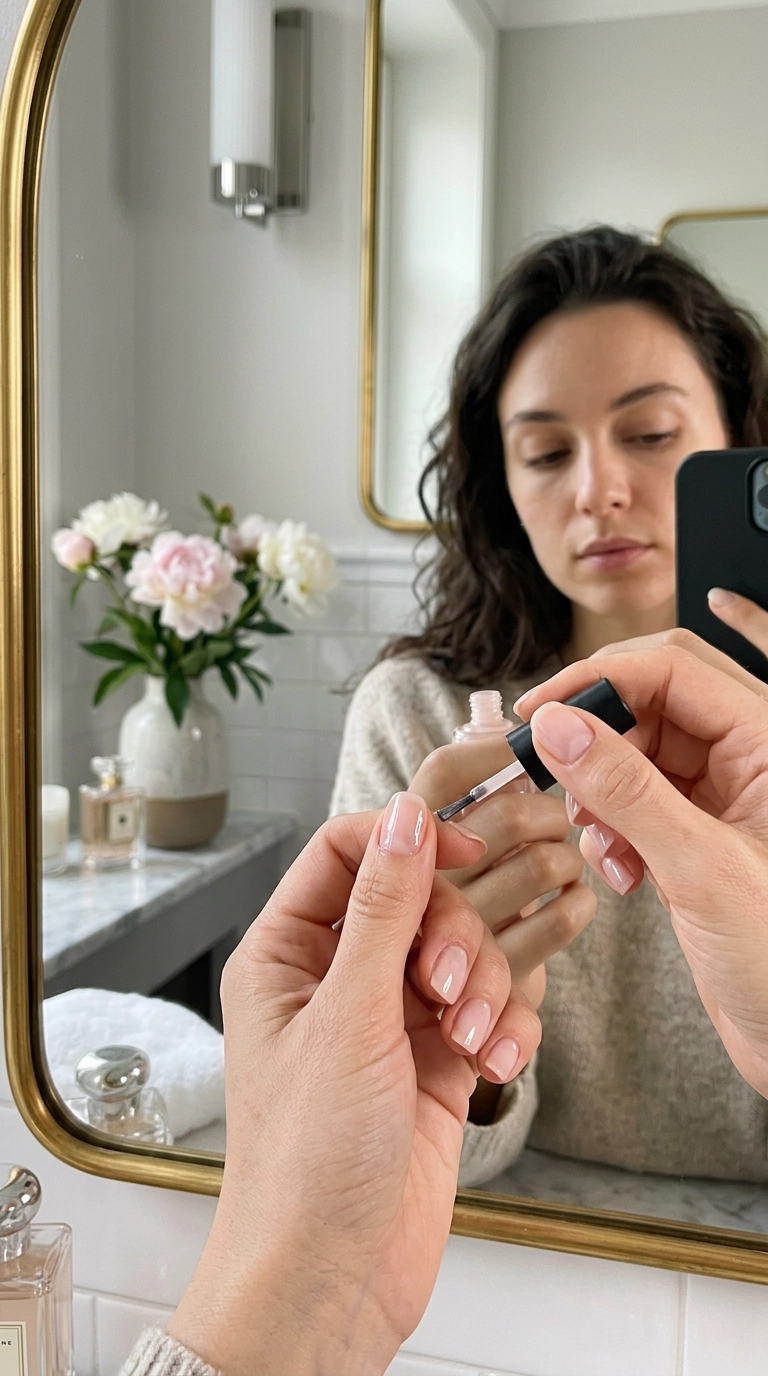
Start with clean, dry nails that have been buffed and shaped. Apply a thin layer of your base coat to protect your natural nail from staining. This also creates a smooth surface for the colors to adhere to, preventing peeling later in the week.
Next, apply your “base color.” This should typically be the lightest shade in your ombre trio. By painting the entire nail this light color first, you ensure that the gradient looks vibrant and opaque rather than washed out. Let this layer dry completely before moving on to the sponge work.
Why Drying Time Matters
If your base color is even slightly tacky, the sponge will pull the polish right off the nail. This creates a patchy, textured look that is nearly impossible to fix without starting over. Wait at least five to ten minutes, or use a quick-dry spray to speed up the process.
While you wait, apply your liquid latex around the skin of each nail. Be sure to get close to the edges without actually touching the nail plate. This creates a “frame” that catches all the excess polish from the sponge.
Step 2: Preparing Your Sponge Palette
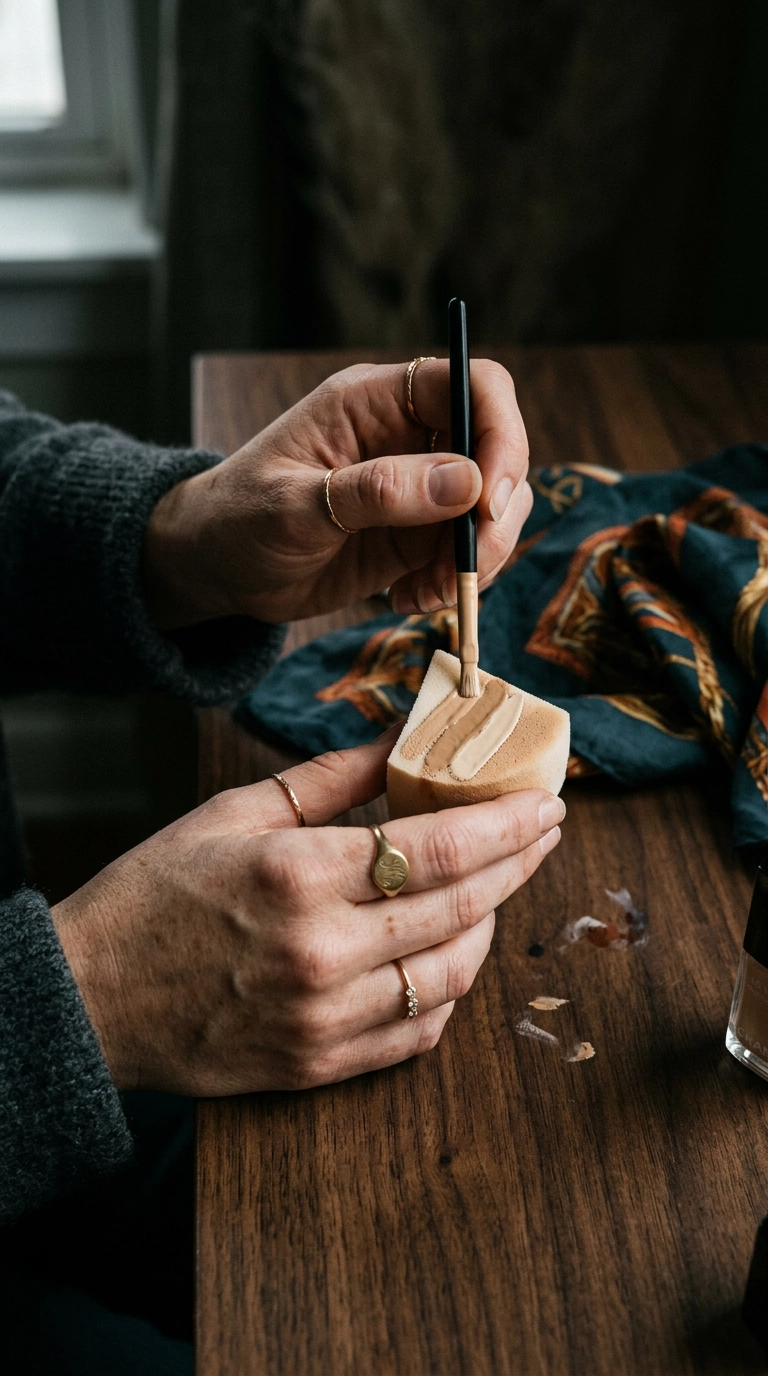
This is where the magic happens. Take your makeup sponge and paint horizontal stripes of your chosen colors directly onto the flat surface. The stripes should slightly overlap each other to encourage blending right from the start.
Make sure the stripes are wide enough to cover the entire width of your nail. You don’t need a massive amount of polish, but the sponge should look saturated. If the sponge is too dry, it will soak up all the polish; if it’s too wet, it will create messy puddles.
| Nail Length | Stripe Width | Polish Amount |
|---|---|---|
| Short | Narrow (approx 2mm) | Minimal layers |
| Medium | Standard (approx 4mm) | 2-3 generous swipes |
| Long/Stiletto | Wide (approx 6mm) | Heavy saturation |
The “Damp Sponge” Trick
One trick I always use is lightly dampening the sponge with water before applying the polish. Squeeze out every single drop so it is just barely moist. This prevents the sponge from absorbing too much of the expensive polish and helps the colors sit on the surface for a smoother transfer.
Once your sponge is painted, do a quick “test stamp” on a piece of paper or a paper towel. This helps you see if the colors are blending correctly and removes any excess polish that might cause bubbles. If the colors look good on the paper, you are ready for the nail.
Step 3: Mastering the Dabbing Technique
Align the sponge with your nail and gently press it down. Use a light, bouncing motion rather than a heavy press. Think of it as “stippling” the color onto the nail surface rather than painting it on.
Move the sponge slightly up and down as you dab. This small movement is what actually creates the gradient by blurring the lines between the colors. Repeat this process for each nail, and don’t worry if the first layer looks a bit light or textured.
Building Opacity in Thin Layers
The secret to a professional ombre is doing multiple thin layers. Wait about a minute between “stamping” sessions to let the polish settle. Usually, two or three passes with the sponge will give you a rich, opaque finish that looks like airbrushing.
If you notice bubbles forming, it usually means you are dabbing too hard or your sponge is too dry. Use a lighter touch and re-apply a fresh layer of polish to the sponge if needed. The texture will look a bit grainy at this stage, but the top coat will fix that later.
Step 4: The Cleanup Process
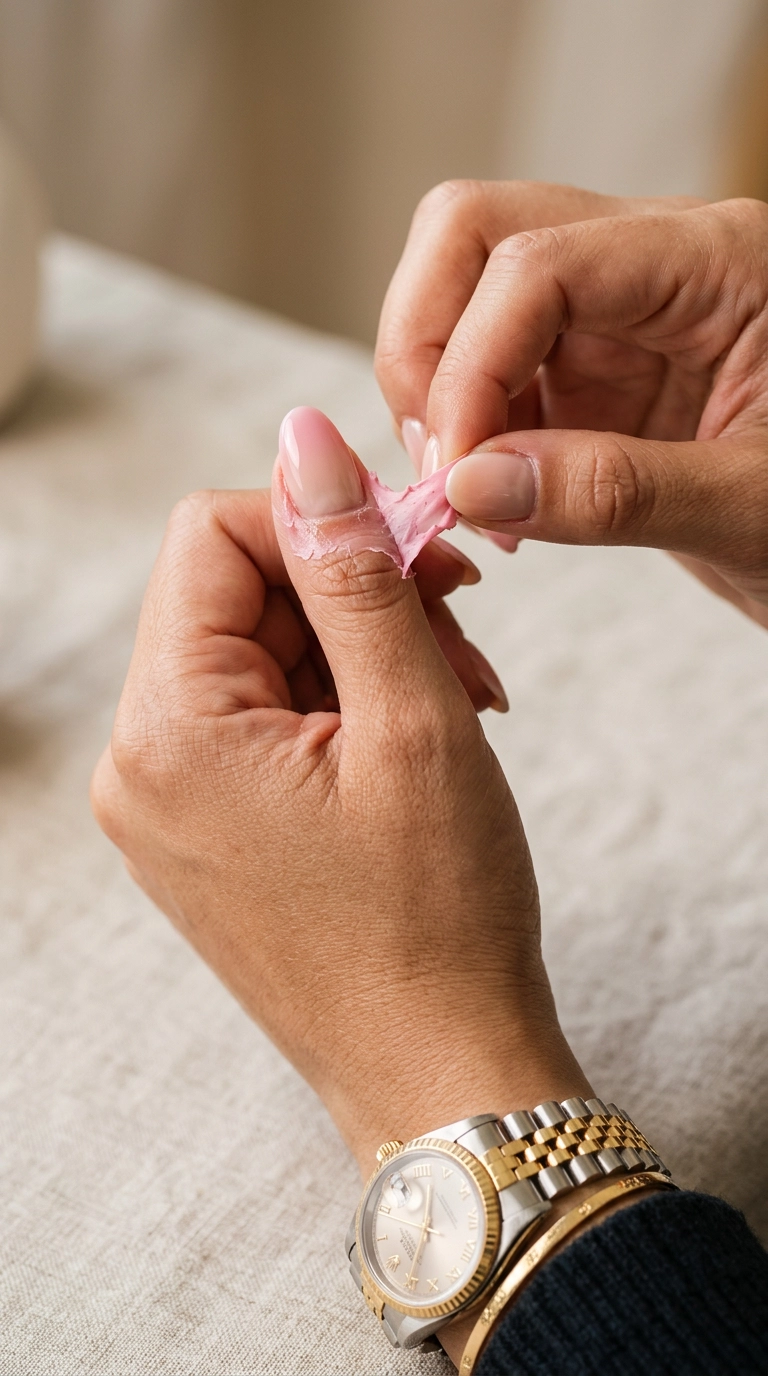
Once you are happy with the gradient, it is time to remove the barrier. If you used liquid latex, use a pair of tweezers to gently peel it away in one motion. It is incredibly satisfying to see the clean skin emerge from beneath the polish mess.
If you didn’t use a barrier, dip a small, angled makeup brush into acetone. Carefully trace the outline of your nail to remove any stray polish. This step is what separates an amateur manicure from a professional one, so take your time to get the edges crisp.
Refining the Cuticle Line
Be careful not to let the acetone touch the ombre itself, as it will melt the design instantly. Use a light hand and wipe the brush on a paper towel frequently to keep it clean. A sharp cuticle line makes the entire design pop and look much more expensive.
Check the sides of your fingers as well. Often, the sponge can wrap polish around the sides of the finger. Make sure to clean all the way down the sidewalls of the nail for a polished, clean-cut appearance.
Step 5: The Magic of the Top Coat
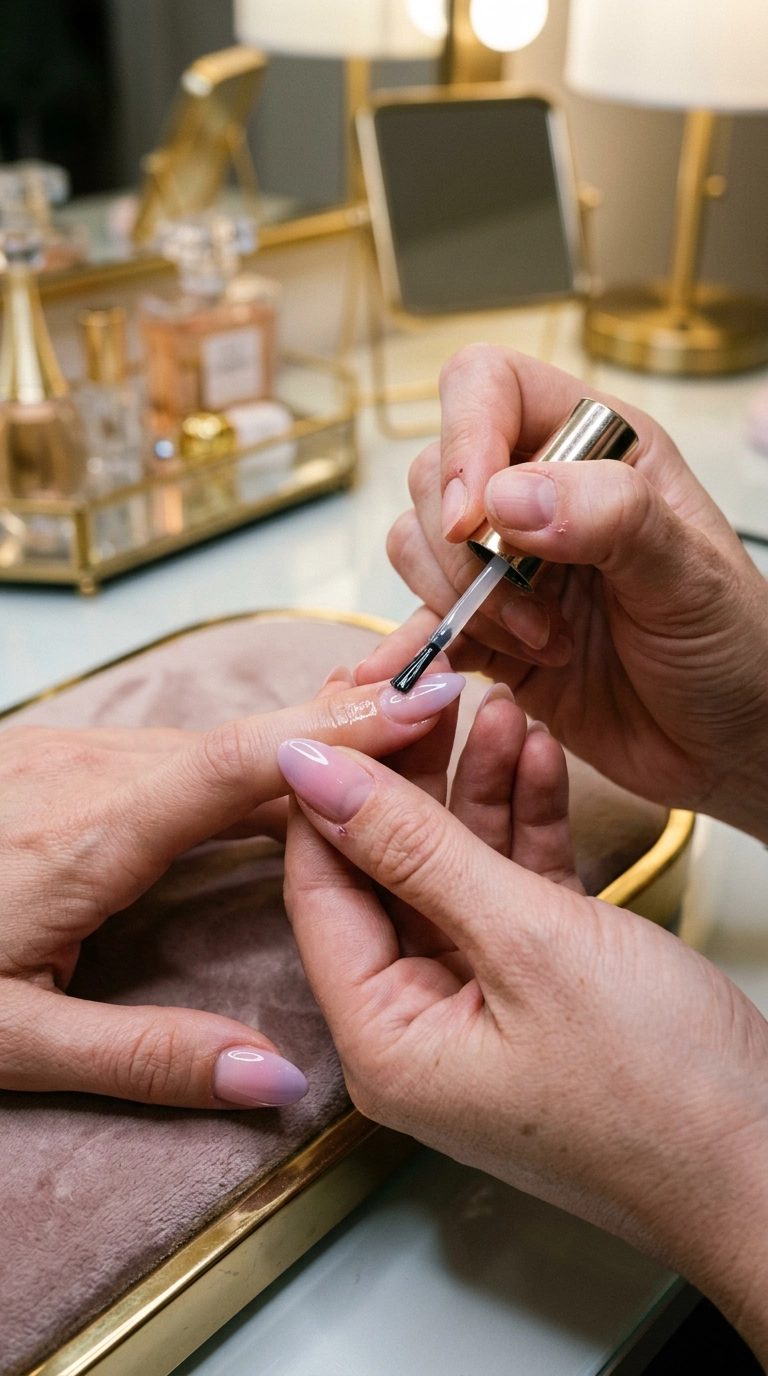
This is the most important step in the entire process. The top coat doesn’t just add shine; it actually acts as a blending agent. When you apply a generous layer of clear polish, it slightly re-activates the layers of ombre beneath it, melting them together for a perfect finish.
Apply the top coat while the ombre layers are still slightly “fresh” but not soaking wet. Use a “floating” technique where the brush doesn’t quite press down on the nail, but rather glides the polish over the top. This prevents the brush from dragging the colors and ruining the gradient.
Choosing Between Glossy and Matte
A glossy top coat is the traditional choice and really emphasizes the depth of the colors. It gives that “glass” finish that is so popular in modern nail art. However, a matte top coat can look incredibly sophisticated, especially with darker ombre shades like burgundy or navy.
Whichever finish you choose, make sure to “cap the edge” of your nail. Swipe the top coat brush across the very tip of your nail to seal in the polish. This prevents the ombre from chipping at the tips, which is where most manicures fail first.
Troubleshooting Common Ombre Mistakes

If your ombre looks patchy even after the top coat, your sponge might be too porous. Try using a denser sponge next time, or apply a bit more polish to the sponge. Texture issues are usually caused by the sponge being too dry or the polish being too thick.
If the colors aren’t blending and you can still see distinct lines, you aren’t moving the sponge enough. Remember the “up and down” bouncing motion. That slight shifting of the sponge’s position is what creates the “in-between” shades that make a gradient look seamless.
Dealing with Bubbles
Small air bubbles are the enemy of a smooth ombre. These often happen when you dab too fast or use a brand-new sponge that has a lot of air trapped in its pores. To prevent this, always do a test dab on paper first to “prime” the sponge and release the air.
If bubbles appear on the nail, don’t panic. Sometimes a second layer of top coat can fill in the tiny gaps and smooth out the surface. If they are very large, you may need to lightly buff the area once dry and apply one more very thin sponged layer before re-sealing.
Creative Ombre Variations to Try Next
Once you have mastered the basic two-color fade, the possibilities are endless. You can experiment with different finishes and placements to keep your look fresh and exciting. Here are a few ideas to inspire your next manicure session:
- The French Fade: Use a soft pink and a stark white for a modern take on the French manicure.
- Glitter Gradient: Apply a solid color and then use a sponge to dab glitter polish from the tip downward.
- Vertical Ombre: Instead of fading from base to tip, try fading from left to right across the nail.
- Neon Sunset: Use three bright shades like yellow, orange, and pink for a bold summer look.
Creating beautiful ombre nails at home is a skill that takes a little practice, but the results are well worth the effort. By using a sponge to control the polish and a high-quality top coat to blend the layers, you can achieve a look that rivals any high-end salon. Don’t be afraid to experiment with bold color combinations and different sponge textures to find what works best for your style. With these steps, you are ready to show off a flawless, professional-grade manicure that you did all by yourself.