Easy Flower Nail Art for Beginners – Step-by-Step Guide to Professional Results
Staring at a blank set of nails can feel intimidating, especially when you see intricate floral designs on your social feed. You might think you need years of practice or an expensive salon appointment to get that polished, feminine look. I have spent countless hours perfecting my own DIY techniques, and I can tell you that beautiful results are much closer than you think.
I remember my first attempt at DIY nail art; it looked more like colorful blobs than garden blooms. But after testing several methods, I discovered that creating beautiful flowers is all about using the right simple tools and understanding pressure. This guide is designed to take the guesswork out of the process, giving you the confidence to experiment with your own style.
This tutorial walks you through every stage of the process, ensuring you can create salon-quality floral patterns from the comfort of your couch. You will learn how to use household items as professional tools and how to layer colors for a high-end finish. By the time we finish, your hands will look curated, stylish, and ready for any occasion.
Essential Supplies for Your Home Manicure
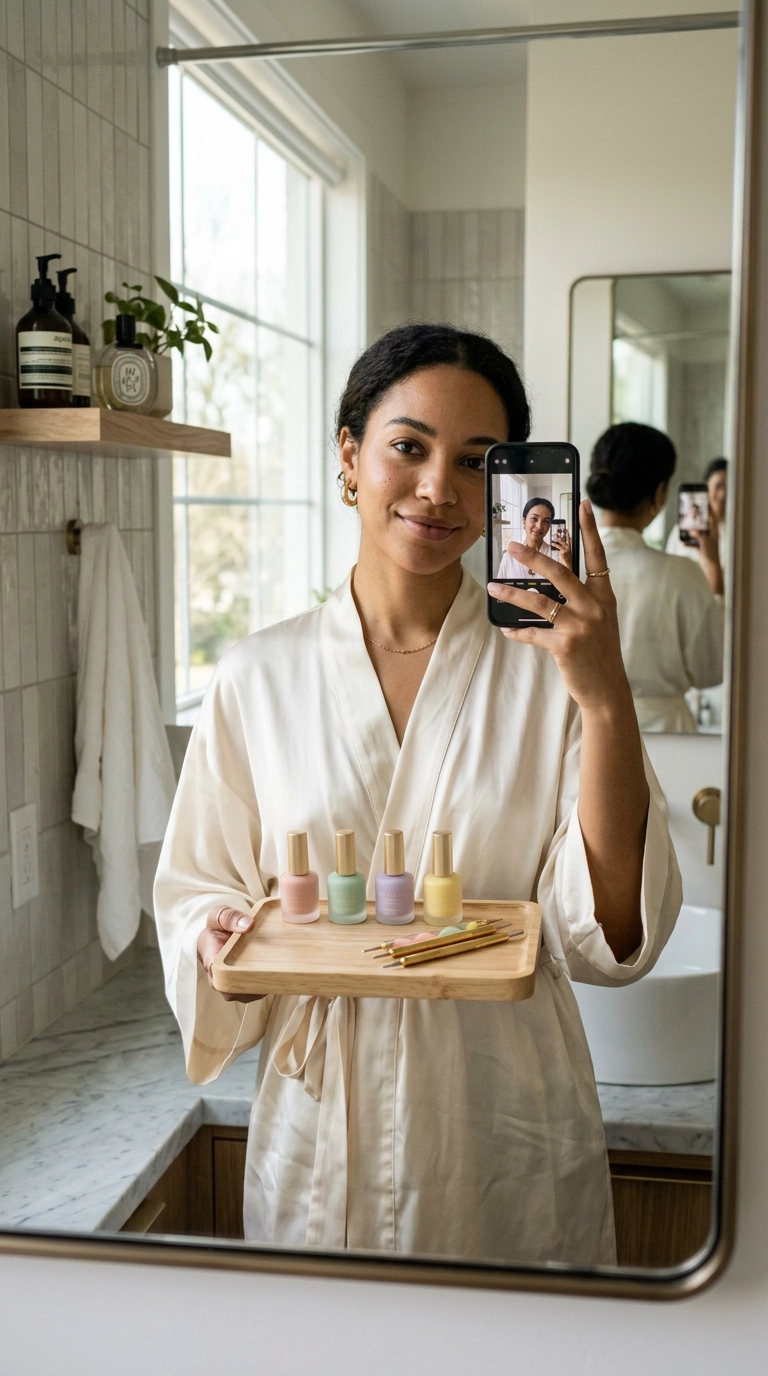
You do not need a massive kit to get started with nail art. Most of the best floral designs rely on a few basic items that provide control and precision. If you do not have professional dotting tools, you can easily substitute them with items found around your house.
Having the right base and top coats is just as important as the colors themselves. A high-quality base coat protects your natural nail from staining, while a thick, glossy top coat levels out any bumps in your art. This creates that smooth, glass-like finish that makes DIY art look professional.
- Dotting Tools: These come in various sizes and are used to create perfect circles for petals and centers.
- Toothpicks or Bobby Pins: Excellent substitutes for dotting tools if you are just starting out.
- Nail Polish: Choose at least three colors: one for the base, one for the petals, and one for the flower center.
- Aluminum Foil: Use this as a palette to pour small drops of polish for easy dipping.
- Nail Polish Remover and a Small Brush: Essential for cleaning up any mistakes around the cuticles.
Choosing Your Polish Texture
When selecting your polishes, look for formulas that are opaque in one or two coats. Sheer polishes can make flower petals look streaky or uneven. Cream finishes usually work best for beginners because they stay put and do not run as easily as metallic or shimmer formulas.
If you find your polish is too thick, it might create clumps on your nail. You can add a drop of nail polish thinner—never remover—to help it flow more smoothly. This ensures each dot of color stays crisp and defined rather than merging into a messy puddle.
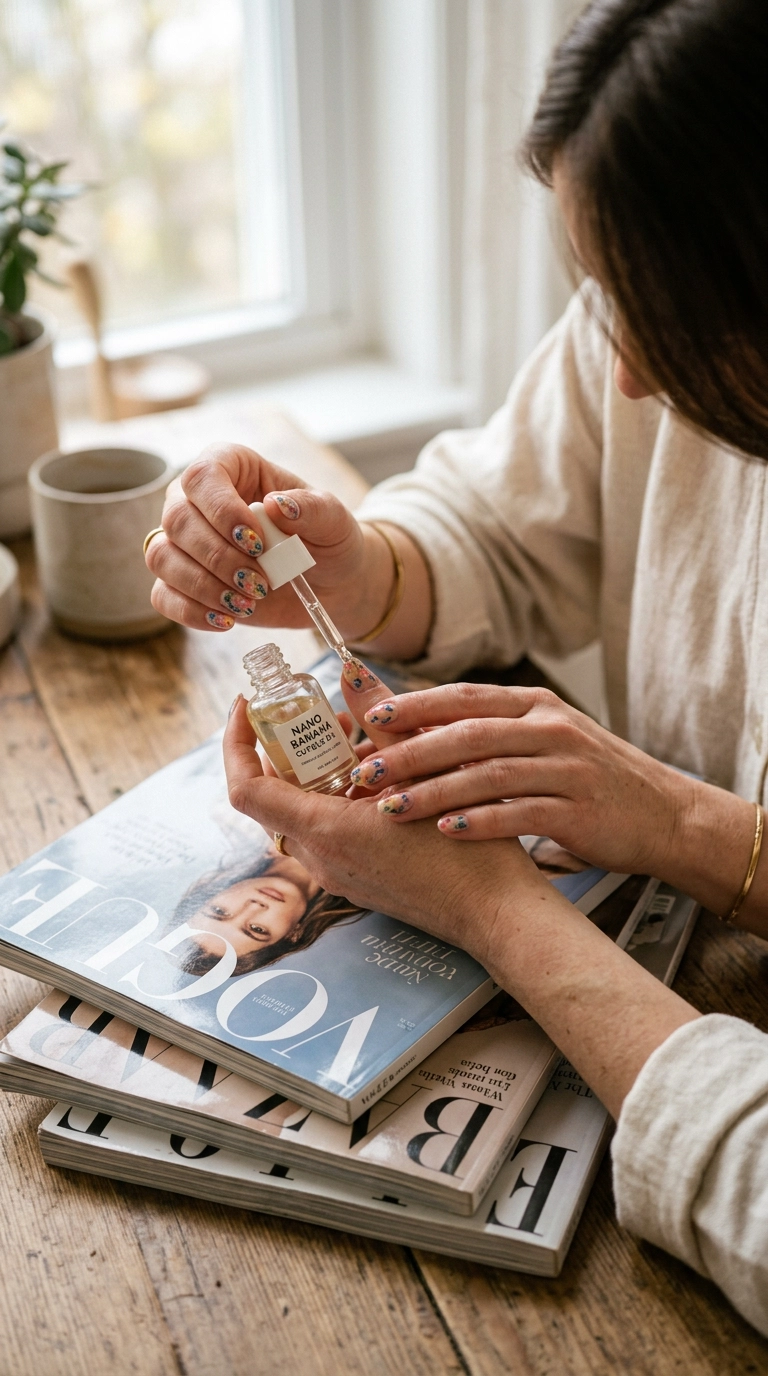
Preparing Your Canvas for Art
Before you even think about painting a petal, your nails need to be prepped and primed. Start by removing any old polish and shaping your nails with a fine-grit file. An oval or almond shape provides a beautiful, natural backdrop for floral designs, though square shapes work well for a more modern look.
Gently push back your cuticles using a wooden stick or a metal pusher. This increases the surface area of your nail and creates a clean line at the base. Avoid cutting your cuticles, as this can lead to irritation; instead, use a cuticle remover cream to soften and clear away any dead skin.
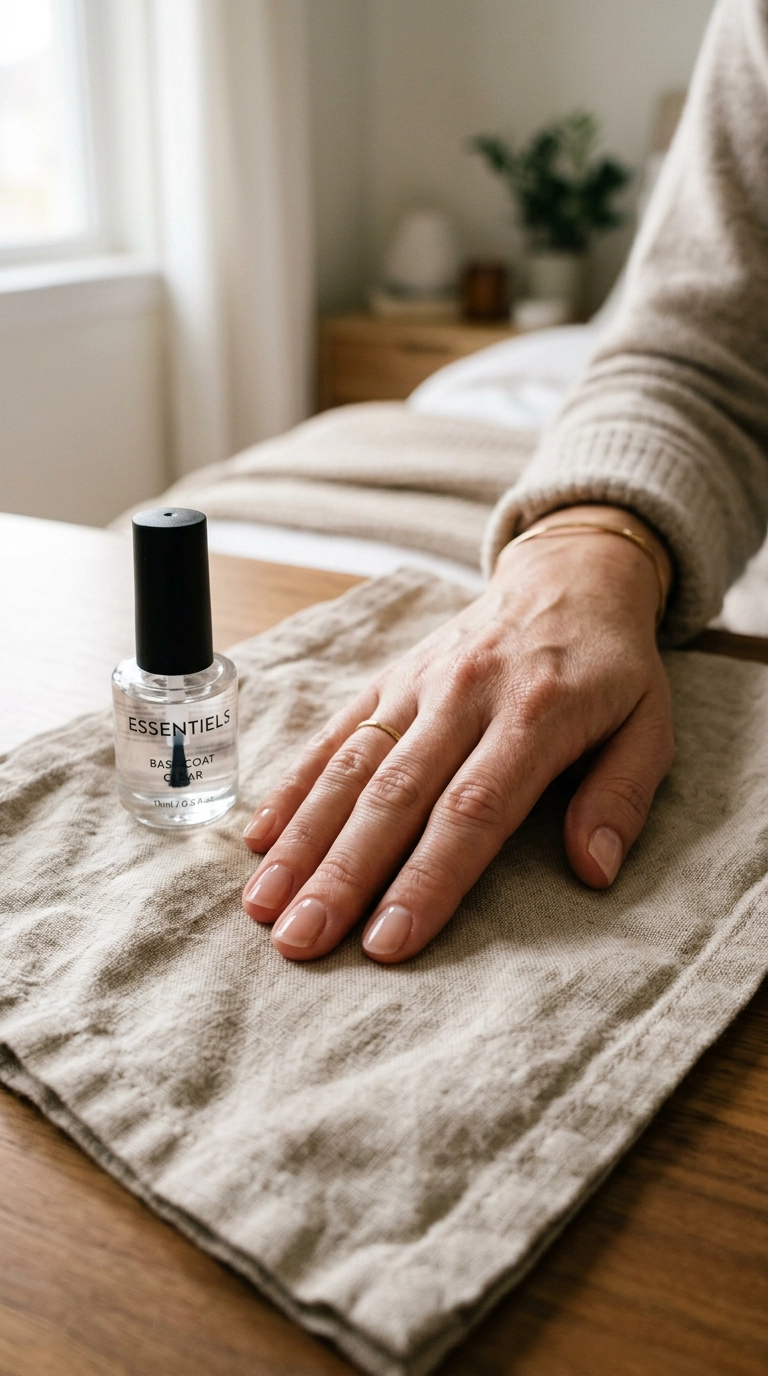
The Importance of a Base Layer
Apply a thin, even layer of base coat to every nail. This acts as a primer, filling in any ridges and giving the color something to grip onto. Wait at least two minutes for the base coat to become tacky or dry before applying your background color.
Apply two thin coats of your chosen base color rather than one thick one. Thin coats dry faster and are much less likely to bubble or smudge later on. Ensure the base color is completely dry to the touch before you begin the floral application to prevent the colors from bleeding together.
How to Create the Perfect Five-Petal Daisy

The five-petal daisy is the foundation of floral nail art. It is simple, elegant, and incredibly versatile depending on the colors you choose. To start, pour a small drop of your petal color onto a piece of aluminum foil.
Dip your dotting tool or the end of a bobby pin into the polish. Place five small dots in a circular pattern on your nail, leaving a tiny gap in the center. Do not worry if they aren’t perfectly symmetrical; real flowers have natural variations that add character to your design.
Adding the Center Detail
Wait about thirty seconds for the petals to set slightly. This prevents the center color from swirling into the petals. Dip a smaller dotting tool into a contrasting color, like yellow or gold, and place a single dot right in the middle of your petal circle.
The key here is light pressure. If you press too hard, you might displace the base color underneath. Think of it as “floating” the polish onto the nail surface rather than drawing on it. This technique keeps the shapes crisp and raised for a textured, professional look.
Crafting Delicate Mini Meadow Blooms
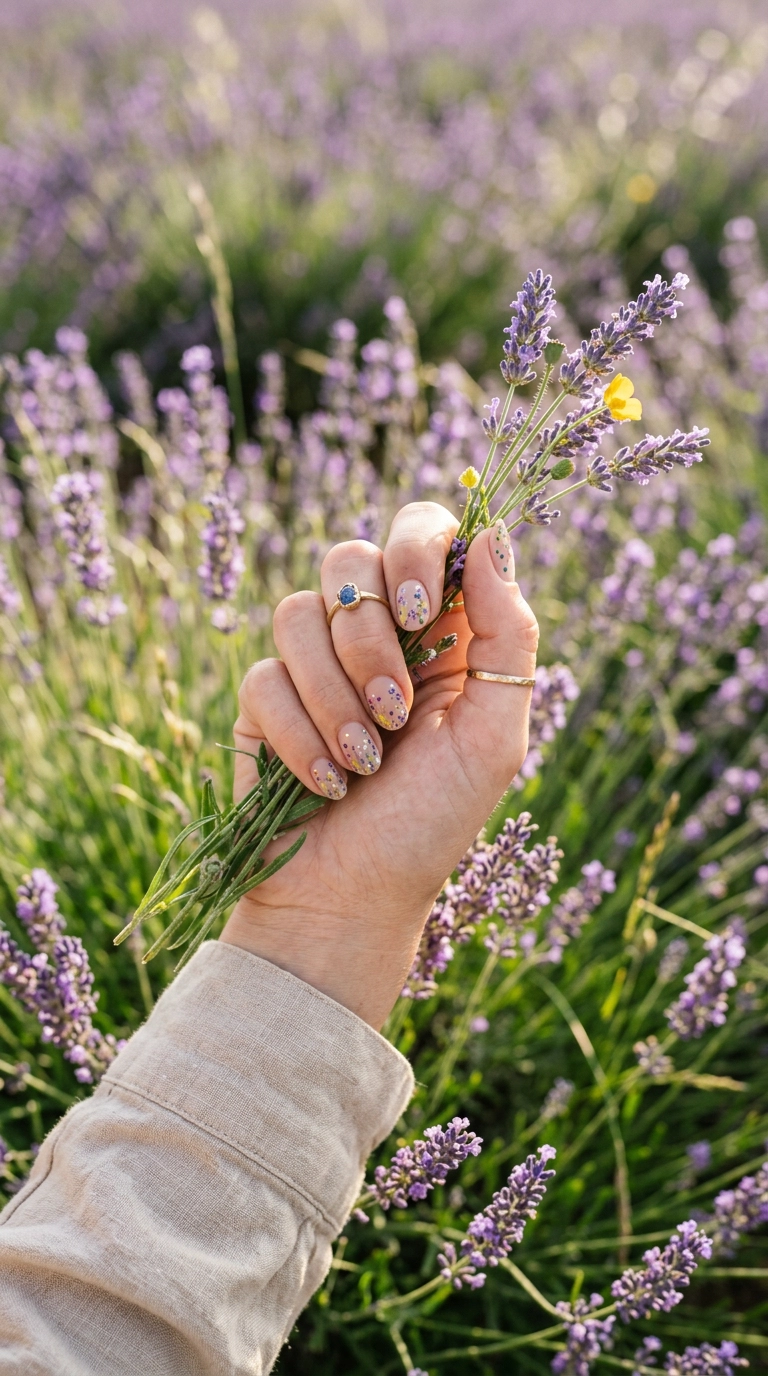
If you prefer a more organic, whimsical look, the meadow style is a fantastic option. Instead of structured daisies, this technique uses clusters of different sized dots to mimic the appearance of wildflowers. It is very forgiving and perfect for those with slightly shaky hands.
Start by choosing three or four complementary colors. Place random dots of varying sizes across the tip of the nail or along one side. By clustering them together, you create a sense of movement and depth that looks far more complex than it actually is.
Using Color Gradients
To make your meadow look more realistic, try using different shades of the same color. For example, use a light pink, a medium rose, and a deep berry. This tonal variation gives the flowers a 3D effect without requiring advanced painting skills.
You can also add tiny green dots or very thin lines to represent leaves and stems. Use a toothpick for these details, as it allows for the finest lines possible. A few well-placed green accents will instantly ground your design and make the floral theme obvious.
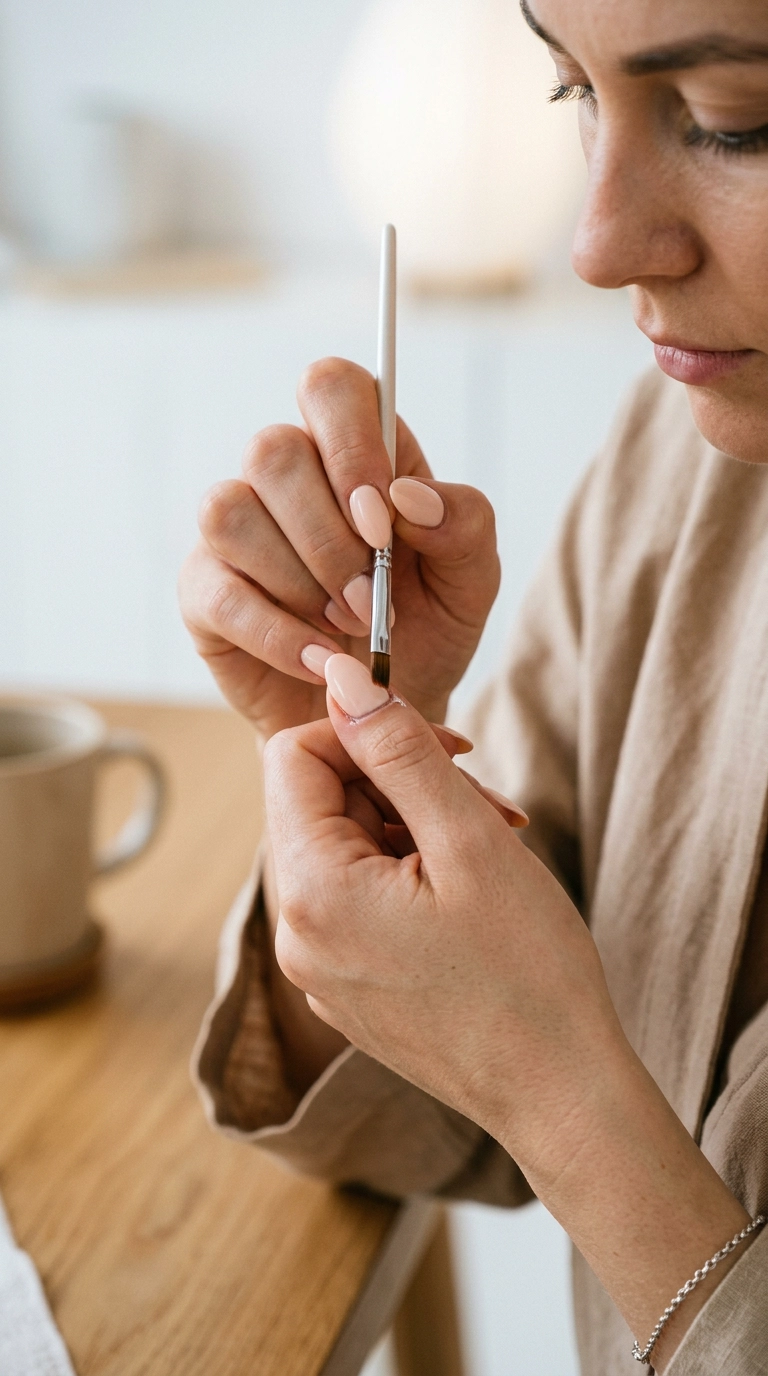
Mastering Abstract Floral Accents
Abstract florals are for the person who wants a modern, high-fashion vibe. These designs do not require perfect circles or specific petal counts. Instead, they focus on color placement and “smeared” shapes that suggest a flower rather than literal interpretation.
To achieve this, place two or three drops of different colors very close to each other on the nail while they are still wet. Use a clean toothpick to lightly swirl the colors together in a circular motion. This creates a marbled effect that looks like a painterly rose or peony.
Comparison of Design Styles:
| Style | Difficulty | Best Tool | Vibe |
|---|---|---|---|
| Classic Daisy | Easy | Medium Dotting Tool | Preppy & Clean |
| Mini Meadow | Beginner | Toothpick | Boho & Whimsical |
| Abstract Swirl | Medium | Fine Brush | Artistic & Bold |
Pro Tips for Longevity and Shine
The biggest frustration with DIY nail art is when it chips after just a few days. To prevent this, you must seal your design correctly. Wait at least ten minutes after finishing your flowers before applying a top coat. If the polish is still wet, the top coat brush will streak your hard work across the nail.
When you apply the top coat, use a generous amount on the brush and “float” it over the design. Avoid pressing the bristles onto the nail. Finally, “cap” the free edge by running the brush along the very tip of your nail. This creates a seal that prevents lifting and chipping.
Maintaining Your Manicure
Hydration is the secret to a long-lasting manicure. Apply cuticle oil every night before bed to keep the skin and the nail plate flexible. Dry nails are brittle nails, and brittle nails are more prone to chipping and breaking.
If you notice the shine starting to dull after a few days, you can apply a fresh layer of top coat. This fills in any micro-scratches and restores that “just-left-the-salon” glow. It also adds an extra layer of protection to your floral art.
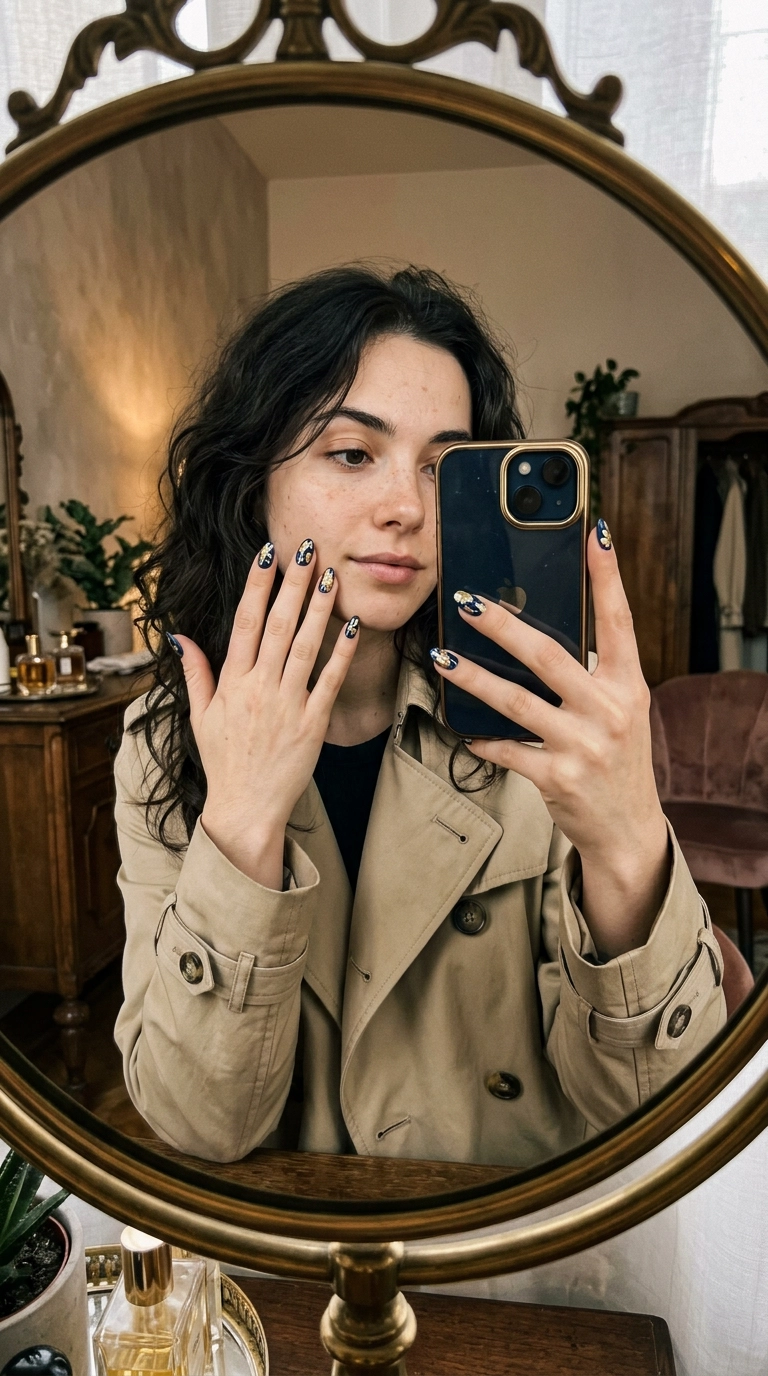
Seasonal Color Inspiration
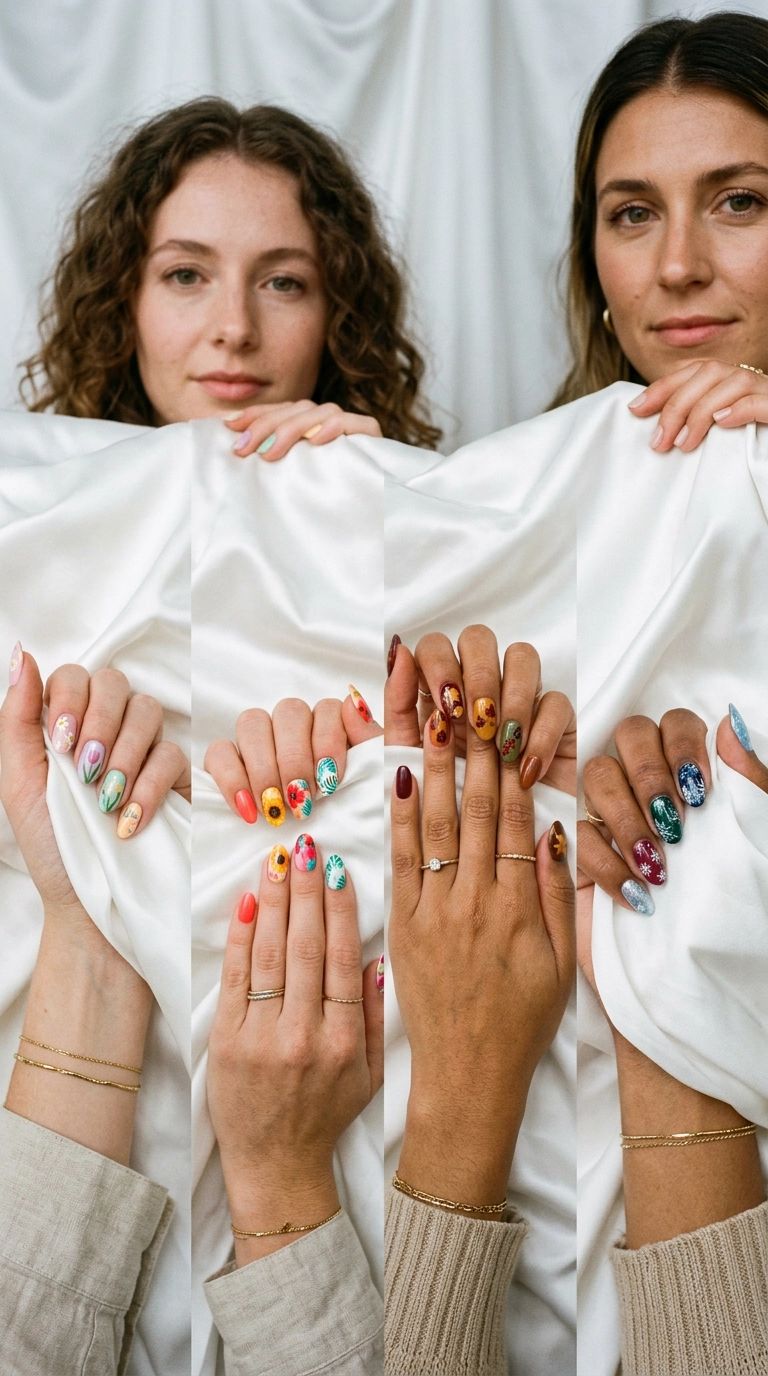
Floral nail art is not just for spring. By swapping your color palette, you can make this look work all year round. The key is to look at the colors naturally occurring in each season and translate them to your polish choices.
In the colder months, don’t be afraid to use darker backgrounds. A navy or forest green base makes white or gold flowers pop beautifully. It creates a moodier, more sophisticated take on the traditional floral trend that feels appropriate for winter events.
- Spring: Pastel pink, lilac, and mint green with white accents.
- Autumn: Burnt orange, mustard yellow, and deep terracotta with cream centers.
- Winter: Emerald green, deep plum, and metallic silver for a frosty floral look.
Fixing Common Beginner Mistakes
Even pros make mistakes. If a dot of polish goes where it shouldn’t, don’t panic and wipe the whole nail off. Take a small, flat concealer brush or an old lip brush, dip it in nail polish remover, and carefully “erase” the mistake. This allows you to fix small errors without ruining your base color.
Another common issue is “stringy” polish. If your polish starts to get thick and pulls away in long strings, it is drying too fast on your palette. Clean your tool and pour a fresh drop of polish onto the foil. Working with fresh, liquid polish is the only way to get those perfect, round petals.
Dealing with Bubbles
If you see tiny bubbles forming in your top coat, it usually means you shook the bottle too hard or the room is too warm. Instead of shaking the polish, roll it between your palms to mix the pigment. This prevents air from getting trapped in the formula, ensuring a crystal-clear finish over your art.
If bubbles do appear, sometimes a second layer of top coat can smooth them out. However, the best approach is prevention. Always work in a cool, dry area away from direct fans or heaters, as moving air can cause the surface of the polish to dry too quickly and trap gas underneath.
Frequently Asked Questions
How long should I wait between steps?
You should wait about two to three minutes between your base color coats. For the flower art itself, wait about thirty seconds before adding the center dot to ensure the colors don’t bleed. The most important wait is before the top coat—give it a full ten minutes.
Can I do this on short nails?
Absolutely. Flower nail art actually looks incredibly chic on short, well-manicured nails. Just scale down the size of your flowers. Use a toothpick instead of a large dotting tool to create micro-florals that won’t overwhelm the smaller surface area.
What if I don’t have a dotting tool?
The end of a bobby pin is almost identical to a medium-sized dotting tool. You can also use the tip of a ballpoint pen (that has run out of ink), a toothpick, or even the head of a straight pin stuck into a pencil eraser for better grip.
Learning to do your own floral nail art is a rewarding way to express your personal style. It takes a little bit of patience and a steady hand, but the results are well worth the effort. Once you master the basic daisy, the possibilities for customization are endless. Grab your favorite polishes and start experimenting with your own garden-inspired designs today.