
Expert Guide to Flawless DIY French Tip Nails
There is something undeniably sophisticated about a crisp French manicure that never goes out of style. Whether you are heading to a wedding or just want to feel polished for your Monday morning meetings, this classic look provides a clean, put-together vibe that complements every outfit. You do not have to spend a fortune at the salon every two weeks to maintain this high-end aesthetic.
Many of us have tried to recreate this look at home only to end up with shaky lines and uneven tips that look more like a craft project gone wrong. I have spent years perfecting the technique of the DIY manicure, and I can tell you that the secret lies in the tools and the preparation rather than just having a steady hand. Achieving salon-quality results is entirely possible when you understand the mechanics of the brush and the anatomy of your nail.
In this guide, I will share the exact steps and professional secrets to getting those perfect white curves from the comfort of your own vanity. We will move past the frustration of messy edges and focus on methods that work for real people with real schedules. By the time you finish reading, you will have the confidence to skip the salon appointment and create a look that is both timeless and modern.
Prepare Your Canvas for Longevity
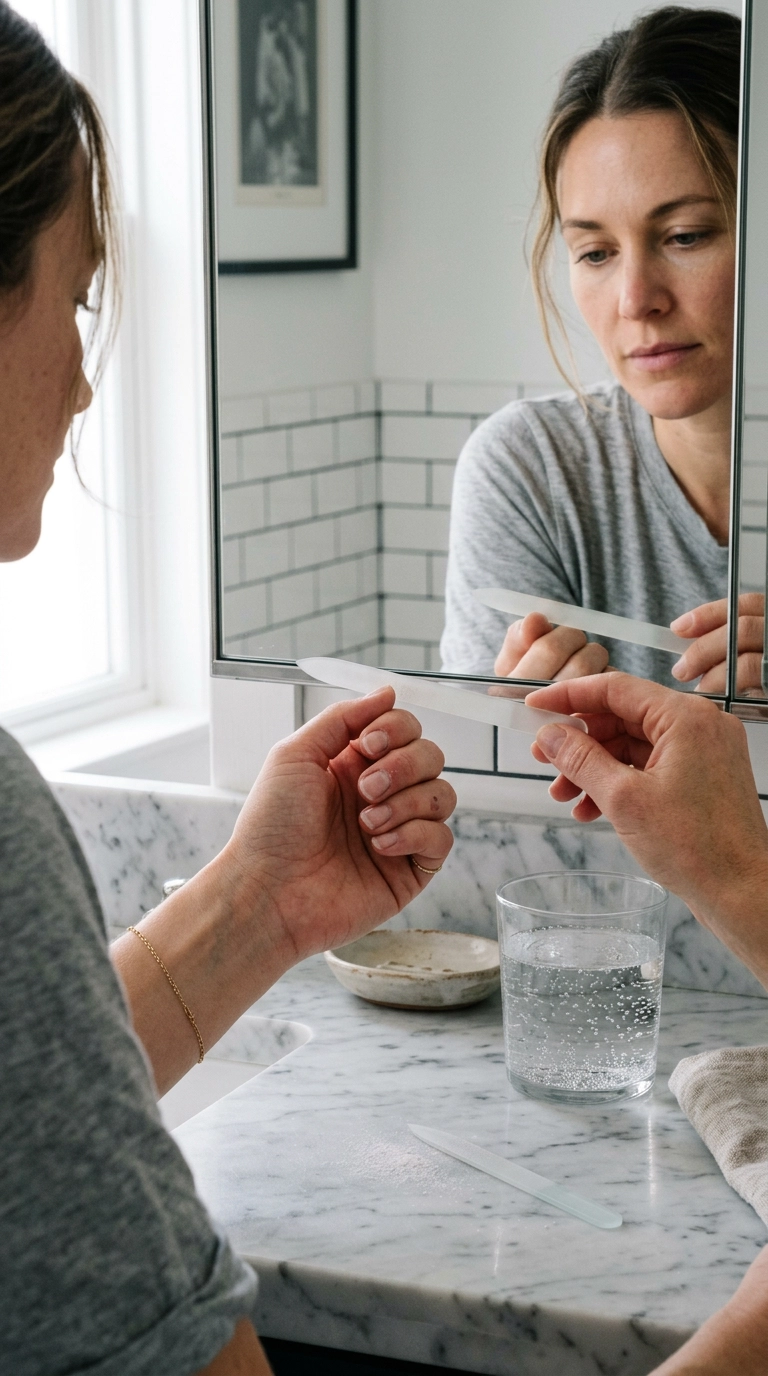
The foundation of any great manicure starts with the health and shape of your natural nails. If your nails are jagged or peeling, even the most expensive polish will look messy and chip within hours. Begin by removing every trace of old polish with a gentle, non-acetone remover to avoid drying out your nail beds.
Shape is incredibly important for the French look, as the tip follows the line you create now. Almond and oval shapes tend to make fingers look longer and more elegant, while a soft square offers a modern, sporty feel. Use a high-quality glass nail file to smooth the edges in one direction; sawing back and forth can cause microscopic tears that lead to splitting later on.
Mastering Cuticle Care
Gently push back your cuticles using an orange wood stick or a metal pusher after a warm shower when the skin is soft. Avoid cutting your cuticles unless you have a specific hangnail, as this skin protects your nail matrix from bacteria. A clean, clear nail bed provides more “real estate” for your polish, making the French tip appear more balanced and professional.
Hydration and Dehydration
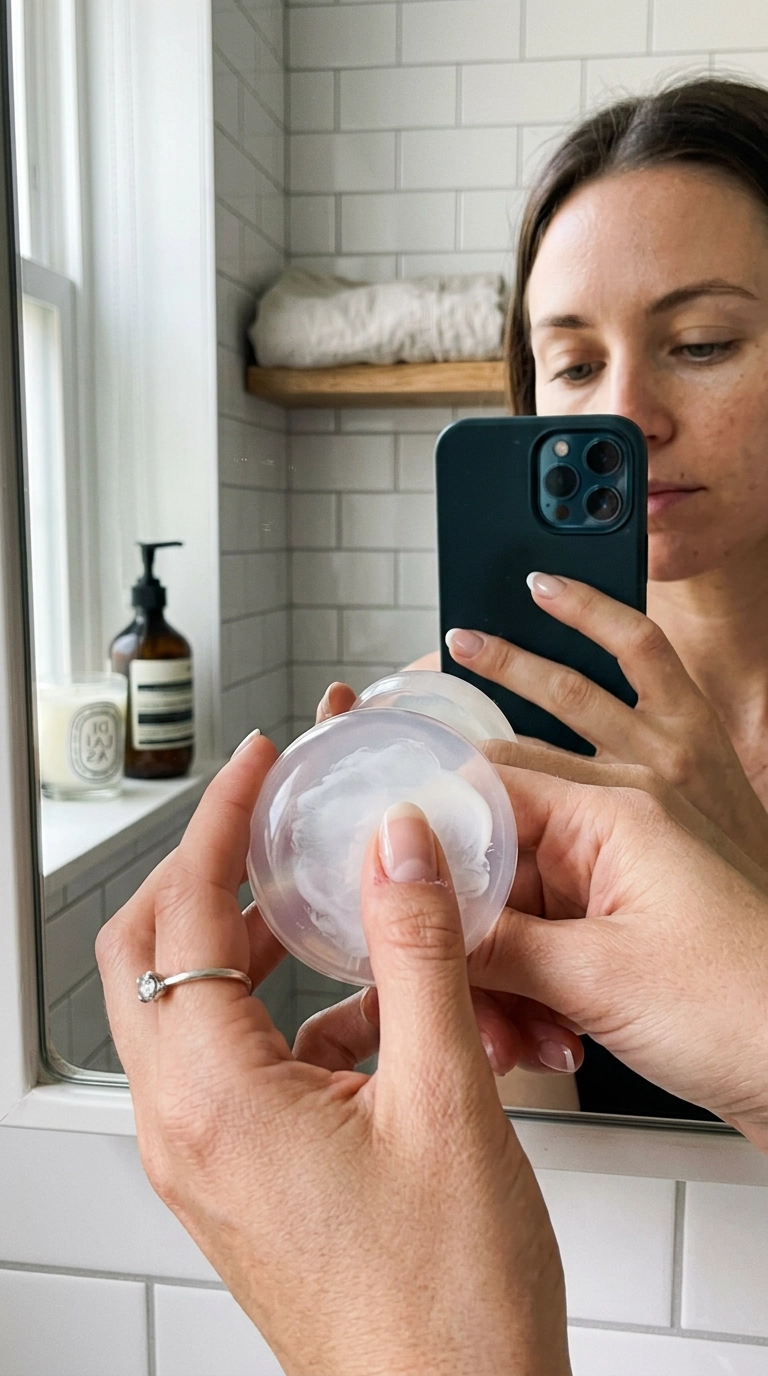
It sounds like a contradiction, but you need both. First, hydrate the surrounding skin with a drop of jojoba oil, but then use a lint-free wipe soaked in rubbing alcohol to “dehydrate” the actual nail plate right before painting. This removes any oils or lotions that would prevent the base coat from sticking properly to the keratin.
The Essential Tool Kit for Precision
You do not need a massive collection of products, but the quality of your specific tools will dictate the ease of the process. A standard polish brush is often too thick for a precise French line, especially if you have smaller nail beds. Investing in a few targeted items will make a world of difference in your final result.
The table below outlines the specific items you should have on your vanity before you start the painting process.
| Tool | Purpose | Why It Matters |
|---|---|---|
| Glass Nail File | Shaping | Prevents peeling and creates a smoother edge than emery boards. |
| Fine Liner Brush | Detailing | Allows for a thin, controlled line that a standard brush can’t achieve. |
| Sheer Base Color | The Background | Evens out nail tone while keeping the look airy and natural. |
| Opaque White Polish | The Tip | Requires high pigment so you only need one coat for a crisp line. |
| Clean-up Brush | Correction | A small, angled brush dipped in acetone to erase any wobbles. |
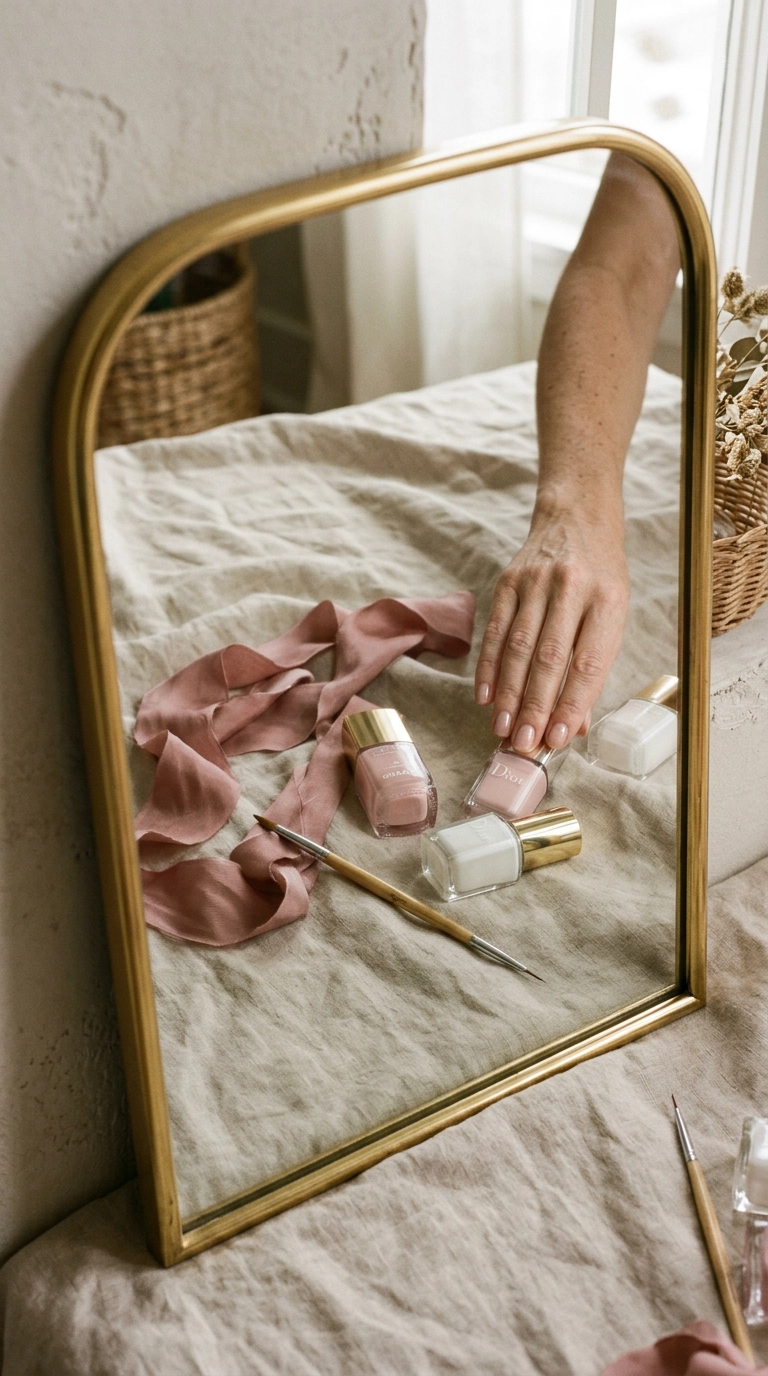
Choosing Your Perfect Base Shade
The “classic” French look uses a sheer, milky pink or a soft peach that mimics the natural color of a healthy nail bed. If you have cool undertones, look for a pale lavender-leaning pink; if you have warm undertones, a creamy beige or apricot works beautifully. The goal is a “your nails but better” finish that hides any discoloration while remaining translucent.
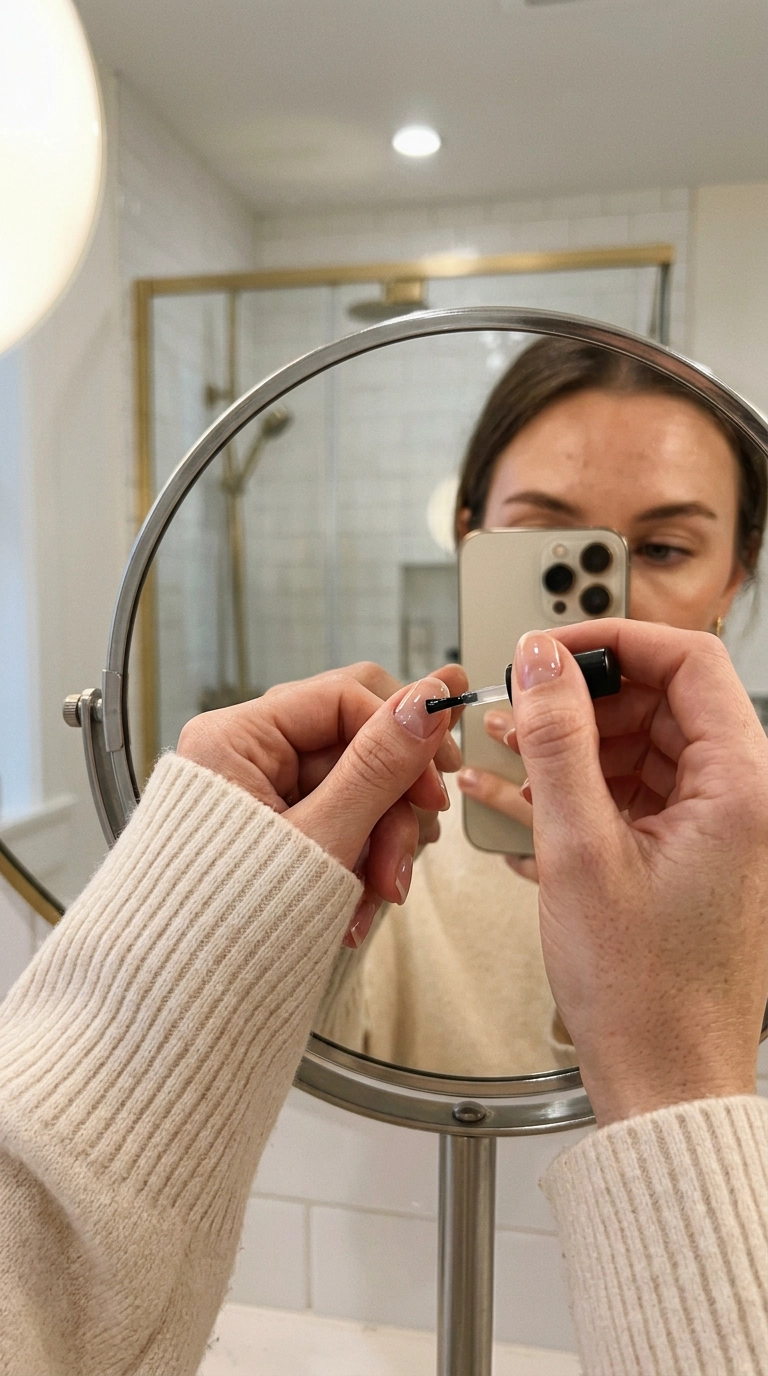
Mastering the Freehand Technique
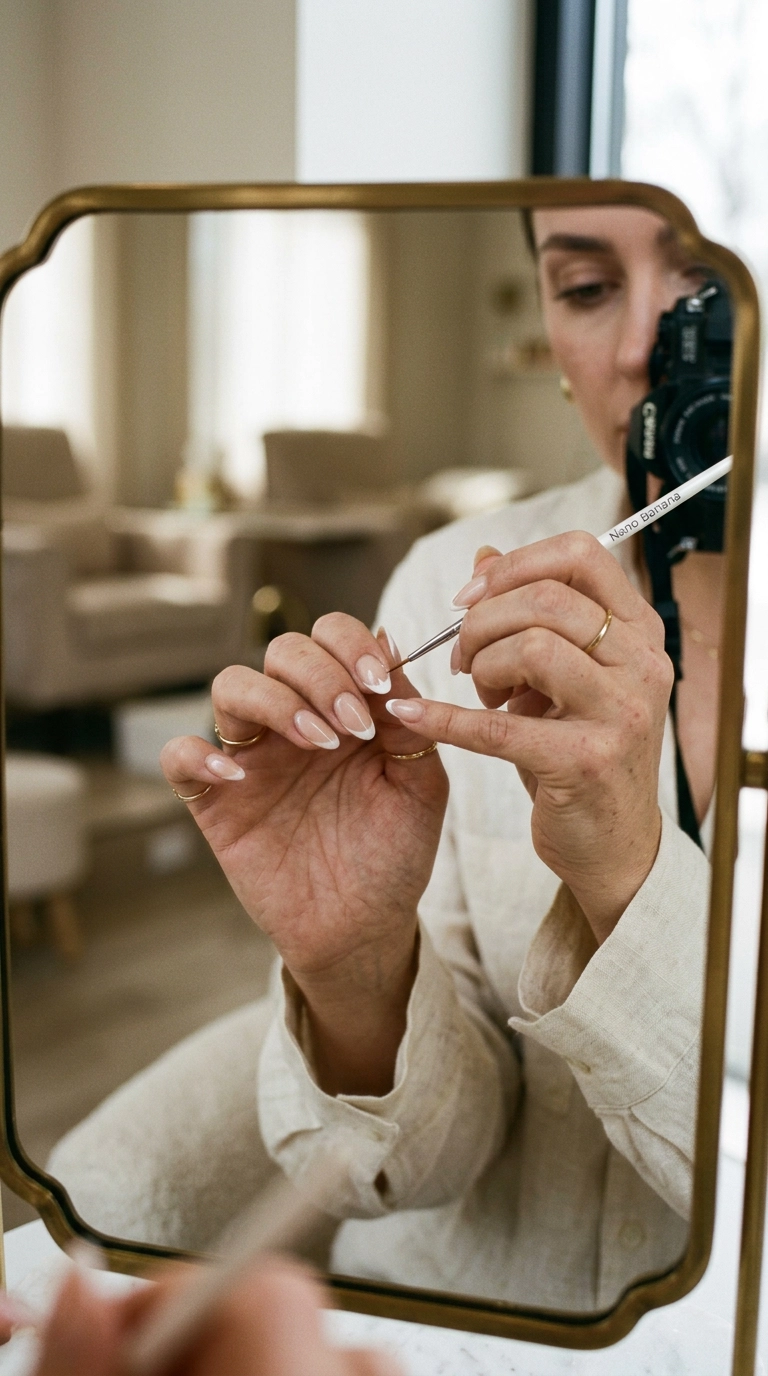
Freehanding might seem intimidating, but it is the best way to customize the “smile line” to your specific nail shape. The secret is to move your finger, not the brush. Keep your dominant hand steady on a flat surface and slowly rotate the finger you are painting from side to side against the brush tip.
Start by painting your sheer base color in two very thin layers, allowing them to dry for at least five minutes between coats. If the base is too wet, the white tip will bleed into it, creating a blurry edge. Once the base is tacky but firm, you are ready to map out your tip.
The Three-Stroke Method
Instead of trying to draw one continuous arc, break the tip into three sections. Start at the outer corner and draw a slight curve toward the center of the free edge. Repeat this on the other side, meeting in the middle. Finally, fill in the very edge of the nail to connect the two sides and ensure the thickness is consistent across the entire tip.
The Clean-Up Secret
Even the pros make mistakes, and the clean-up brush is your best friend. Dip a small, stiff-bristled concealer brush into pure acetone and gently “carve” the smile line from the bottom up. This sharpens the curve and removes any excess white polish that may have wandered too far down the nail bed, giving you that sharp, salon-fresh finish.
Genius Hacks for Beginners
If your hands are naturally shaky, there are several “cheats” that produce incredible results with half the effort. One of the most popular methods currently involves a silicone nail stamper. You simply apply a layer of white polish to the stamper and gently press your nail tip into the silicone at a 45-degree angle.
The silicone conforms to the shape of your nail, automatically creating a perfect, even curve around the tip. This method is incredibly fast and works exceptionally well for those who prefer a “Micro-French” look—which is a very thin, delicate white line at the very edge. Just be sure to wipe the stamper with a lint roller between each finger to keep the lines clean.
Using Beauty Tape or Guides
For a very structured, graphic look, you can use adhesive French tip guides or even simple office tape. If you use tape, stick it to the back of your hand a few times first to remove some of the tackiness; otherwise, it might pull up your base color. Place the tape in a curved or straight line, paint the white polish over the exposed tip, and peel the tape away immediately while the polish is still wet.
The Rubber Band Trick
A simple rubber band can act as a flexible stencil for those on a budget. Loop a thick rubber band around your finger and use your thumb to hold it tight at the desired curve height. Paint above the band and release. This creates a surprisingly clean line because the tension of the rubber band prevents the polish from seeping underneath.
Modern Variations to Try
Once you have mastered the basic white tip, the possibilities for customization are endless. The “Double French” is a major trend right now, which involves adding a second, thinner line just below the main tip. This adds a geometric, architectural element to the manicure that feels very high-fashion and intentional.
You can also experiment with color. Replacing the white with a deep navy, a vibrant red, or even a metallic gold can completely change the mood of the manicure. Darker colors on the tips are particularly striking for evening events or the autumn season, providing a moody twist on a classic silhouette.
The Micro French
The Micro French is the ultimate choice for minimalists. The line is so thin it is almost barely there, focusing on a very clean, “quiet luxury” aesthetic. It works best on shorter nails and requires a very steady hand or the silicone stamper method mentioned previously. It is subtle, chic, and incredibly easy to maintain as it grows out.
The Reverse French
Also known as the “Half-Moon” manicure, this style places the accent color at the base of the nail near the cuticle instead of at the tip. It creates a vintage, 1940s-inspired look that is surprisingly flattering. You can even combine a standard French tip with a reverse French for a framed look that defines the entire nail shape.
Securing Your Manicure for the Long Haul
The final step is often the most overlooked, yet it is what determines if your hard work lasts two days or ten. A high-quality top coat is non-negotiable. Look for a “plumping” or “gel-effect” top coat that adds volume and a glass-like shine, which helps hide any minor imperfections in your white lines.
When applying your top coat, be sure to “cap” the free edge. This means running the brush along the very front edge of the nail to seal the polish around the tip. This creates a physical barrier that prevents the white polish from lifting or chipping when you use your hands for daily tasks like typing or opening packages.
Daily Maintenance Routine
Apply cuticle oil every single night before bed. Polish becomes brittle when it dries out, which leads to cracks and chips; keeping the nail and surrounding skin hydrated keeps the polish flexible. If you notice the shine starting to dull after four or five days, simply apply another thin layer of top coat to refresh the look and add another layer of protection.
Protecting Your Work
Common household chemicals and even hot water can soften polish and cause it to lift. Wear gloves when washing dishes or using cleaning sprays. This small habit will significantly extend the life of your DIY French tips and keep your hands looking soft and youthful. It is these small details that elevate a home manicure into something that looks truly professional.
French Tip Nail FAQs
How do I keep the white polish from looking streaky?
The key is to use a highly pigmented, one-coat white polish. If your polish is too thin, you will be tempted to go over it multiple times, which leads to a thick, lumpy finish. Shake the bottle well and ensure the brush has just enough polish to cover the tip in one go.
What if my nails are very short?
French tips actually look stunning on short nails! The trick is to keep the white line very thin (the Micro French). A thick line on short nails can make the nail bed look even shorter and out of proportion. Following the natural curve of your finger will help elongate the look.
Can I do this with gel polish?
Absolutely. The process is the same, but you have the added benefit of being able to wipe away mistakes with a clean brush before you “cure” the nail under the LED lamp. Gel is often easier for beginners because the polish won’t dry until you want it to, giving you unlimited time to perfect your lines.
Why does my white tip always chip first?
The tip of the nail takes the most impact during the day. Ensure you are capping the edge with both the white polish and the top coat. Additionally, make sure your white polish isn’t too thick; thick layers of polish are much more prone to shattering and peeling than thin, even ones.
Your New Signature Look
Perfecting the French tip at home is a skill that pays off every time you catch a glimpse of your hands. It is about patience, the right tools, and a few clever techniques that bypass the need for professional training. By following these steps—from the initial prep to the final protective seal—you can enjoy a sophisticated, high-end manicure whenever you like. Take your time, enjoy the process of self-care, and wear your new signature look with confidence.