Master Guide to Achieving a Perfect Lived-In Balayage
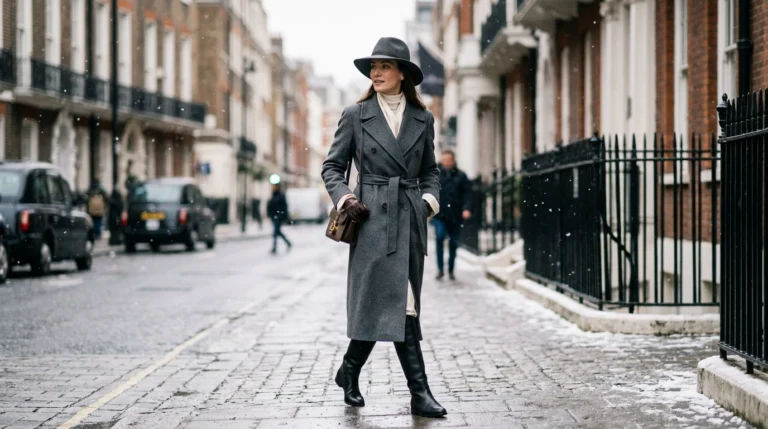
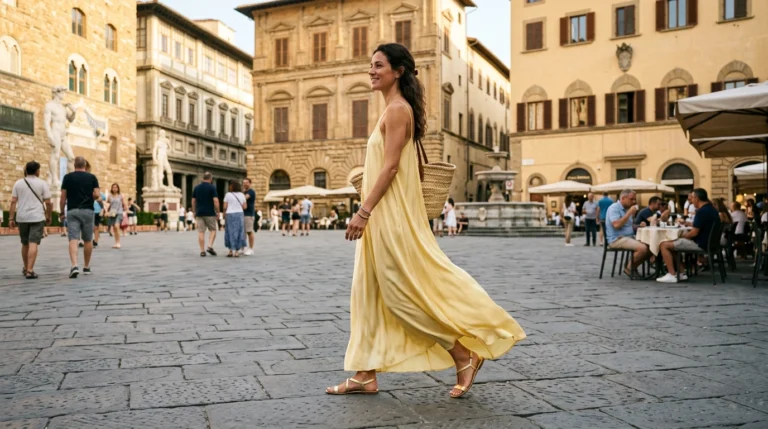
There is a specific kind of confidence that comes with hair that looks effortlessly sun-kissed and expensive. Lived-in balayage has become the gold standard for modern hair color because it bridges the gap between high-fashion brightness and low-maintenance reality. It is the perfect choice for anyone who wants to look polished without visiting the salon every four weeks.
You might have seen these seamless blends on your favorite style icons and wondered how to achieve that blur of color without any harsh lines. The secret lies in a combination of precise placement, hand-painted tension, and a deep understanding of how hair naturally lightens in the sun. This technique is not just about adding light; it is about creating shadows that make the highlights pop.
This guide is designed to help you understand the nuances of the lived-in look, whether you are a professional looking to sharpen your skills or a beauty enthusiast curious about the process. We will walk through the tools, the sectioning, and the specific painting motions required to create a soft, blended result. By focusing on the health of the hair and the natural flow of the strands, you can achieve a look that feels both fresh and timeless.
Defining the Lived-In Aesthetic
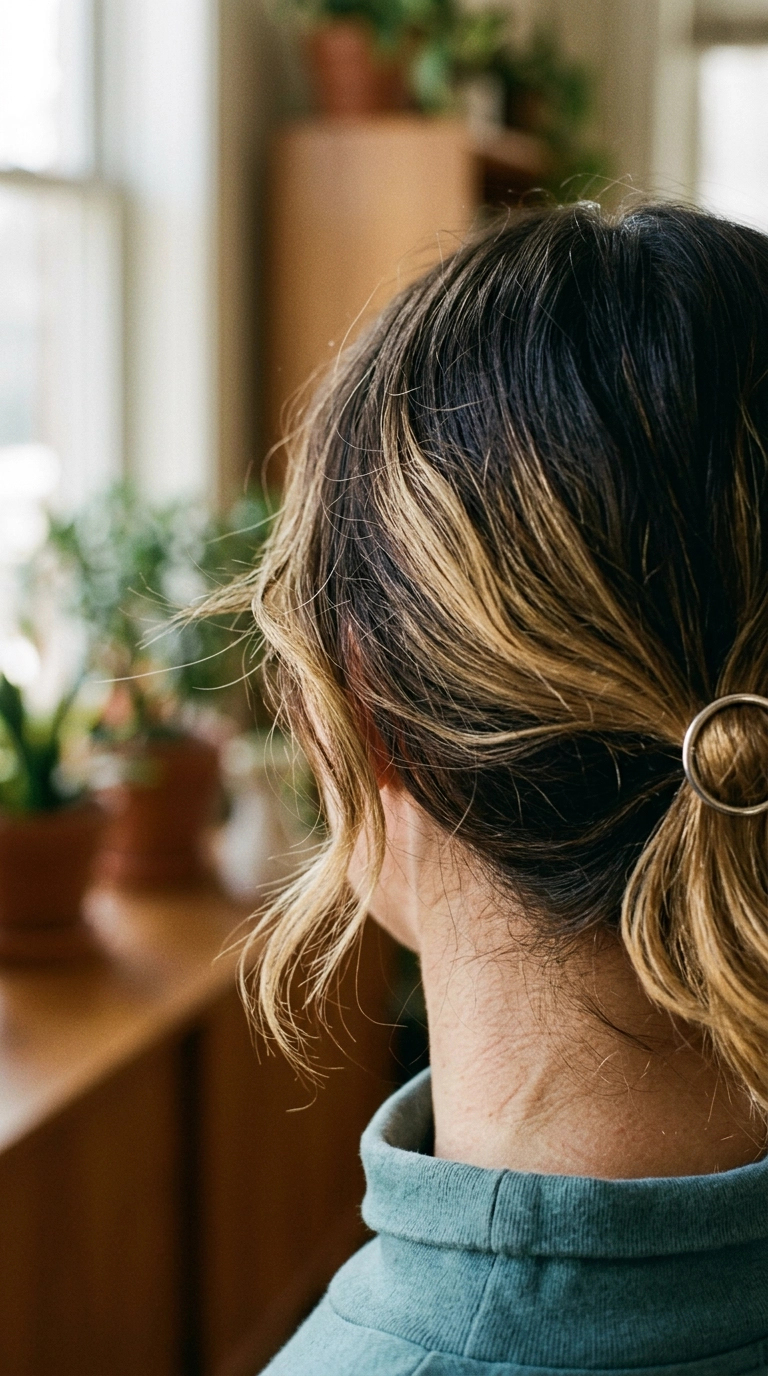
The lived-in look is defined by a lack of visible “start” points for the color. Unlike traditional highlights that begin at the scalp, this technique focuses on mid-lengths and ends while keeping the root area natural or slightly shadowed. This approach ensures that as your hair grows, there is no obvious line of demarcation.
To achieve this, you must prioritize the “blur.” This is the area where your natural base color meets the lightened sections. Successful lived-in color looks like it belongs to you, mimicking the way a child’s hair lightens after a long summer at the beach.
- Natural root depth that provides a built-in shadow.
- Soft, diffused transitions that avoid “striping” or “spotting.”
- Brighter pieces around the face to mimic natural sun exposure.
- Variation in tone to create three-dimensional movement.
When you choose this style, you are opting for longevity. It is common for these looks to last six months or even a year with minimal touch-ups. The goal is to enhance what you already have rather than completely masking your natural beauty.
Essential Supplies for Seamless Blending
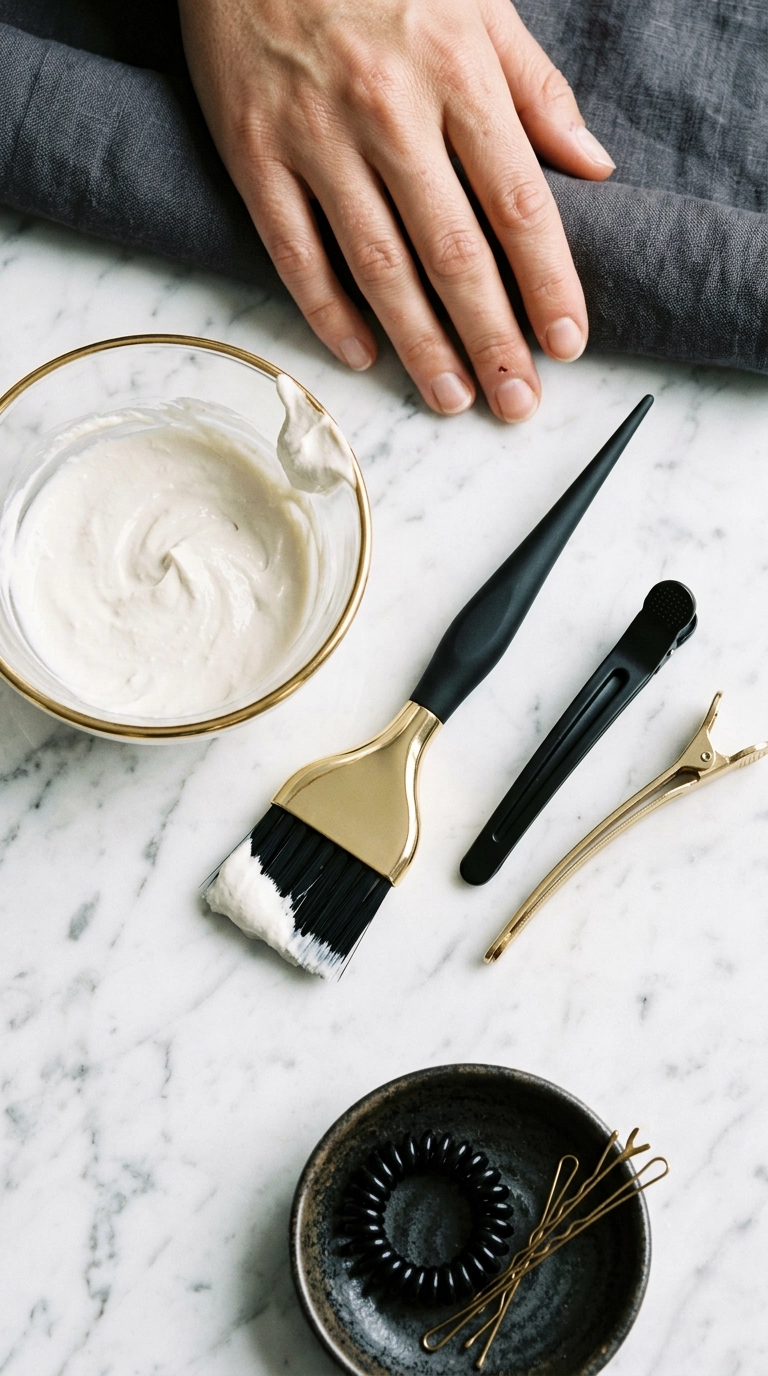
The tools you choose will dictate the precision of your application. For a lived-in look, a clay-based lightener is often preferred over traditional foils. Clay lighteners dry on the outside while staying moist on the inside, allowing for open-air processing without bleeding onto the surrounding hair.
Using the right brush is equally important. A brush with feathered bristles or a specific balayage paddle can help you apply the product with varying levels of pressure. This allows you to “sweep” the color onto the surface of the hair for a softer effect.
- High-quality clay lightener for controlled, open-air painting.
- Developer (usually 20 or 30 volume, depending on starting level).
- A variety of tint brushes, including a slanted brush for detail work.
- Professional sectioning clips to keep the work area clean and organized.
- A moisturizing gloss or toner to refine the final shade.
Using a lower volume developer over a longer period of time is often better for hair integrity. It allows the cuticles to open slowly, resulting in a cleaner lift and less damage. Patience is a key ingredient in luxury hair color.
Sectioning for Dimensional Results
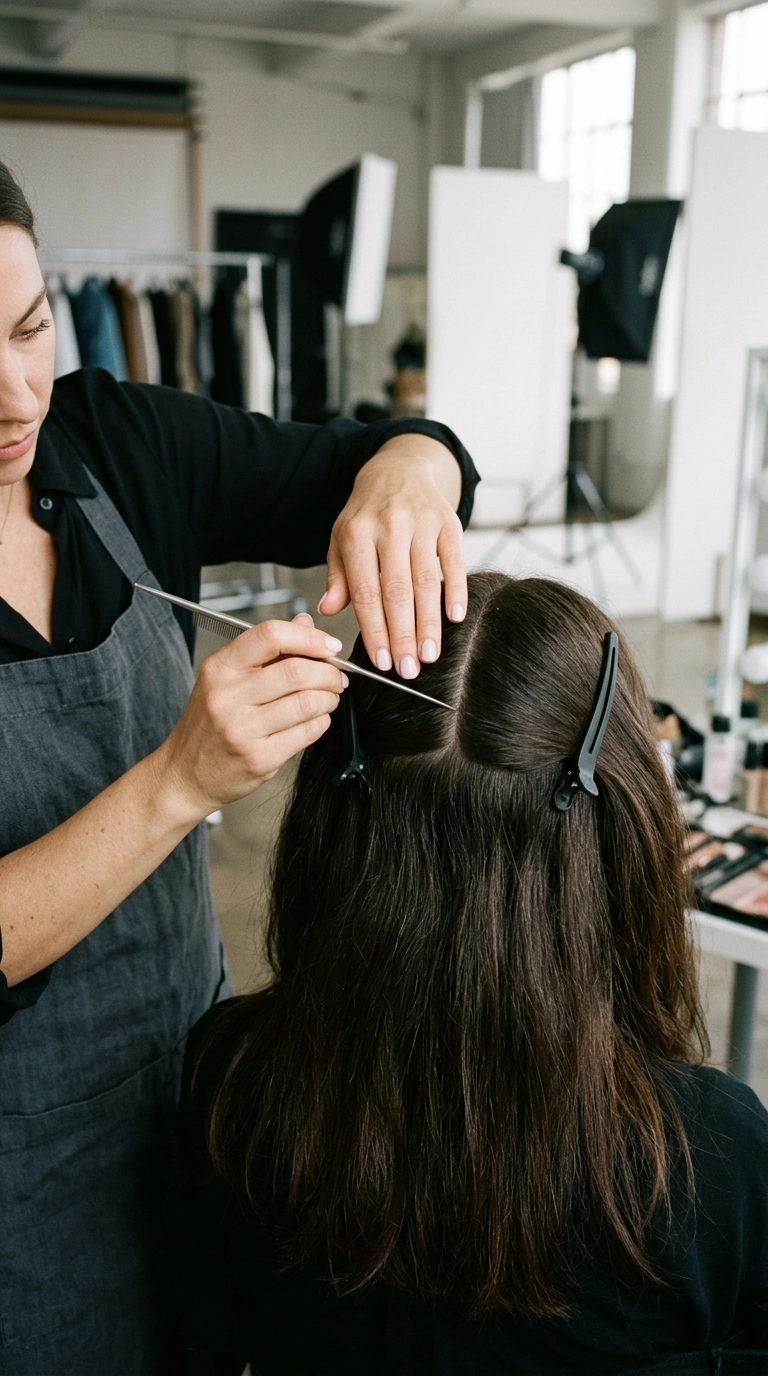
Proper sectioning is the foundation of any successful color service. If your sections are too thick, the lightener will not penetrate through the hair, leading to “holidays” or patchy spots. If they are too thin, you might lose the dimension that makes balayage so appealing.
Start by dividing the hair into four main quadrants: two in the front and two in the back. From there, you will work in sub-sections, typically using diagonal forward or diagonal back partings. These diagonal lines help the color fall naturally around the shoulders and face.
- The Mohawk Section: The top panel of hair that dictates how the light hits the crown.
- Side Panels: These sections are used to create the “money piece” and frame the face.
- The Nape: The bottom-most layer that provides the darkest foundation for contrast.
- The Mid-Back: Where you create the most “melted” transitions for a seamless flow.
Always work from the bottom up. This prevents lightened hair from falling onto your clean sections and ensures you have a clear view of your progress. Clean sections lead to clean results every single time.
The Art of the Hand-Painted Stroke
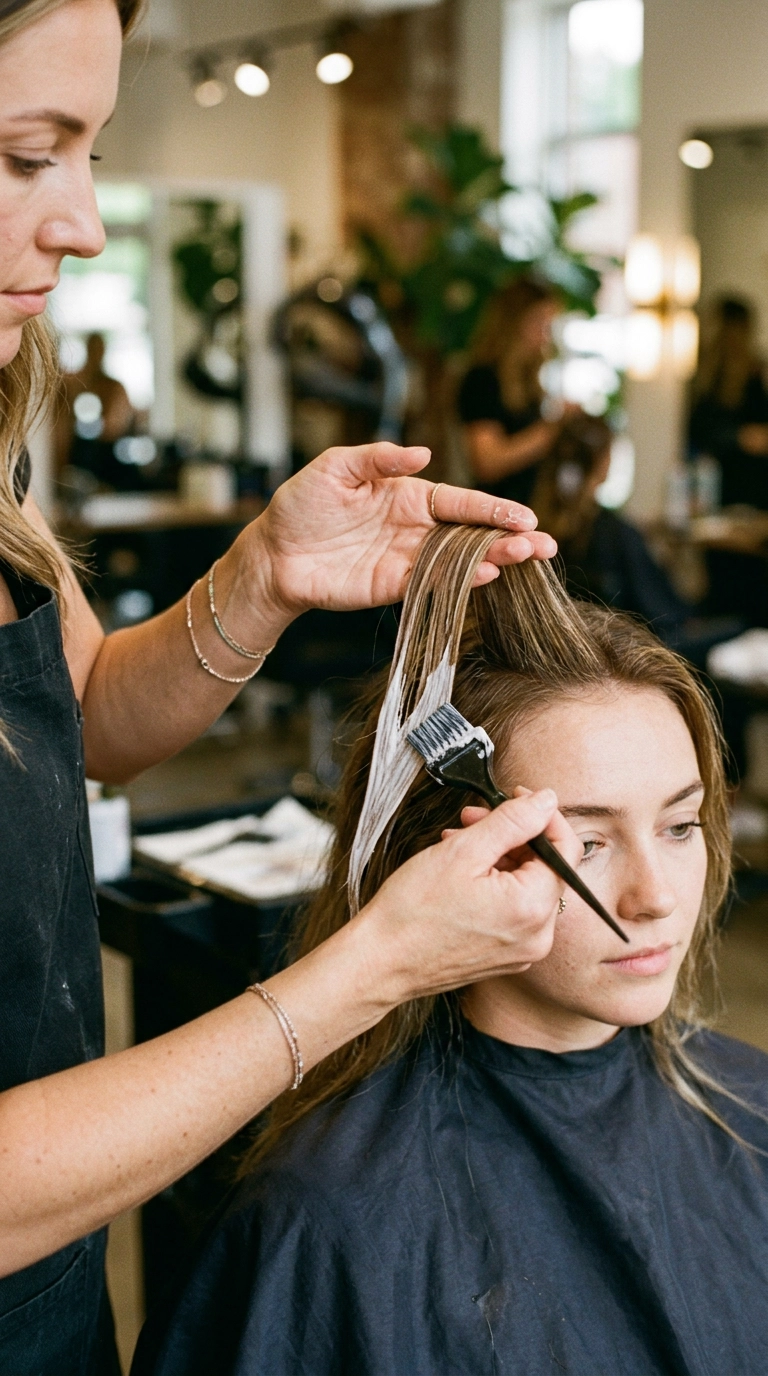
The magic of lived-in balayage happens in the application. You want to use a “V” or “W” shape when painting each strand. This means you paint the lightener higher on the outer edges of the section and keep it lower in the center, which creates a soft blend.
Tension is your best friend during this process. Hold the hair taut with one hand while you use the other to sweep the product onto the surface. You should only saturate the hair fully as you move toward the ends, leaving the upper portion lightly “dusted” with product.
- Surface Painting: Only applying product to the top layer of a section for a sun-kissed look.
- Full Saturation: Thoroughly coating the ends to ensure they are the brightest point.
- Feathering: Using a dry brush to blur the lightener toward the roots for zero harsh lines.
- The Money Piece: Adding more brightness to the very front strands that frame the face.
Check the underside of your sections as you work. For a true lived-in feel, the color should be more concentrated on the outside and fade into the natural depth of the interior. This “internal shadow” is what makes the blonde look believable.
Glossing and Toning for the Perfect Hue

Raw lightened hair often looks yellow or brassy immediately after the bleach is rinsed. The toning stage is where you add the “expensive” finish. A gloss not only corrects the tone but also seals the cuticle, adding a mirror-like shine to the hair.
For a lived-in look, many stylists use a “root smudge” or “root tap.” This involves applying a slightly darker, neutral toner to the first inch of hair at the scalp. This technique softens the transition even further and ensures a flawless grow-out period.
- Neutralize brassiness with violet or blue-based toners.
- Add warmth with gold or peach tones for a “honey” glow.
- Use an acidic gloss to lower the hair’s pH and lock in color.
- Select a toner that is one shade lighter than the natural base for a soft root melt.
Let the toner process for the full recommended time. Rinsing too early can lead to a color that fades quickly. A well-processed toner is the difference between a DIY appearance and a professional editorial finish.
Maintaining the Glow at Home
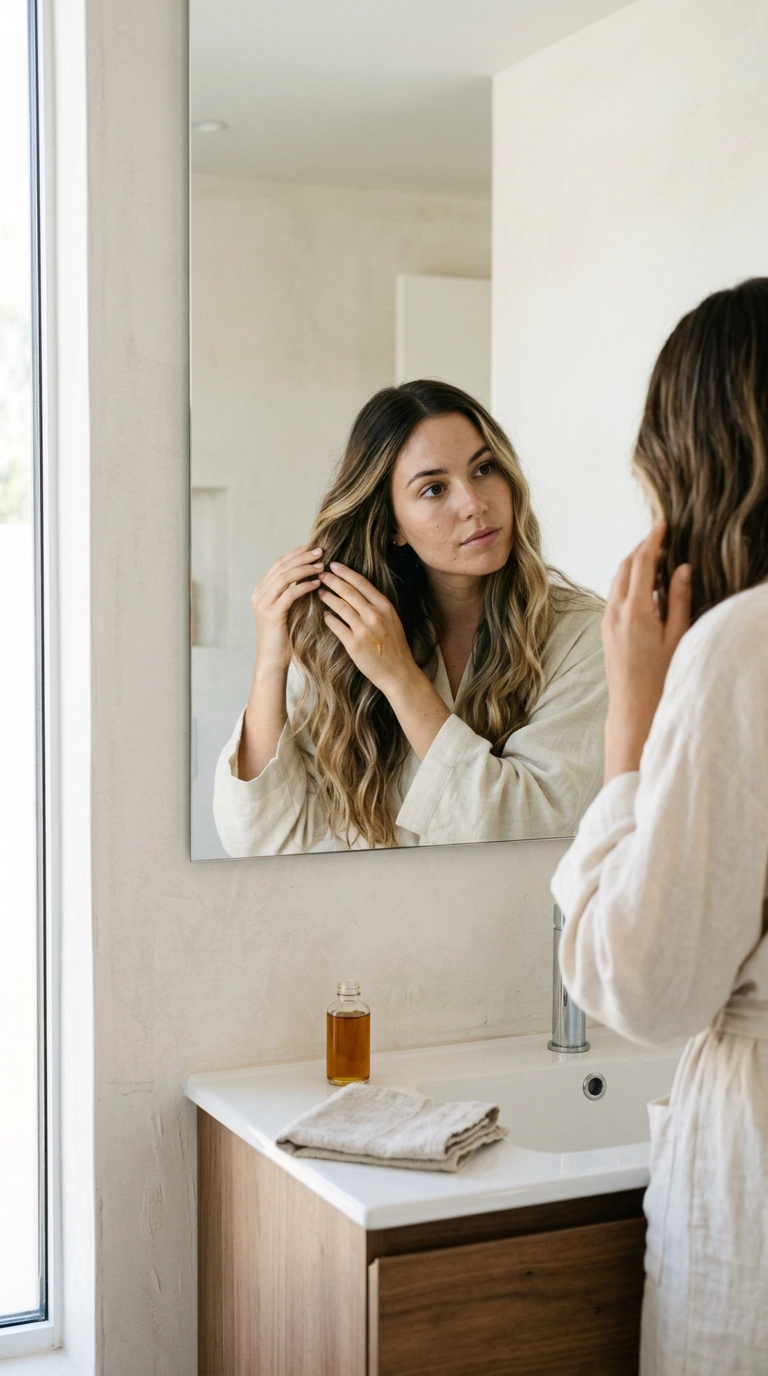
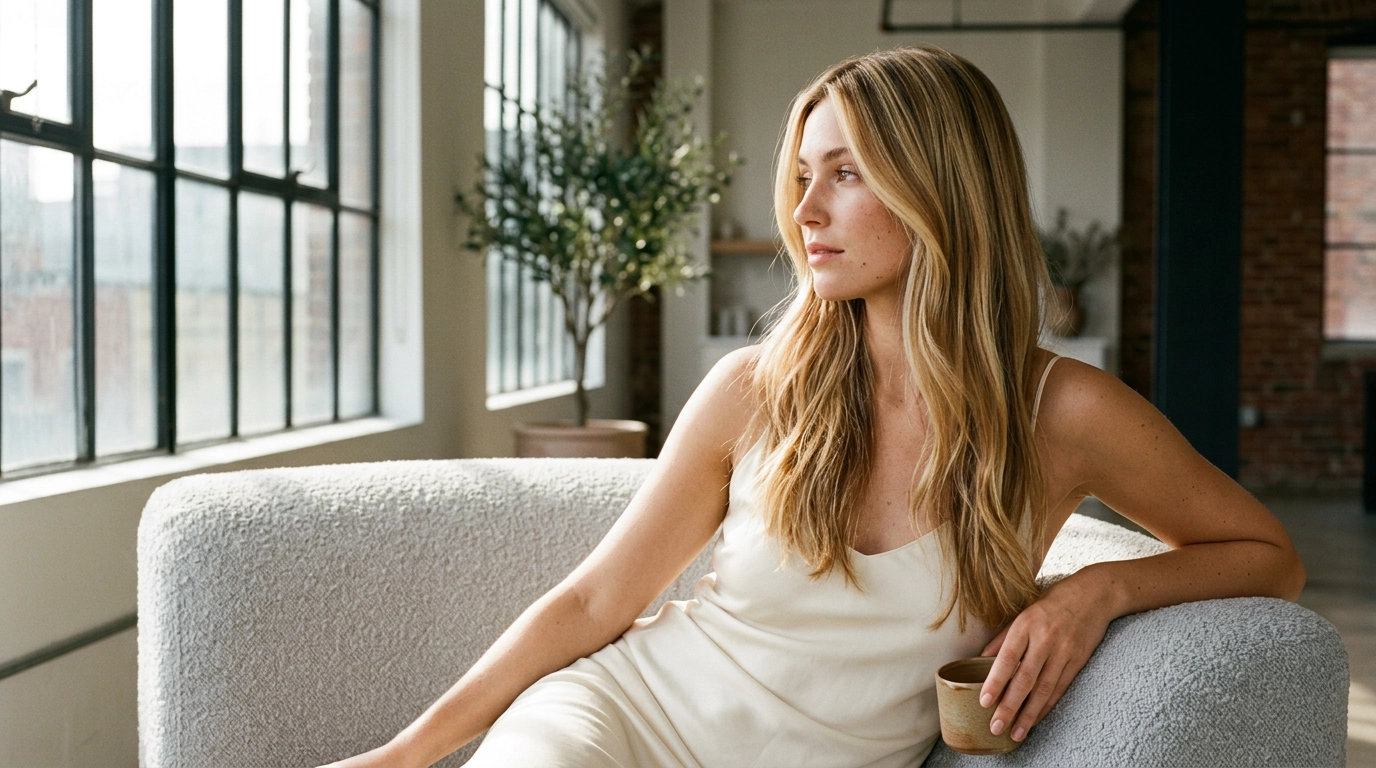
Once you have achieved the perfect blend, your job is to protect it. Lived-in hair color is an investment in your personal style. Using the right products at home will prevent the color from turning dull or shifting in tone over time.
Heat is the number one enemy of hair color. Whenever you use a curling iron or blow dryer, you must use a high-quality heat protectant. Excessive heat can actually “cook” the toner out of your hair, leaving you with a brassy mess.
- Wash with sulfate-free, color-safe shampoo and conditioner.
- Use a purple or blue shampoo once every two weeks to maintain coolness.
- Apply a weekly deep conditioning mask to keep the lightened ends hydrated.
- Limit heat styling and always use a protectant spray or cream.
Focus on moisture and protein balance. Lightened hair needs extra care to remain soft and bouncy. By following a consistent routine, you can keep your lived-in balayage looking salon-fresh for months on end.
FAQs
How long does a lived-in balayage appointment take?
Expect to spend anywhere from three to five hours in the chair. This technique is meticulous and requires time for sectioning, hand-painting, and the dual-process of toning and glossing. The results are worth the wait, as they last much longer than traditional foils.
Can I achieve this look on very dark or black hair?
Yes, but it may take multiple sessions to achieve a high-contrast blonde. For dark hair, it is often more flattering to aim for caramel, mocha, or toasted almond tones. This ensures the health of the hair remains intact while providing a beautiful, sun-kissed glow.
Does balayage work on short hair?
Absolutely. While the technique is famous on long waves, it can add incredible dimension to bobs and lobs. On shorter hair, the placement is even more critical to avoid looking “spotty,” so focusing on the face-framing pieces and the top layer is key.
Is lived-in balayage more expensive than traditional highlights?
The initial cost is often higher because it is a specialty technique that requires more time and expertise. However, because you only need to touch it up twice a year rather than every six weeks, you often end up saving money in the long run.
How do I know if I need a root smudge?
A root smudge is recommended for anyone who wants a very soft transition or those whose natural hair is quite different from their highlight color. It helps blend the two together so that the growth at the scalp is almost invisible as time goes on.
Can I do this at home with a box kit?
It is generally not recommended to try this specific technique at home. The placement requires seeing the back of your head and understanding the chemistry of lightener. Professional clay lighteners and toners provide a level of control that store-bought kits cannot match.
The Future of Your Hair
Mastering the lived-in balayage is about embracing a more natural, relaxed approach to beauty. By focusing on the health of your hair and the art of the blend, you can enjoy a style that evolves with you. This technique offers a freedom that few other color styles can provide, allowing you to go about your life with hair that looks stunning every single day. Whether you are heading to a meeting or a weekend getaway, your seamless color will be your best accessory.