
Morning Skincare Routine for Glowing, Protected Skin

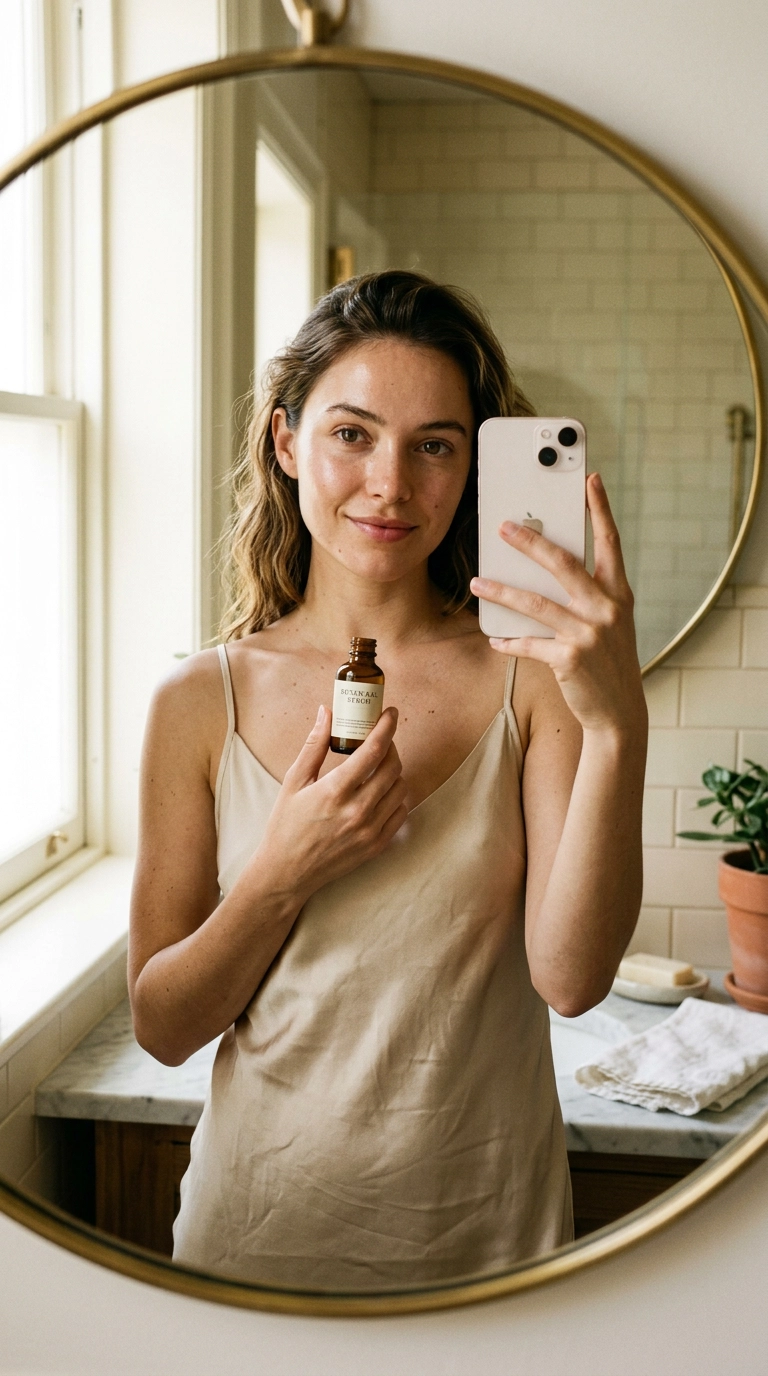
Waking up and facing the mirror should feel like a fresh start rather than a chore. Most of us feel a bit overwhelmed by the rows of bottles in the beauty aisle, wondering which one actually makes a difference when the coffee hasn’t even kicked in yet. This guide simplifies the process into a routine that fits into your morning without making you late for your first meeting.
The goal of your morning ritual is vastly different from your evening one. While the night is for repair and heavy lifting, your morning is all about defense against pollution, blue light, and those harsh UV rays. By focusing on protection and hydration, you set your skin up to look bouncy and bright until the sun goes down.
If you have struggled to stay consistent with skincare in the past, starting with the basics is the best way to see real progress. You do not need a twenty-step process to achieve that glass-skin look. We are going to walk through a streamlined, effective sequence that respects your time and your skin barrier.
The Core Purpose of Morning Skincare
Think of your morning products as a lightweight suit of armor for your face. Throughout the day, your skin encounters environmental stressors like smog, dust, and fluctuating temperatures. Without a proper barrier, these elements can lead to premature fine lines and dullness.
Morning routines focus on antioxidants and moisture retention to keep the skin plump. When you apply products in the correct order, you ensure that each layer can penetrate effectively without being blocked by heavier creams. This strategic layering is what gives that professional, lit-from-within glow.
Consistency beats intensity every single time in the beauty world. It is better to use three products every day than ten products once a week. This guide prioritizes the steps that offer the highest return on investment for your complexion’s health.
Step 1: A Gentle, Refreshing Cleanse

You might think you only need to wash your face at night, but a quick morning cleanse is vital. Overnight, your skin produces sebum and rubs against your pillowcase, which can collect dust and hair products. A gentle wash removes these impurities so your morning serums can actually reach your pores.
Avoid harsh, stripping cleansers that leave your skin feeling “squeaky” or tight. Instead, look for creamy textures or low-pH gels that preserve your natural oils. If you have extremely dry skin, simply splashing with lukewarm water can sometimes be enough to refresh your base.
Gently pat your face dry with a clean microfiber towel instead of rubbing. Rubbing causes micro-friction that can irritate sensitive areas and lead to redness. Keeping the skin slightly damp after cleansing actually helps the next steps absorb much better.
Choosing the Right Morning Cleanser
- For Oily Skin: A foaming gel with salicylic acid to help manage morning shine.
- For Dry Skin: A milky or oil-based cleanser that adds a layer of moisture.
- For Sensitive Skin: A fragrance-free, soap-free formula containing ceramides or oats.
Step 2: Prepping the Canvas with Toner
Gone are the days of stinging, alcohol-heavy toners that dry out the skin. Modern toners and essences act as “pre-moisturizers” that balance your skin’s pH levels after cleansing. They act like a damp sponge, making the skin more receptive to the active ingredients that follow.
Look for ingredients like rose water, witch hazel (alcohol-free), or fermented extracts. These components soothe any lingering redness and provide an immediate hit of hydration. You can apply these by pressing them into your skin with your palms rather than using a cotton pad to reduce waste.
If you are in a rush, this step can be a quick mist of a hydrating spray. The goal is to make the skin feel soft and supple, never tight. This creates the perfect hydrated environment for your expensive serums to do their job.
Step 3: Brightening with Vitamin C Serums
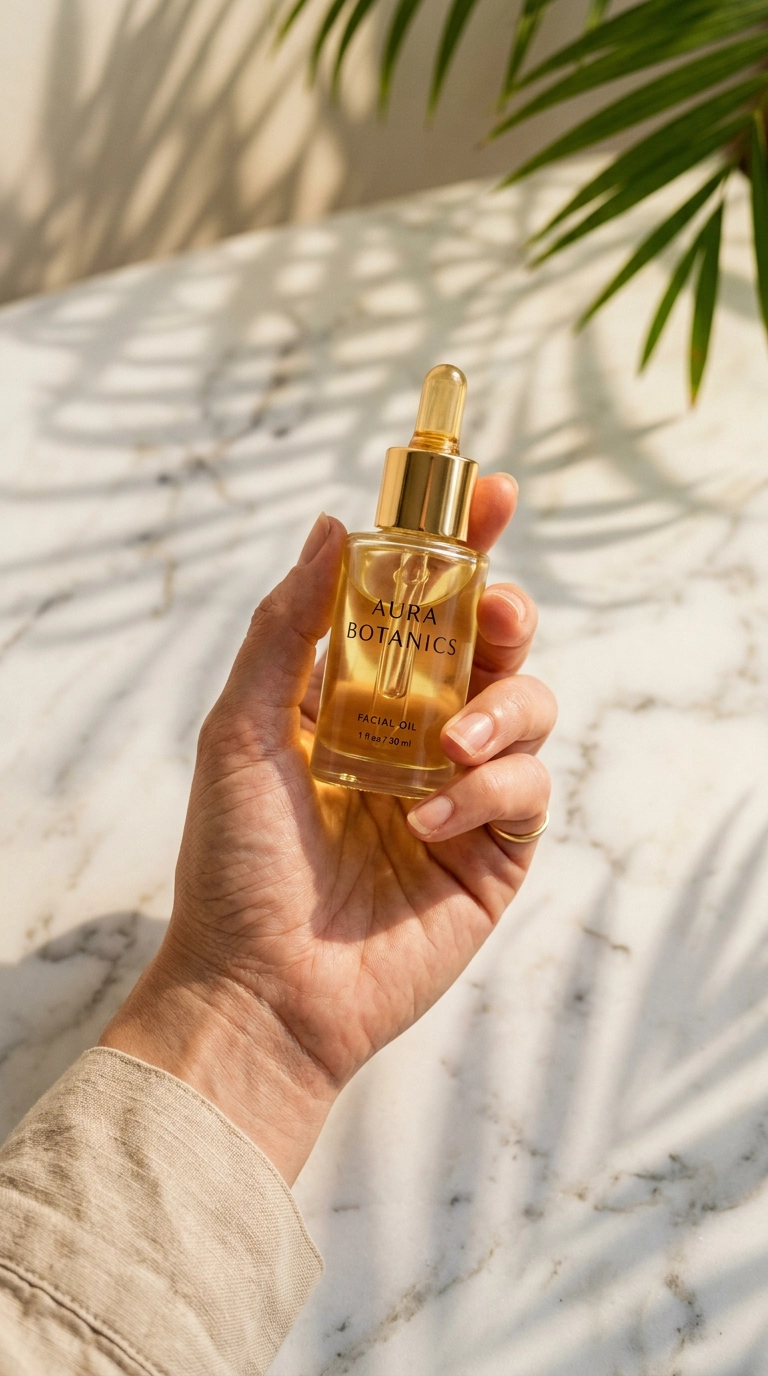
If there is one powerhouse ingredient to use in the morning, it is Vitamin C. This antioxidant works to neutralize free radicals caused by sun exposure and pollution. It also helps to fade dark spots and even out your skin tone over time.
When shopping for a Vitamin C serum, look for L-ascorbic acid if you want the most potent version. For those with sensitive skin, derivatives like Sodium Ascorbyl Phosphate are gentler and more stable. Store your bottle in a cool, dark drawer to prevent it from oxidizing and losing its potency.
Apply about three to five drops to your face and neck, avoiding the immediate eye area. Give it a minute to sink in before moving to the next layer. You might feel a slight tingle, which is often normal, but it should never burn or cause significant irritation.
Comparison of Popular Morning Actives
| Ingredient | Primary Benefit | Best For |
|---|---|---|
| Vitamin C | Brightening & Protection | Dullness & Sun Damage |
| Niacinamide | Pore Control & Texture | Oily & Acne-Prone Skin |
| Hyaluronic Acid | Plumping & Hydration | All Skin Types |
Step 4: Nourishing the Eye Area

The skin around our eyes is the thinnest on our entire body and lacks oil glands. This makes it the first place to show signs of dehydration or fatigue. Using a dedicated eye cream helps to hydrate this delicate area without being too heavy or causing puffiness.
In the morning, look for formulas containing caffeine or green tea extract. These ingredients constrict blood vessels slightly, which helps to reduce the appearance of dark circles and morning bags. A light, gel-cream texture works best under makeup to prevent creasing.
Use your ring finger to apply the product, as it has the lightest touch. Tap the cream along the orbital bone, moving from the inner corner outward. Do not pull or tug on the skin, as this can contribute to fine lines over time.
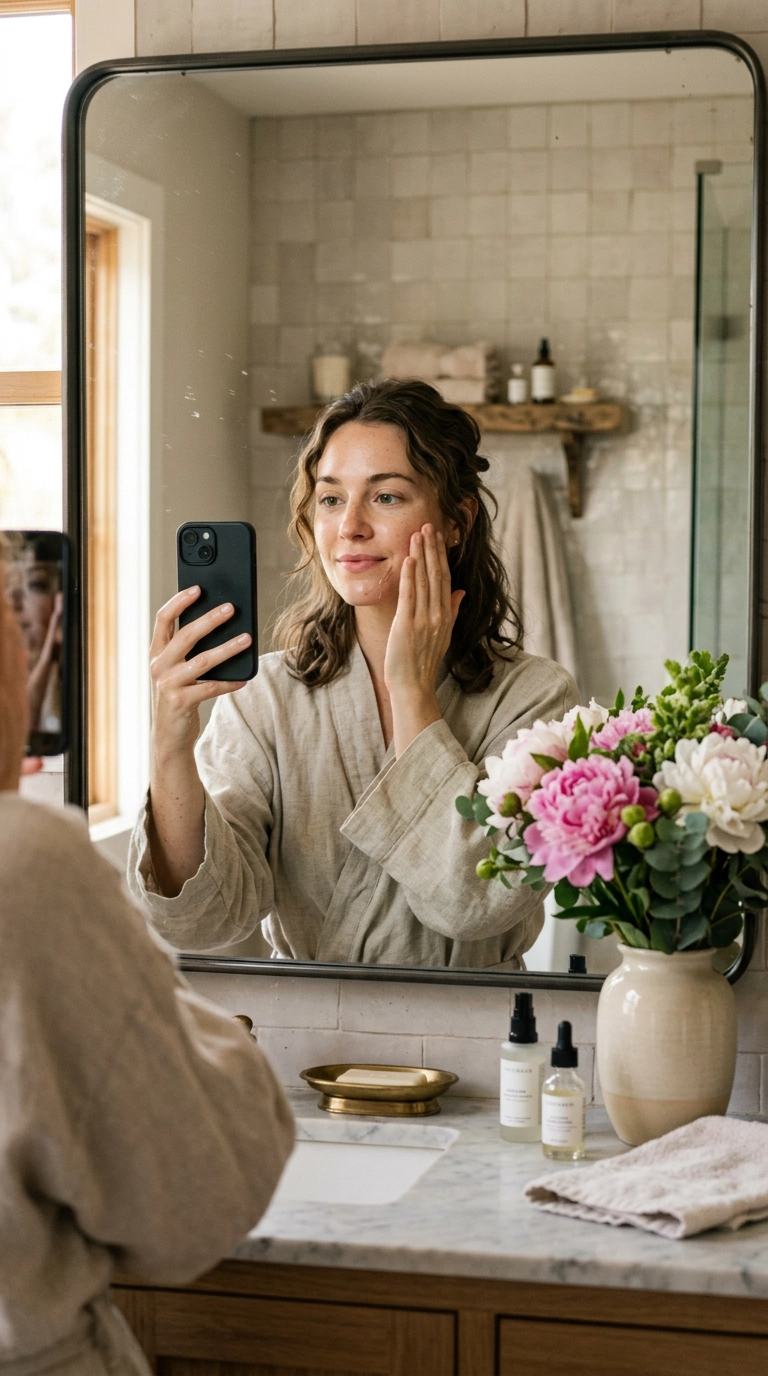
Step 5: Sealing with a Lightweight Moisturizer

Moisturizer is the step that “locks in” all the goodness from your toners and serums. It creates a seal that prevents water from evaporating out of your skin throughout the day. Even if your skin feels oily, skipping this step can actually cause your body to produce more oil to compensate.
For the morning, choose a moisturizer that feels breathable and absorbs quickly. Look for ingredients like ceramides, which help rebuild the skin barrier, or glycerin for a boost of moisture. If you live in a humid climate, a water-based gel is often more comfortable than a thick cream.
Massage the moisturizer in upward, circular motions to encourage lymphatic drainage. This technique helps to “wake up” the face and reduce any lingering sleepiness in your features. Ensure you cover your neck and décolletage, as these areas age just as quickly as your face.
Step 6: The Non Negotiable Sunscreen Layer

If you only do one thing for your skin, let it be sunscreen. UV rays are the primary cause of skin aging, sunspots, and loss of elasticity. No amount of expensive serums can fix the damage that consistent sun exposure causes to unprotected skin.
Choose a broad-spectrum SPF of at least 30, and ensure you use enough product. The general rule is the “two-finger” method—two strips of sunscreen along your index and middle fingers for the face and neck. Modern sunscreens are formulated to be elegant and lightweight, so they no longer feel greasy or leave a white cast.
Remember that you need sunscreen even on cloudy days or when you are sitting near a window. UVA rays can penetrate glass and clouds, quietly affecting your skin’s health. Apply this as the very last step of your skincare routine, right before any makeup.
Chemical vs. Physical Sunscreens
- Chemical Filters: Absorb UV rays and turn them into heat. They are usually thinner and invisible on the skin.
- Physical (Mineral) Filters: Use Zinc Oxide or Titanium Dioxide to reflect UV rays. They are great for sensitive skin and start working immediately.
- Tinted Options: These provide a bit of coverage and often include iron oxides, which protect against blue light from screens.
Common Mistakes to Avoid
One frequent error is rushing through the steps without letting products dry. If you pile everything on at once, the products may “pill” and roll off in small balls. Giving each layer about 30 to 60 seconds to settle makes a massive difference in how the finish looks.
Another pitfall is using too much product. More is not always better in skincare; using a pea-sized amount of most creams is sufficient. Over-applying can clog pores and lead to breakouts, especially if you have a multi-step routine.
Finally, don’t forget your ears and the back of your neck when applying SPF. These are high-risk areas for sun damage that many people overlook. A quick swipe of leftover product is all it takes to keep these spots protected.
Frequently Asked Questions
Do I really need a morning routine if I washed my face at night?
Yes, because your skin is an active organ that works while you sleep. You need to clear away the sweat and oils from the night to allow your day-time protection products to work properly. Plus, it provides a fresh base for SPF and makeup.
Can I mix my Vitamin C with my moisturizer?
It is generally better to layer them rather than mixing. Mixing can sometimes change the pH of the Vitamin C, making it less effective. Apply the serum first, wait a moment, then apply your moisturizer on top.
What if I have very oily skin?
You can look for “all-in-one” products, like a moisturizing sunscreen, to reduce the number of layers on your face. Lightweight gel textures will be your best friend to keep the shine under control while still providing hydration. Using a niacinamide serum can also help regulate oil production throughout the day.
Building Your Daily Habit
Starting a new routine is all about making it easy for yourself. Keep your products visible on your vanity in the order you need to use them. This visual cue helps you move through the steps on autopilot, even on your busiest mornings.
Listen to your skin as you introduce new products. If you notice any irritation, scale back and introduce one thing at a time. Skincare is a personal journey, and what works for a friend might need a slight tweak to work for you. Enjoy the process of caring for yourself—you deserve those five minutes of calm every morning.