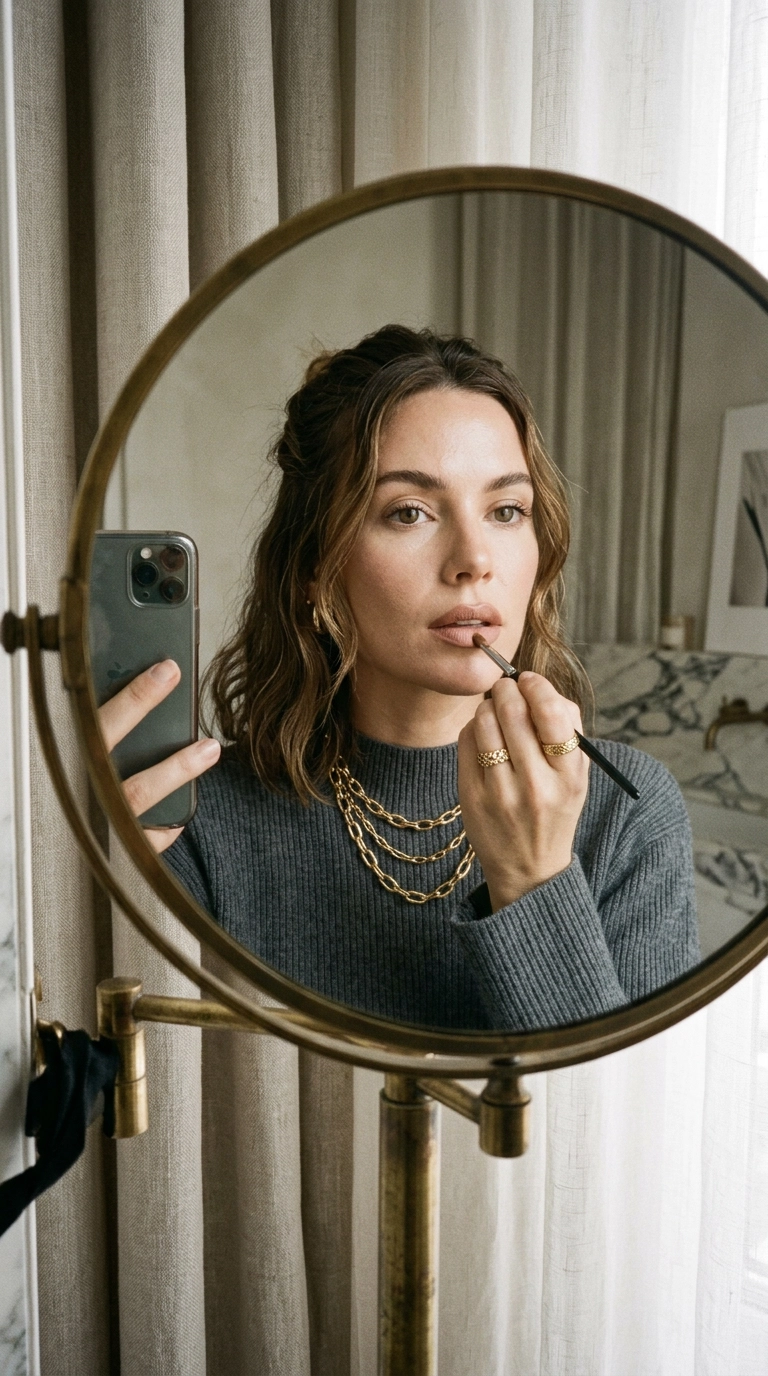
Mastering the Korean Gradient Lip – Step by Step Guide to the Blotted Look
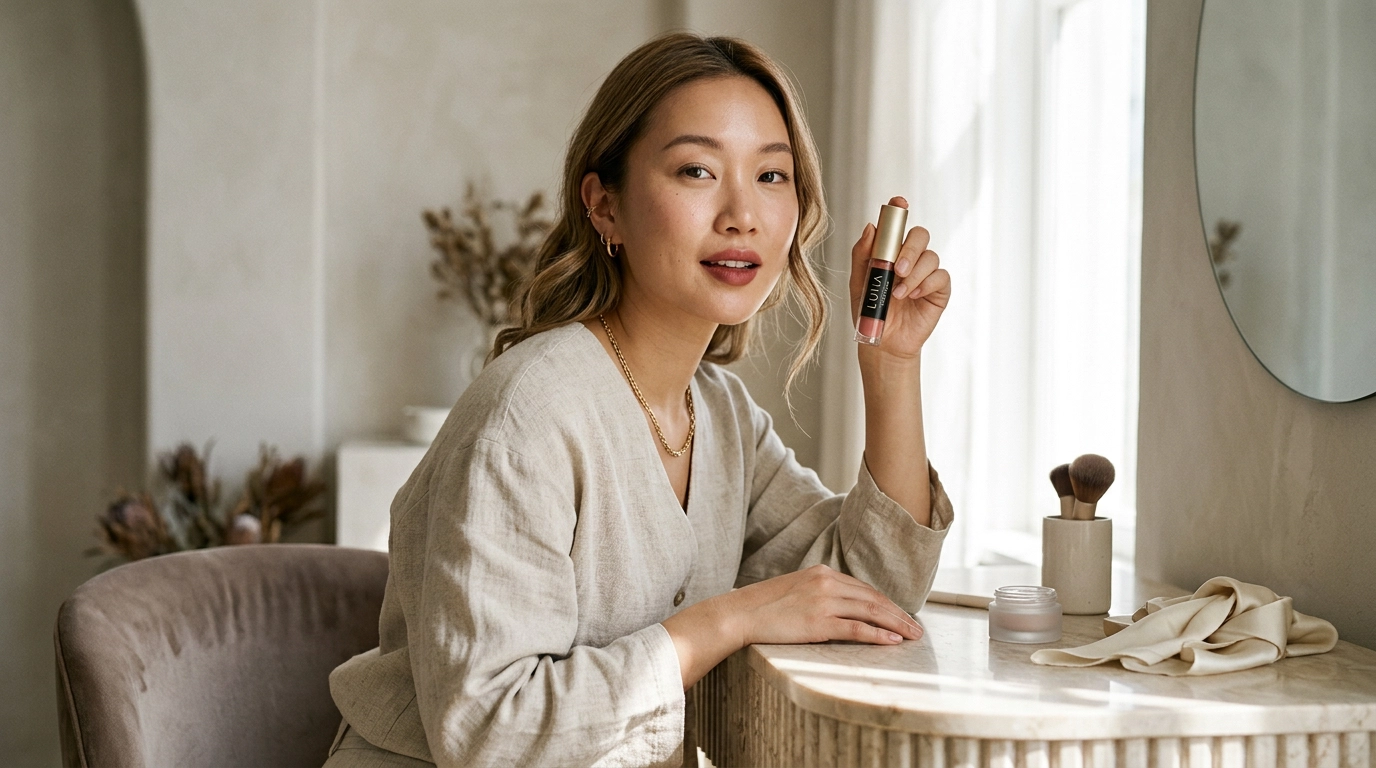
Have you ever scrolled through your social feed and wondered how K-drama stars achieve that perfectly effortless, just-bitten lip look? This technique is more than just a passing trend; it is a staple in Seoul’s beauty culture that focuses on a soft, youthful appearance. Unlike the sharp edges of Western lip looks, the gradient style creates a dreamy, blurred effect that makes your lips look naturally flushed.
This tutorial is designed for anyone who wants to soften their daily makeup routine or try a bold color without the high-maintenance upkeep of a full-coverage lip. I will guide you through the specific tools and blending methods required to achieve a professional result at home. Whether you have thin lips or a full pout, this method enhances your natural shape while adding a touch of ethereal charm to your overall aesthetic.
By the end of this guide, you will understand the color theory behind the gradient effect and how to prep your skin for a long-lasting finish. We are moving away from heavy textures and embracing breathable, blurred pigments that feel as good as they look. Get your favorite tints ready, because we are about to perfect the most sought-after look in Asian beauty.
Understanding the Gradient Lip Aesthetic
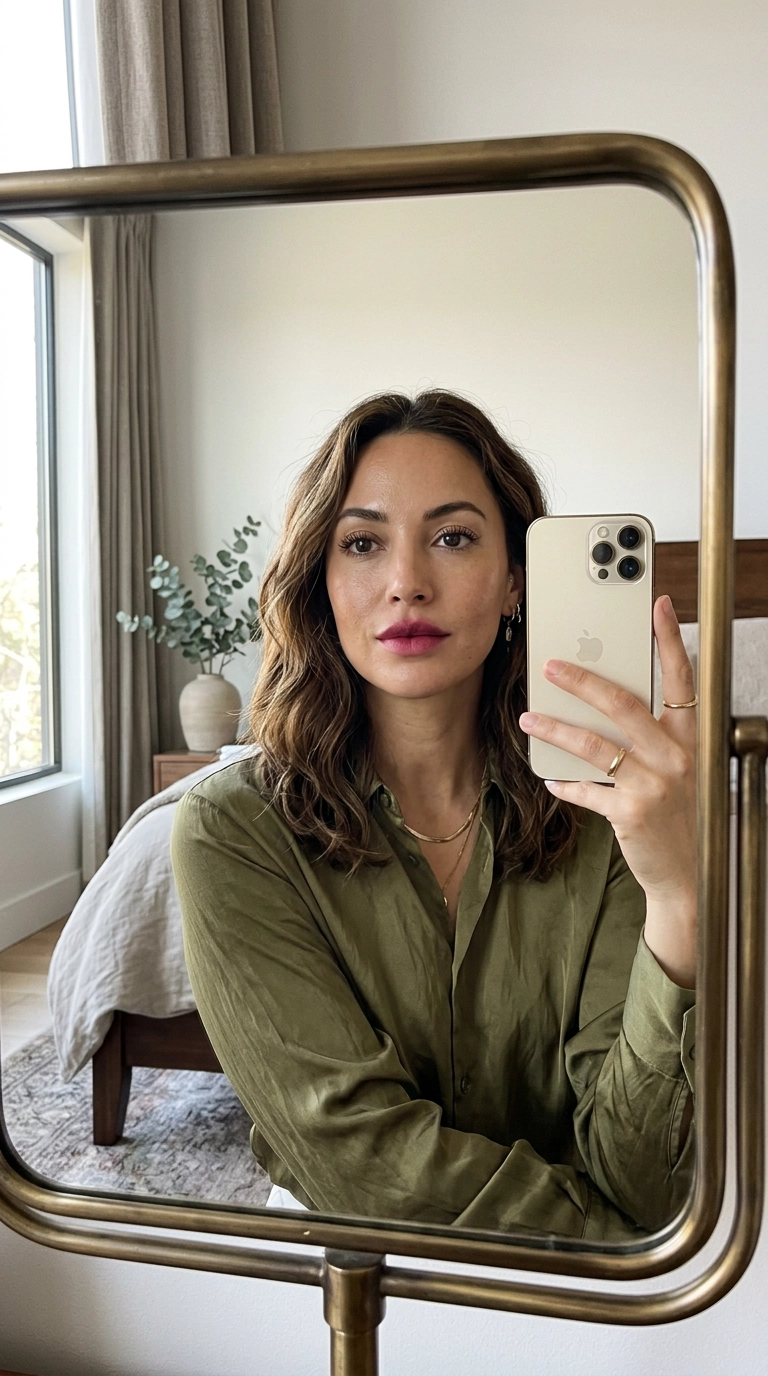
The gradient lip, often called “ombre lips” in other regions, is rooted in the desire for a natural, innocent glow. In Korean beauty, the goal is to make the lips look like you have just finished a bowl of cherries or stepped out of a cool breeze. It involves placing the darkest pigment at the center of the mouth and fading it out toward the edges.
This technique mimics the natural color variation of healthy lips, where the inner mucosa is typically more vibrant than the outer perimeter. By blurring the lip line, you create an illusion of softness that makes the entire face look more approachable and youthful. It is a fantastic choice for those who find traditional lipstick too harsh or formal for their daily lifestyle.
The Philosophy of “Just-Bitten” Lips
K-beauty focuses on a “no-makeup” makeup feel, where every product works to enhance your existing features. The gradient lip complements this by avoiding the heavy, wax-heavy layers found in traditional matte lipsticks. Instead, it relies on watercolor-like stains that seep into the skin for a more believable finish.
Using this method allows you to experiment with vibrant reds, deep berries, and bright oranges without them feeling overwhelming. Because the edges are diffused, the color feels integrated into your complexion rather than sitting on top of it. It provides a sophisticated way to wear color that feels modern and fresh.
Essential Tools for Your Gradient Kit
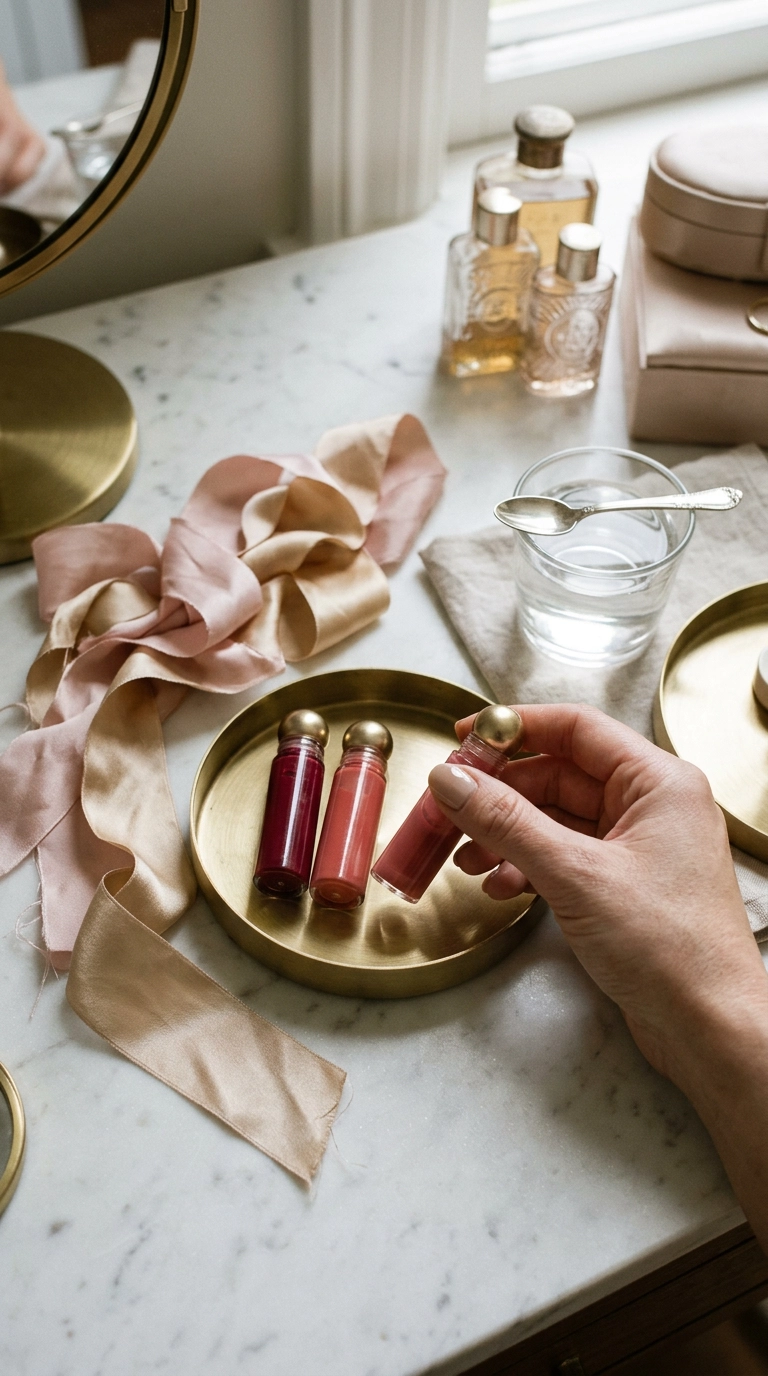
To achieve this look, the formula you choose is just as important as the technique. You want products that offer high pigment at the center but are easy to blend out at the edges. Water tints, velvet tints, and creamy lip sticks all work, but they each provide a different final texture.
Avoid heavy, quick-drying liquid mattes that set too fast, as these are difficult to blur once applied. Instead, look for products labeled as “blurring,” “velvet,” or “cloud-like.” These formulas contain silicone-based powders that fill in lip lines and create that signature soft-focus appearance we are aiming for.
| Product Type | Finish | Best For |
|---|---|---|
| Water Tint | Stained / Matte | Long-lasting, natural color | Velvet Tint | Soft Matte / Blurred | Maximum blurring effect |
| Glossy Tint | Juicy / Dewy | Adding volume and shine |
| Lip Crayon | Satin | Precision and ease of use |
Choosing Your Colors
The best gradient looks usually involve two shades: a neutral “base” color and a “point” color. Your base shade should be close to your natural lip color or a soft nude peach. The point color should be the star of the show, like a rich rose, a punchy coral, or a deep wine red.
If you prefer a more minimal approach, you can use a single bright tint and a bit of concealer. This allows the center color to do all the work while the concealer mutes the outer edges. Experiment with different combinations to see which tones brighten your complexion the most.
Preparing Your Canvas: Lip Care Basics
Gradient lips look best on smooth, hydrated skin. Because we are blurring the edges, any dryness or flakes will become very obvious once the pigment is applied. Start by gently exfoliating your lips with a sugar scrub or a warm washcloth to remove dead skin cells.
Once your lips are smooth, apply a thin layer of a non-greasy lip balm. You want your lips to feel supple but not slippery. If there is too much oil on the surface, your lip tint will slide around and fail to grip the skin, which ruins the longevity of the gradient effect.
The Secret to a Seamless Base
Before you reach for your color, use a tiny amount of cushion foundation or concealer around the perimeter of your lips. This step is vital because it erases your natural lip line. By creating a blank canvas, the transition from your skin to the lip color looks much more intentional and soft.
Use a damp beauty sponge to tap the concealer into the edges of your lips. Do not cover the entire lip; just focus on the outer third. This creates a “faded out” look even before you have applied any actual lipstick.
Step 1: Applying the Base Color
Start by applying your lighter base shade across the entire lip area. This shade acts as a bridge between your skin tone and the darker center color. Use your ring finger to tap the product into the skin, ensuring there are no harsh lines at the edges.
This base layer provides a “grip” for the second color and helps the gradient last longer. If you are using a velvet tint, make sure to blend it slightly past your natural lip line for a fuller, softer look. This over-lining technique should be subtle and well-diffused.
Blending for a Soft Focus
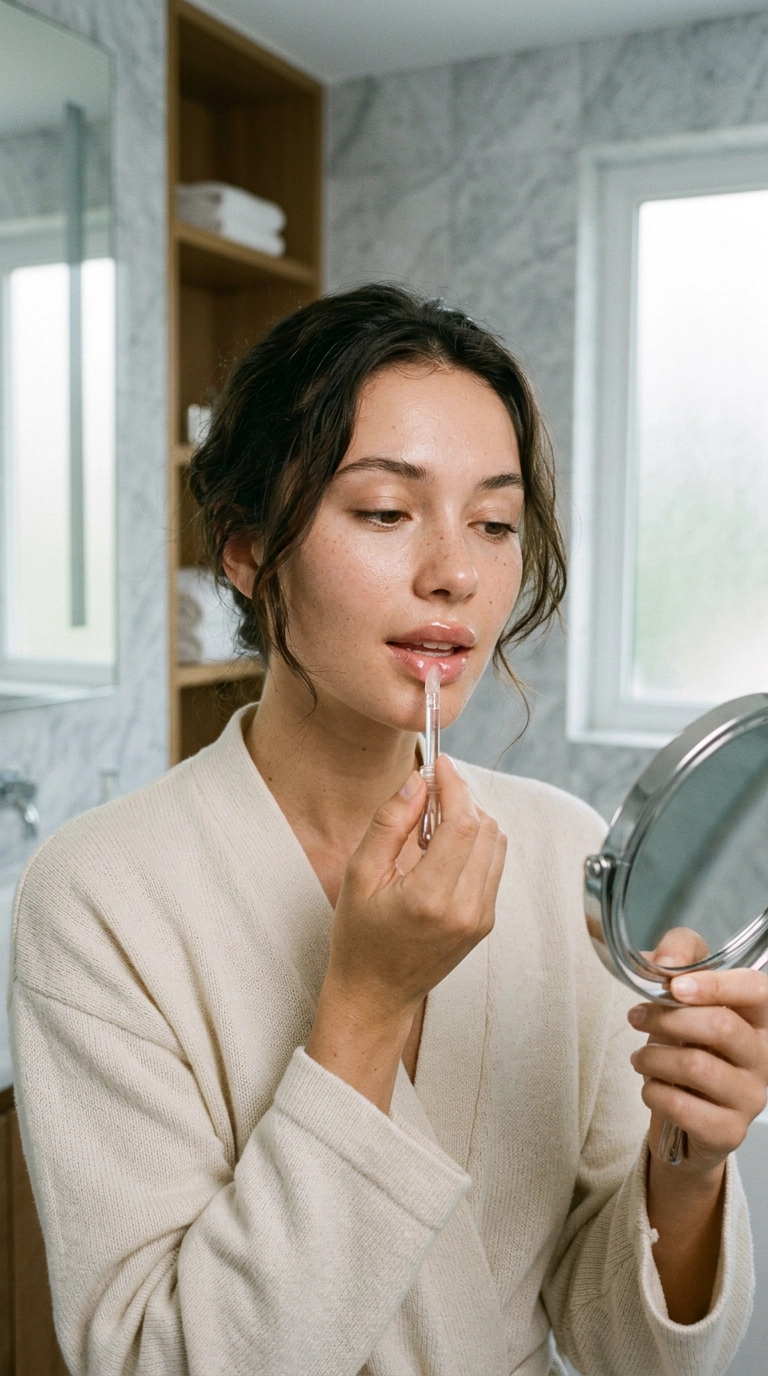
The key to a professional finish is the blending technique. Instead of rubbing your lips together, use a tapping motion with your fingertip. This pushes the pigment into the lips rather than just moving it around on the surface.
If you prefer not to use your fingers, a small, fluffy eyeshadow brush works perfectly. A brush allows for more control and creates an even airbrushed finish that is hard to achieve with the applicator alone. Keep the movements light and circular for the best results.
Step 2: Adding the Center Point Color
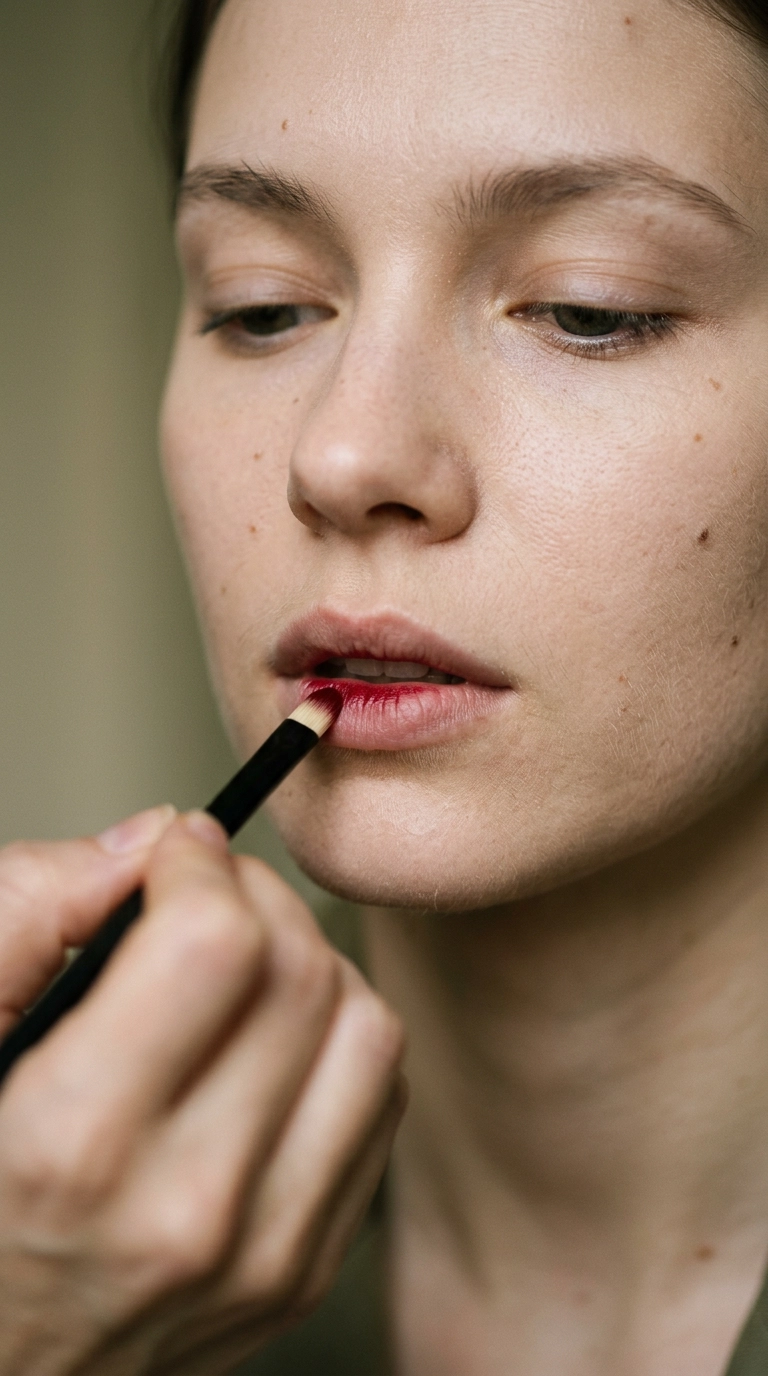
Now it is time to add the “point” color. Apply your darker or more vibrant shade only to the inner part of your upper and lower lips. You only need a small amount—usually three or four small dots will suffice for a high-impact look.
Focus the pigment right where your lips meet. This is the area that will stay the darkest throughout the day. Using a more concentrated formula here, like a water tint or a pigmented cream, will ensure the gradient remains visible even after eating or drinking.
Diffusing the Pigment
While the center is still wet, use your finger or a clean brush to gently pull the color outward. Stop about halfway toward the edge of your lips. You want to maintain a clear distinction between the dark center and the lighter perimeter.
Repeat this process if you want more intensity. Layering small amounts of product is much more effective than applying one thick coat. This buildable approach prevents the color from bleeding into fine lines and keeps the gradient looking crisp and professional.
Advanced Techniques for Long Wear
One challenge with gradient lips is that the center color tends to fade faster because it is on the moistest part of the mouth. To prevent this, you can set the center with a matching powder eyeshadow or a light dusting of translucent powder. This locks the pigment in place without dulling the vibrancy.
Alternatively, you can apply a lip stain as your first step, let it dry completely, and then proceed with your base color and point color. This “stain-first” method ensures that even if your lipstick wears off, you still have a beautiful flush of color underneath.
- Apply a thin layer of translucent powder through a tissue to set the edges.
- Use a lip liner in a shade close to your natural lips to define the Cupid’s bow slightly.
- Carry your point color for quick touch-ups after meals.
- Avoid oily foods that can break down the gradient transition.
The Glossy Variation
For a “tanghulu” or “glass skin” lip effect, add a clear, high-shine gloss over your finished gradient. Apply the gloss starting from the center and move outward, but try not to disturb the color transition underneath. The shine adds a 3D effect that makes the lips look incredibly hydrated and plump.
Using a gloss with a slight shimmer can also enhance the gradient. Gold flecks work beautifully with warm corals, while silver or blue-toned shimmers complement cool pinks and berries. This variation is perfect for evening events or when you want your makeup to look more polished.
Troubleshooting Common Gradient Mistakes
The most common issue people face is the “harsh line” problem, where the center color doesn’t blend into the base. This usually happens if the base color has dried too much before you add the center tint. To fix this, simply add a tiny bit of clear balm to the transition area and tap with your finger to merge the shades.
Another common mistake is applying too much concealer on the edges, which can make the lips look “disappeared” or sickly. Ensure you are using a concealer that matches your skin tone perfectly, and only use a minimal amount. The goal is to blur the line, not to erase the lip entirely.
Fixing Color Bleed
If your tint starts to travel outside your lip line, use a small flat brush dipped in foundation to “erase” the mistakes. This sharpens the outer perimeter while keeping the inner gradient soft. It is a quick way to clean up your look without starting over from scratch.
Make sure you are not using too much product. In the world of gradient lips, less is almost always more. You can always add more pigment, but taking it away is much harder once the stain has set into the skin.
Your Final Flourish
Perfecting the Korean gradient lip is a journey of practice and experimenting with different textures. It is a versatile technique that can be adapted for a casual day at the office or a high-fashion night out. By focusing on hydration, choosing the right formulas, and mastering the art of the blur, you can create a look that is both modern and timeless.
Remember that the beauty of this style lies in its imperfection. It does not need to be mathematically precise; in fact, a slightly diffused and lived-in look often appears more authentic. Take these steps and make them your own by mixing shades that reflect your personal style and mood. You now have all the knowledge needed to bring this iconic K-beauty staple into your own routine.