Red Lipstick Application Secrets for Sharp Editorial Edges
We have all experienced that moment of frustration: you spend ten minutes applying a stunning crimson shade only to realize the edges are blurry and the color is starting to migrate. A bold red lip is a timeless style statement, but it requires a level of precision that can feel intimidating even if you are a seasoned beauty lover. Getting that crisp, sharp finish doesn’t require a professional makeup artist; it simply requires a few intentional shifts in your technique.
When you wear red, the eyes are drawn directly to your mouth, meaning any small mistake is magnified. This guide is designed to help you navigate the process of preparing your lips and applying color with confidence, ensuring your edges stay razor-sharp from your morning coffee through a late-night dinner. By focusing on the right tools and a structured approach, you can turn a high-maintenance look into a reliable part of your beauty rotation.
This isn’t just about picking a tube of lipstick and hoping for the best. It is about building a foundation that prevents smudging and using specific mapping techniques to create symmetry. Whether you prefer a classic matte or a modern satin finish, these steps will help you achieve a polished, high-fashion look that feels both wearable and sophisticated. Let’s break down the process of mastering the most iconic color in beauty.
Preparing the Canvas for Smooth Color
The secret to a perfect red lip starts long before you pick up your lipstick. Red pigment has a way of clinging to dry patches, which makes the application look uneven and the edges appear jagged. Starting with a smooth, hydrated surface is the only way to ensure the color sits evenly on the skin. If your lips are flaky, no amount of liner will give you the crisp line you are looking for.
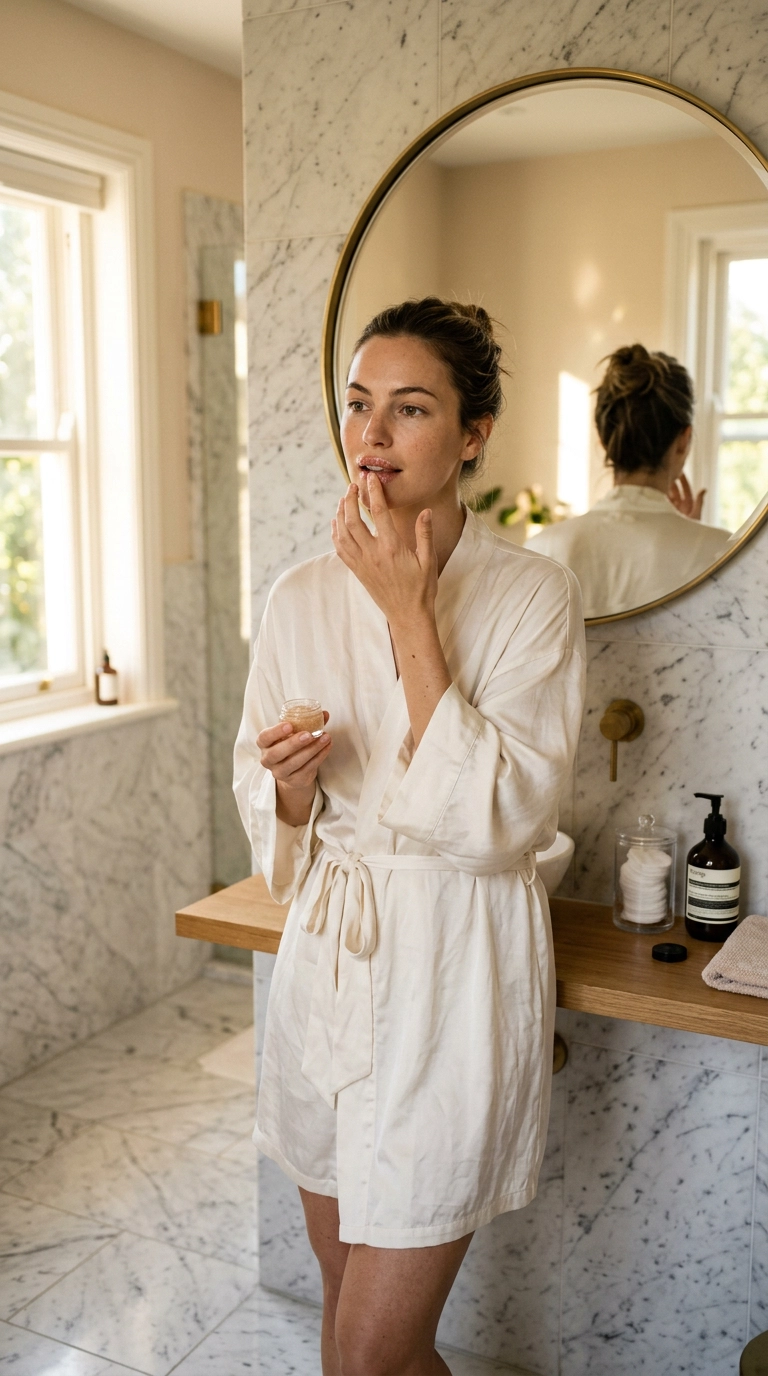
Begin by using a gentle lip scrub to remove any dead skin cells. You don’t need to scrub hard; a light circular motion with a sugar-based exfoliant is enough to reveal fresh skin. If you don’t have a scrub on hand, a damp washcloth or a soft-bristled toothbrush works just as well. This step increases circulation, making your lips look naturally plumper and smoother before the color even touches them.
Hydration Without the Slip
After exfoliating, apply a thin layer of a nourishing lip balm. It is important to let this sink in for at least five to ten minutes while you do the rest of your makeup. If the balm is too greasy when you apply your lipstick, the color will slide right off your face and bleed into the fine lines around your mouth. This is a common mistake that ruins the longevity of the look.
Right before you are ready to apply your red, blot your lips firmly with a tissue. You want the hydration to be inside the skin, not sitting on top of it. Removing the excess oil creates a “tacky” surface that the lipstick can actually grip onto. This small step is what keeps your edges sharp for hours instead of minutes.
Mapping the Shape with Precision Liner
Lip liner is not an optional step when it comes to red lipstick. It acts as a physical barrier that prevents the waxes and oils in the lipstick from migrating outward. Think of it as the blueprint for your house; it defines the boundaries and ensures the structure is symmetrical. For the sharpest edges, always ensure your pencil is freshly sharpened to a fine point.
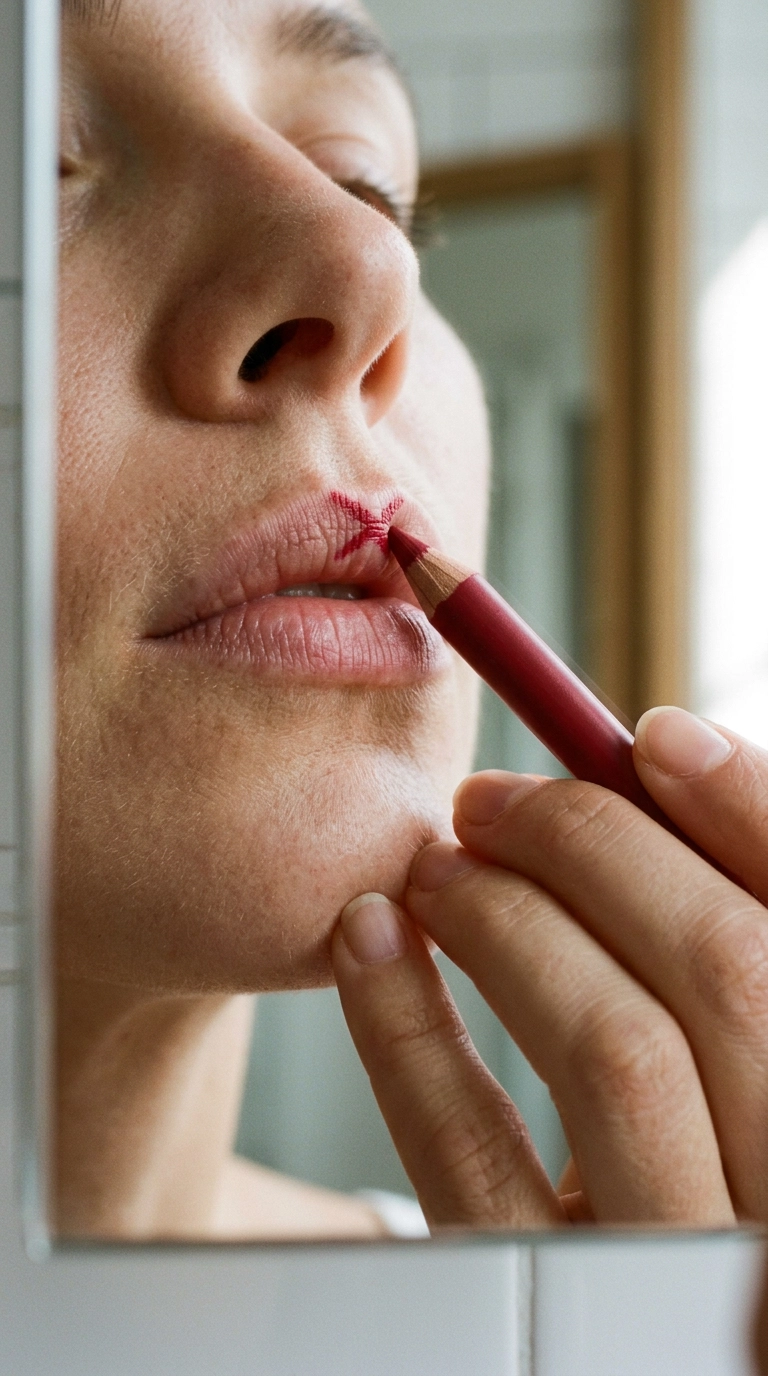
Start by drawing an “X” on your cupid’s bow. This ensures the two highest points of your upper lip are even and centered. From there, work from the outer corners of your mouth inward toward the center. Many people make the mistake of drawing from the center out, which can result in a rounded, droopy shape. Drawing from the corners up helps you follow the natural lift of your lips.
Building the Base
Once you have outlined the edges, don’t stop there. Use the side of the pencil to fill in the rest of your lips entirely. This creates a uniform base of color. If your lipstick starts to fade or wear off during a meal, you will still have the liner underneath, which prevents that dreaded “ring around the mouth” look.
Using a liner that perfectly matches your lipstick is the classic choice, but you can also use a nude liner that matches your natural lip tone for a softer edge. However, for a high-impact red, a matching red liner is usually the best bet for maximum vibrance. This layer also helps the lipstick pigment appear more saturated and true to the color in the tube.
Choosing the Right Formula and Tools
Not all red lipsticks are created equal, and the formula you choose will dictate how you apply it. Matte formulas are generally easier to keep within the lines because they have less “slip.” Satin and cream formulas feel more comfortable but are more prone to moving around. If you are new to red lips, starting with a matte liquid lipstick or a firm matte bullet is often the most user-friendly approach.
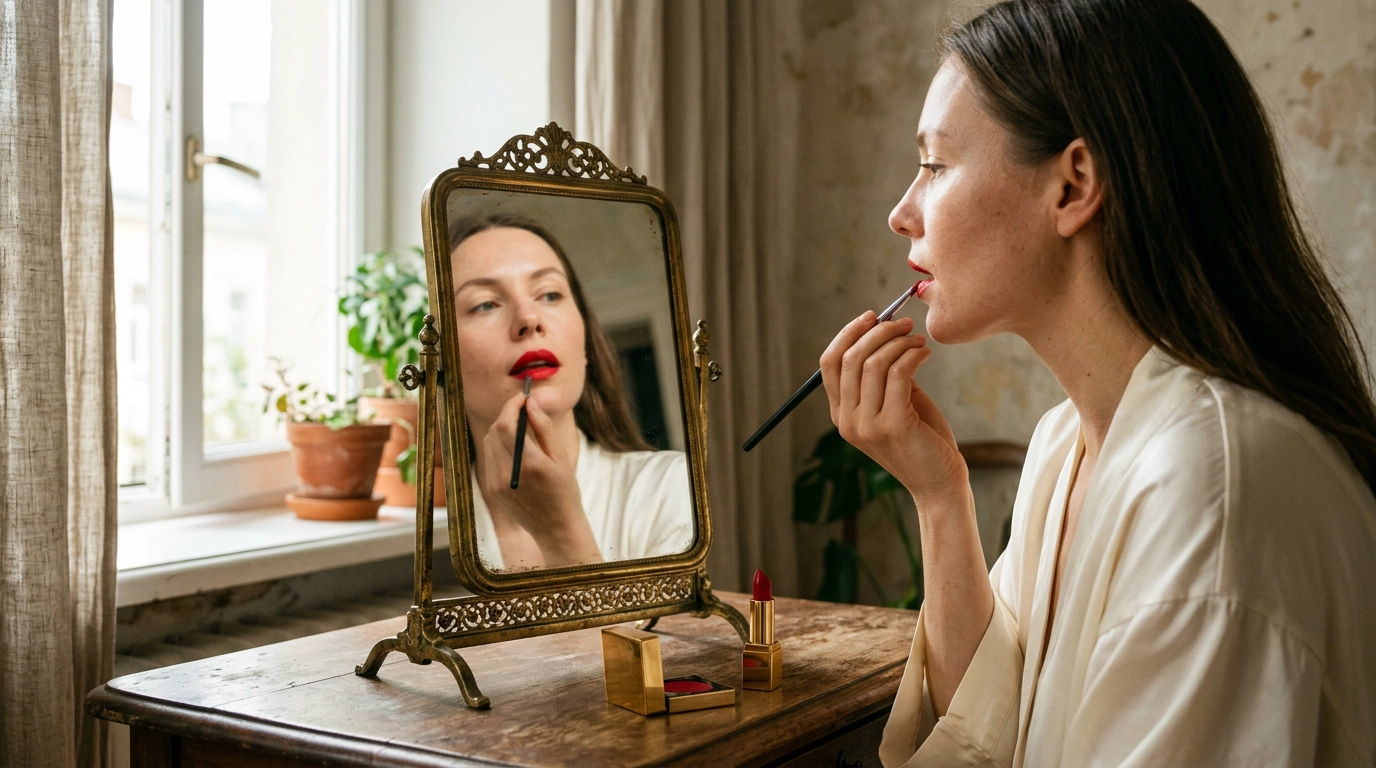
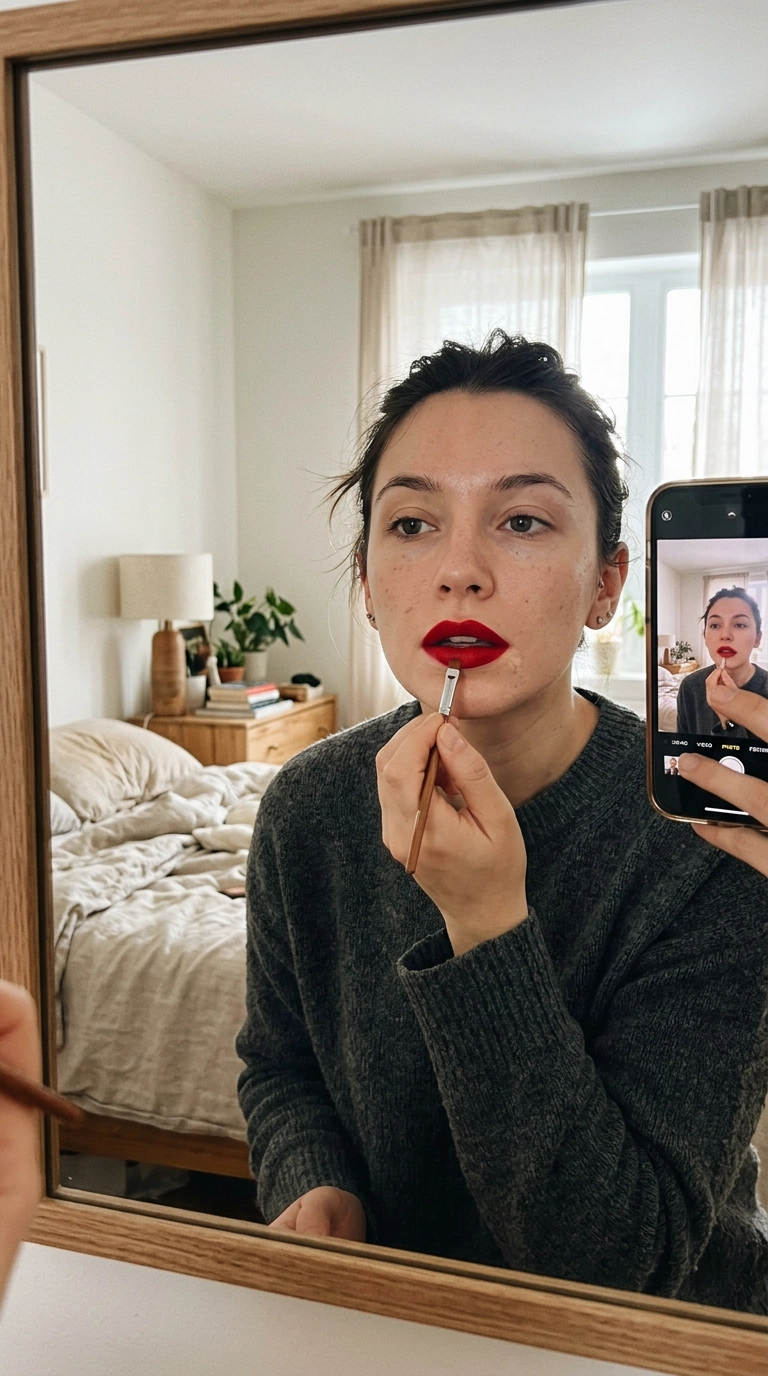
The tool you use matters just as much as the product. While applying directly from the bullet is fine for touch-ups, a lip brush is essential for the initial application. A small, firm brush allows you to push the pigment into the skin and navigate the curves of your mouth with much more control than a large lipstick bullet. It allows for a level of detail that makes the finished result look intentional and high-end.
Formula Comparison for Longevity
| Formula Type | Finish Style | Best Use Case |
|---|---|---|
| Liquid Matte | Flat/No Shine | Long events, weddings, and dinners. |
| Classic Cream | Soft Sheen | Daily wear for dry lips. |
| Lip Stain | Natural/Sheer | Low-maintenance, blurred-edge looks. |
| Velvet Matte | Semi-Matte | Editorial looks with comfortable wear. |
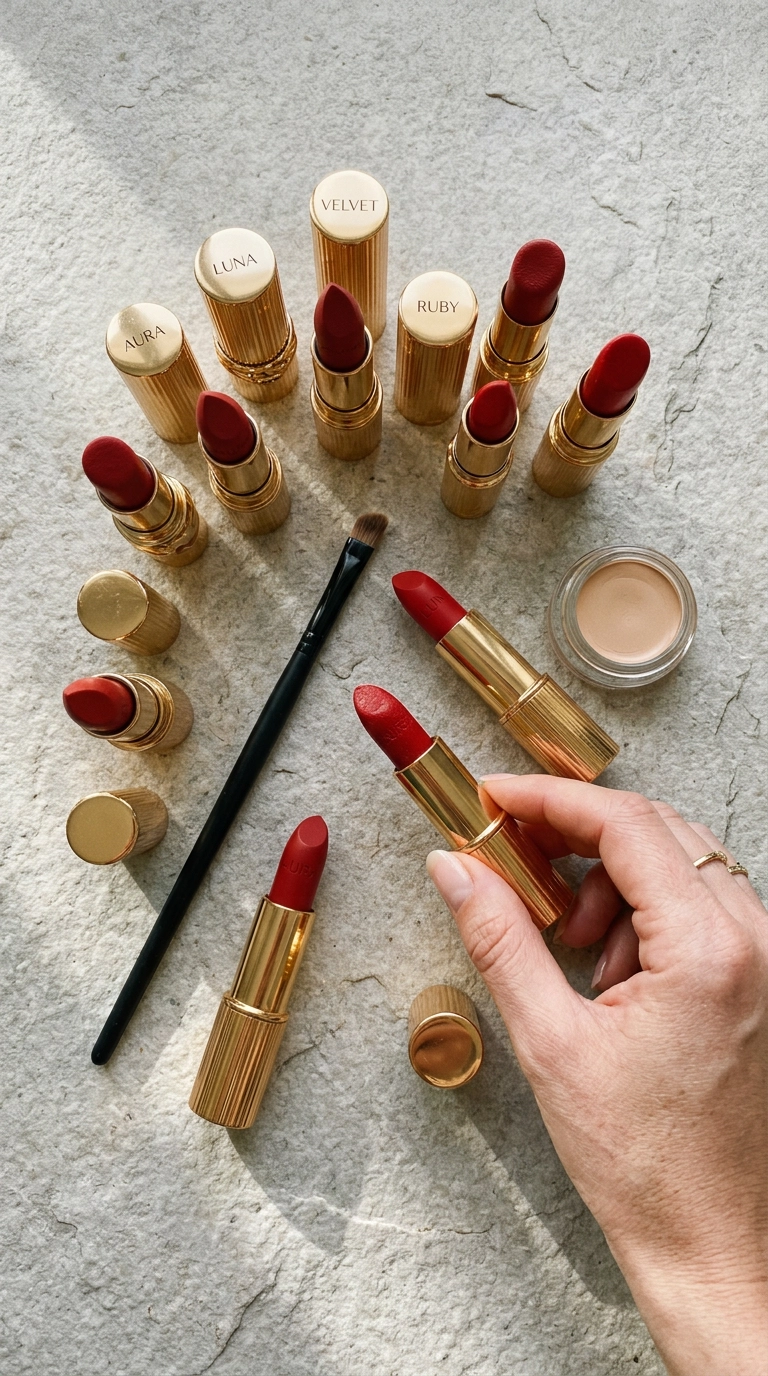
When selecting your shade, pay attention to undertones. Blue-based reds, like ruby or cherry, tend to make teeth look whiter and suit cooler skin tones beautifully. Orange-based reds, like brick or poppy, look stunning on warm or olive skin tones and have a more casual, summery feel. If you are unsure, a “true red” that sits right in the middle is universally flattering.
The Clean-Up Secret for Sharp Edges
Even the most careful application can result in a slightly wobbly line. This is where the “eraser” technique comes in. Professional artists never skip this step because it is what creates that high-definition, almost airbrushed appearance. You will need a very small, flat-headed concealer brush and a tiny amount of your favorite foundation or concealer.
Dip the brush into the concealer and wipe off the excess so the brush is almost dry. Slowly trace along the very outside of your lip line, “carving” the shape as you go. This removes any tiny smears and creates a high-contrast border that makes the red pop. It acts as a highlighter for your lip line, making the edges look impossibly sharp and clean.
Blending for a Natural Look
After you have sharpened the edges, use a clean finger or a small sponge to gently blend the concealer outward into the rest of your skin. You want the edge of the lipstick to be sharp, but you don’t want a visible white ring of concealer around your mouth. The goal is for the correction to be invisible to the naked eye.
This technique is also excellent for fixing the corners of the mouth. The corners are the first place lipstick tends to bleed or look messy. By using a bit of concealer there, you “seal” the corners and prevent the pigment from traveling into any expression lines. It is a quick fix that makes a massive difference in the overall quality of the look.
Setting Your Red Lip for All-Day Wear
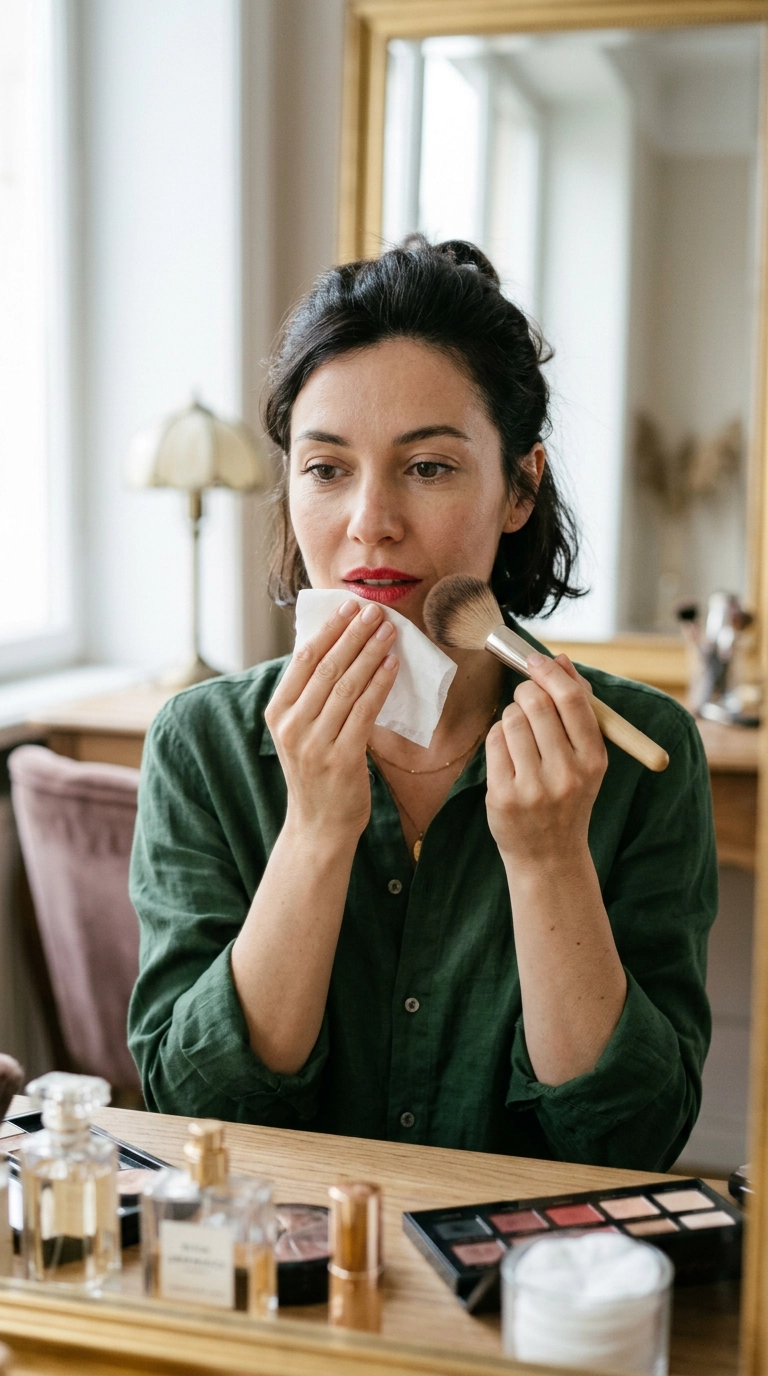
Once you have achieved the perfect shape, you want to make sure it stays there. The classic “tissue and powder” method is still the most effective way to lock in a red lip. It might feel a bit old-school, but it works by absorbing the excess oils in the lipstick and replacing them with a fine layer of setting powder without changing the color of the product.
Take a single ply of a tissue and press it gently against your lips. While the tissue is still there, dust a bit of translucent setting powder over the tissue with a fluffy brush. The tissue acts as a filter, allowing only the smallest amount of powder to pass through. This sets the color and gives it a velvety finish that is much more resistant to smudging or transferring onto your coffee cup.
The Final Touches
After setting with powder, you can go back in with one final light layer of lipstick if you feel the color has dulled at all. This “layering” technique builds the pigment in a way that makes it incredibly durable. If you find that lipstick often gets on your teeth, place a clean index finger in your mouth, close your lips around it, and pull it out. Any excess product that would have ended up on your teeth will now be on your finger instead.
Check your work in different lighting if possible. Sometimes an edge looks perfect in bathroom lighting but reveals a slight smudge in natural sunlight. A quick once-over with your concealer brush ensures everything is flawless. Now that your color is set and your edges are sharp, you can wear your red lip with the ease of someone who knows their makeup isn’t going anywhere.
Mastering the Red Lip Confidence
Wearing a bold red lip is as much about your mindset as it is about the application. When your edges are clean and your color is saturated, you naturally carry yourself with more confidence. By taking those few extra minutes to prep the skin, map the shape, and clean up the borders, you remove the stress of worrying about your makeup throughout the day. Red lipstick is a classic for a reason—it is the quickest way to feel put-together and powerful. Enjoy the process of refining your technique and embrace the striking, polished look you’ve created.