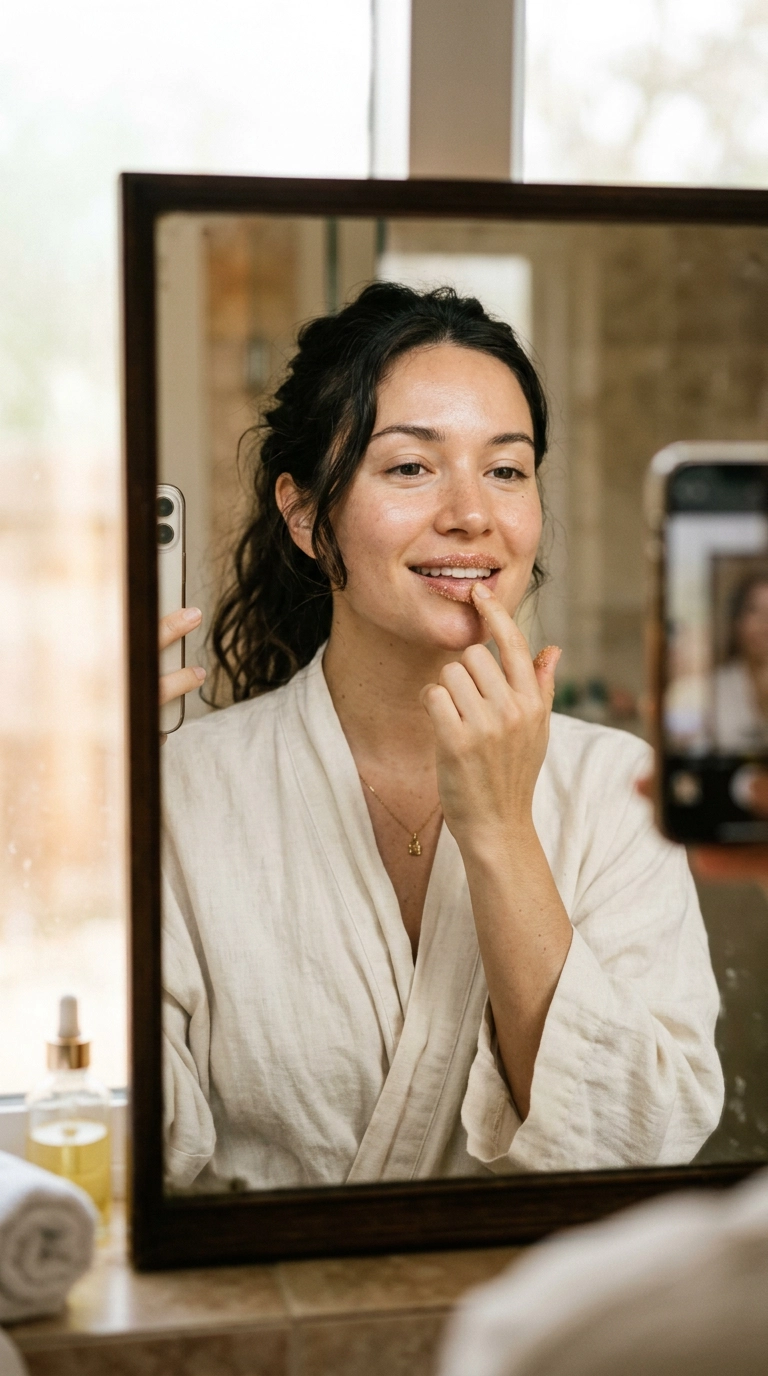
10 Easy Lipstick Hacks for Naturally Bigger Lips
We have all spent a few extra minutes in front of the mirror wishing for a bit more volume without having to visit a clinic. It is a common beauty goal, but the secret to a plush pout often lies in how you apply your favorite products rather than the products themselves. By learning a few professional tricks, you can change the way your lips catch the light and create a fuller appearance instantly.
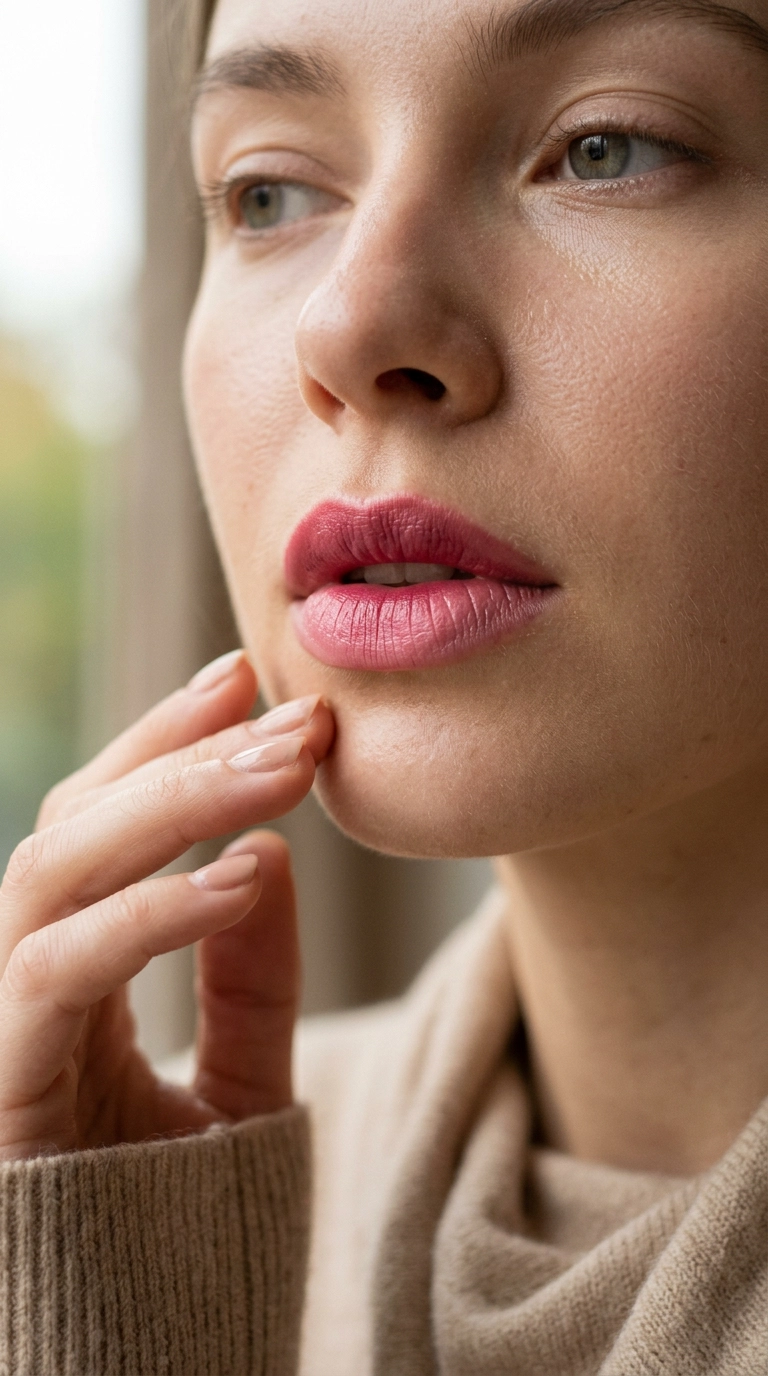
Creating the illusion of larger lips is really about mastering the balance of light and shadow. When you understand where to place color and where to add shine, you can manipulate the natural dimensions of your face. This guide will show you exactly how to achieve that pillowy look using items you likely already have in your makeup bag.
These techniques are designed to be wearable for your daily routine while providing enough impact for a night out. Whether you prefer a subtle nude or a bold red, these ten hacks will help you maximize your natural shape with minimal effort. Let’s look at how small adjustments can lead to a significant difference in your overall beauty look.
1. Start with a Smooth Canvas
You cannot build a beautiful look on a rough surface. Flaky skin reflects light unevenly, which makes lips appear smaller and thinner than they actually are. By removing dead skin cells, you increase blood flow to the area, which naturally provides a temporary boost in volume and a healthy flush of color.
Use a gentle sugar scrub twice a week to keep the surface even. If you are in a rush, a soft damp washcloth or a clean toothbrush can do the job just as well. This step ensures that your lip products glide on smoothly and stay in place instead of settling into fine lines.
Immediately after exfoliating, apply a nourishing balm. This locks in moisture and prevents the skin from shrinking back as it dries. Think of this as the foundation for every other step in your routine.
DIY vs. Professional Scrubs
| Method | Pros | Cons |
|---|---|---|
| Sugar & Honey DIY | Inexpensive, edible, very moisturizing. | Can be messy to store. |
| Store-Bought Lip Scrub | Precise grit, convenient packaging. | Costs more, may contain fragrance. |
| Damp Washcloth | Zero cost, very gentle. | Less effective for deep exfoliation. |
2. Use Concealer to Blur Your Lip Line
Most people apply lipstick directly onto their natural lip line, but this limits your space. By dabbing a tiny amount of concealer or foundation over your lips, you “erase” the borders. This creates a blank slate that allows you to redraw your shape slightly outside your natural perimeter without it looking obvious.
Choose a concealer that matches your skin tone perfectly. Use a makeup sponge to press the product into the skin so it does not look heavy or cakey. This also helps your lip color pop because the natural pigment of your lips is neutralized.
This technique also acts as a primer, giving the lipstick something to grip onto. It prevents feathered edges and keeps your color crisp throughout the day. It is a simple step that makes a world of difference in how much “real estate” you have to work with.
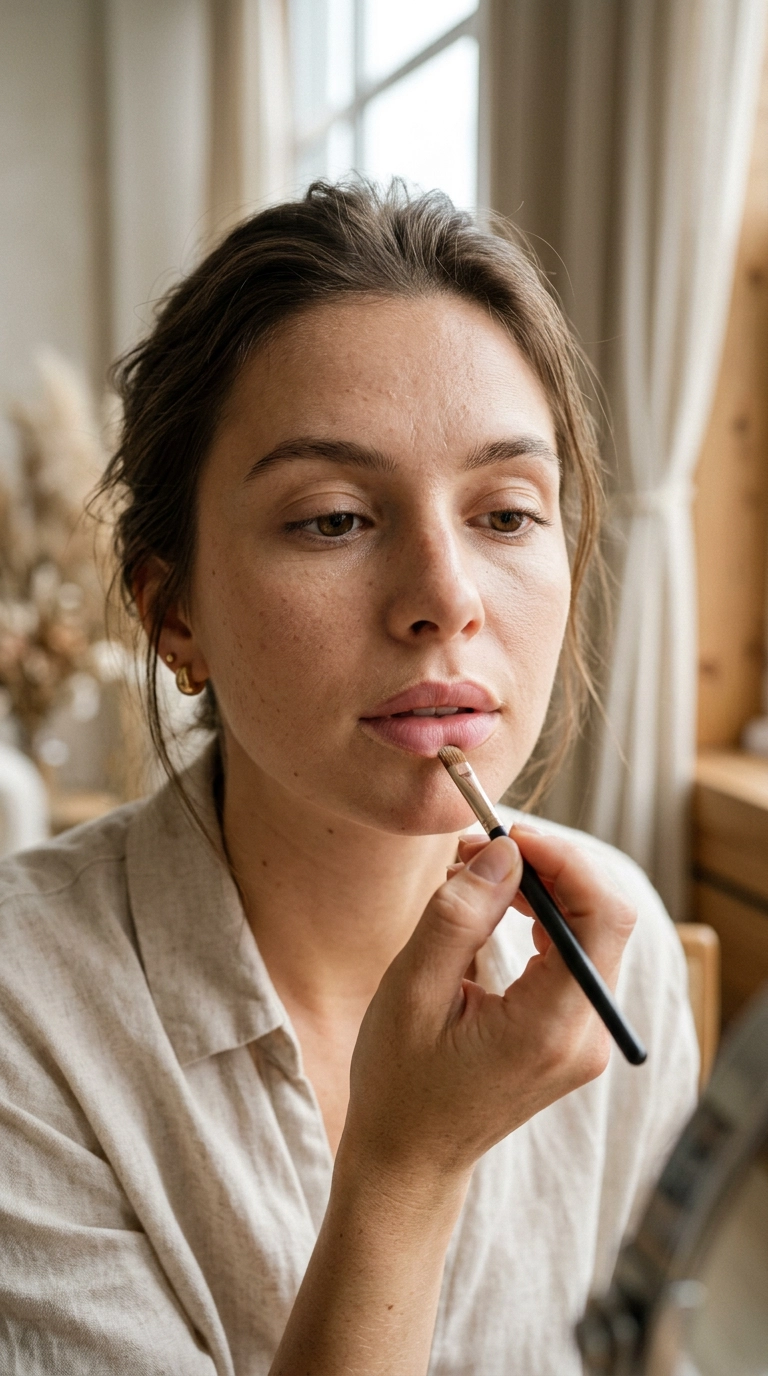
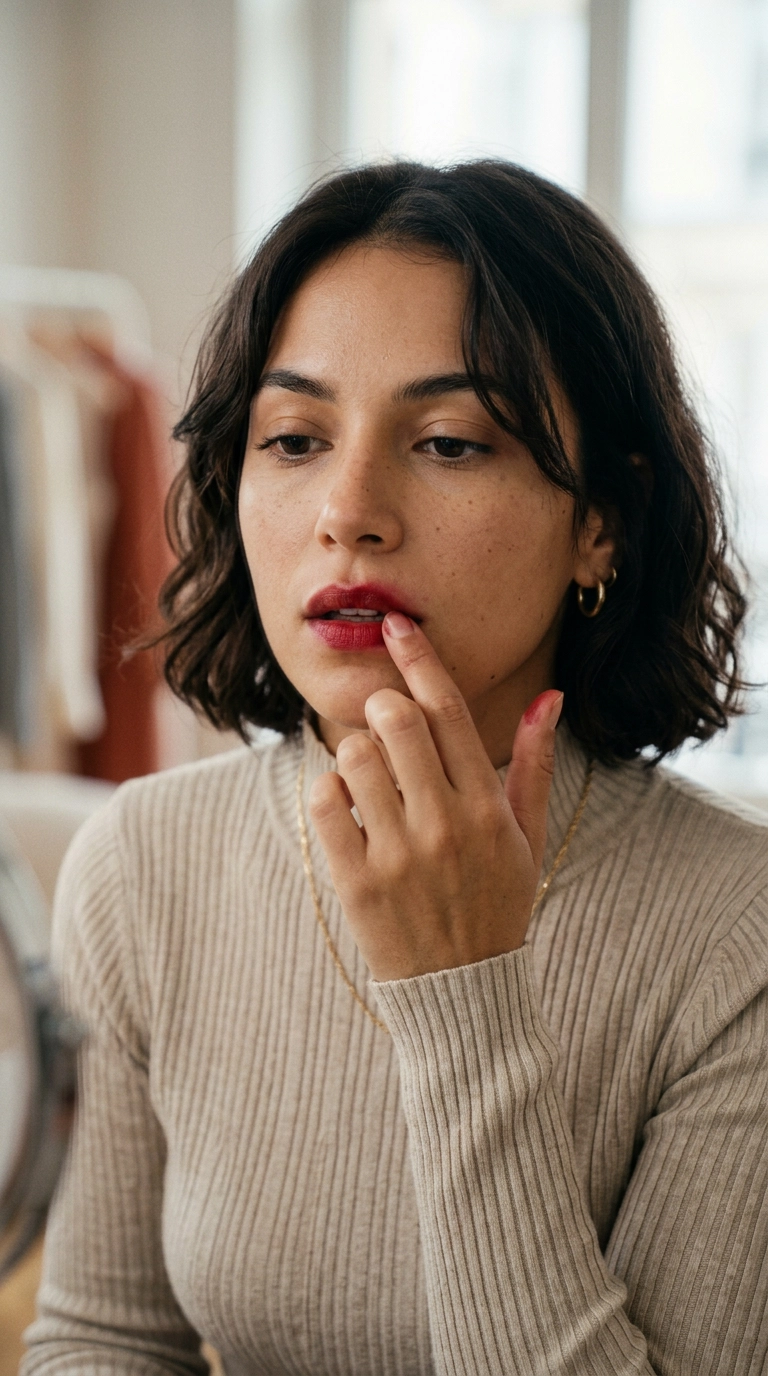
3. The Power of Strategic Overlining
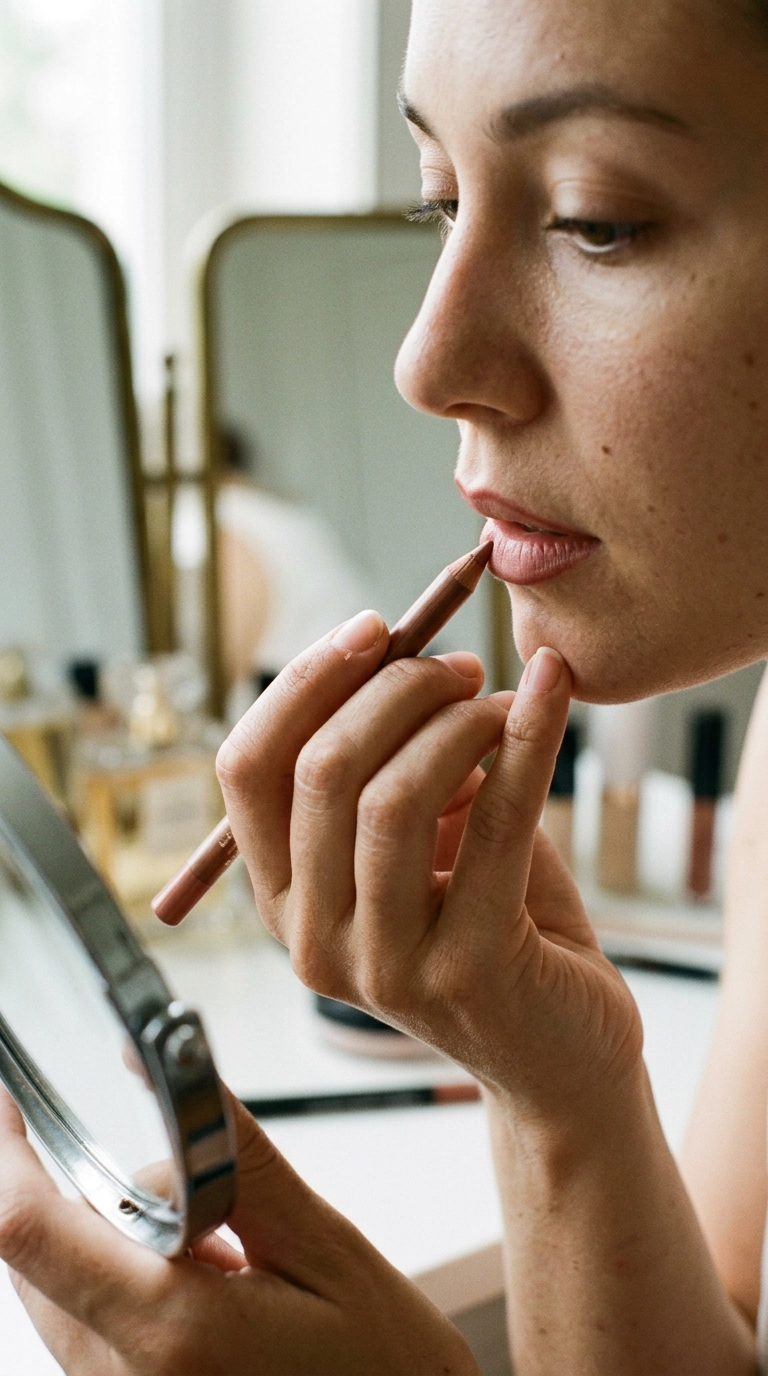
Overlining is perhaps the most famous trick for bigger lips, but the key is moderation. Instead of overlining the entire mouth, focus only on the Cupid’s bow and the very center of the bottom lip. If you overline the corners, the look can quickly become unnatural or “clown-like.”
Use a lip liner that is only one or two shades darker than your natural lip color. This mimics the natural shadow that a fuller lip would cast. Follow your natural line at the corners and only “cheat” the line upward at the peaks of your upper lip.
Always use a sharp pencil for this. A blunt tip makes it difficult to get the precision required for a believable look. Gently blend the liner inward toward the center of your lips so there is no harsh outer ring.
Lip Liner Selection Guide
- Nude Tones: Best for everyday wear and “no-makeup” looks.
- Mauve Tones: Ideal for adding depth and mimicking natural shadows.
- Red Tones: Use only when wearing a matching red lipstick for a classic look.
4. Highlight the Cupid’s Bow
Light brings things forward, and placing a small amount of highlighter on the peaks of your upper lip makes them appear more prominent. This creates a “lifted” effect that draws the eye upward. It emphasizes the “M” shape of your mouth, which is often associated with youth and fullness.
You can use a powder highlighter, a liquid shimmer, or even a light-colored eyeshadow. Use your ring finger to tap a tiny amount onto the skin just above the lip line. Be careful not to use too much, or it may look like perspiration rather than a glow.
This trick works best when the highlighter catches the light as you move. It creates a three-dimensional effect that flat lip color alone cannot achieve. It is one of the fastest ways to fake a filler-like lift in seconds.
5. Create a Vertical Shadow Below the Lip
Just as highlighting brings things forward, contouring pushes things back. By placing a small amount of cool-toned contour powder or cream directly under the center of your bottom lip, you create the illusion of a shadow. This shadow suggests that the lip is so full it is casting a shade on the chin.
Make sure to use a cool-toned product rather than a warm bronzer. Shadows are naturally grey or taupe, not orange. Use a small, fluffy brush to blend the product thoroughly so it looks like a natural dip in the skin.
This tiny detail is what separates a basic makeup application from a professional one. It adds weight and “poutiness” to the lower half of your mouth, balancing out any work you did on the Cupid’s bow.
6. The Ombre Lipstick Technique
Using one solid color across your entire lip can make them look flat. An ombre effect involves using a darker shade on the outer edges and a lighter shade in the center. This gradation creates a rounded, 3D effect that makes the center of the lips look like they are protruding more.
Apply your main lipstick color first. Then, take a shade that is slightly lighter—or even a bit of concealer—and dab it into the very center of your upper and lower lips. Press your lips together gently to blend the two colors where they meet.
This technique mimics the way light naturally hits a rounded object. The brighter center appears closer to the viewer, while the darker edges recede. It is an optical illusion that works every single time, regardless of the colors you choose.
7. Use a “Lip Strobe” with Gloss
Gloss is a powerful tool for volume because of its reflective properties. However, you do not need to coat your entire mouth in a sticky layer. “Lip strobing” involves placing gloss only on the center points of your lips.
By keeping the edges of your lips matte or satin and the center high-shine, you focus the light exactly where you want people to look. This makes the center of the lip look hydrated and plump. Clear gloss works perfectly for this, but a shimmer gloss can add even more dimension.
If you find gloss too messy for daily wear, look for a “lip oil” or a high-shine balm. These provide the same visual benefit with a more comfortable, skin-like feel. Avoid spreading it too far toward the corners of your mouth to maintain the shape.
8. Choose the Right Formula
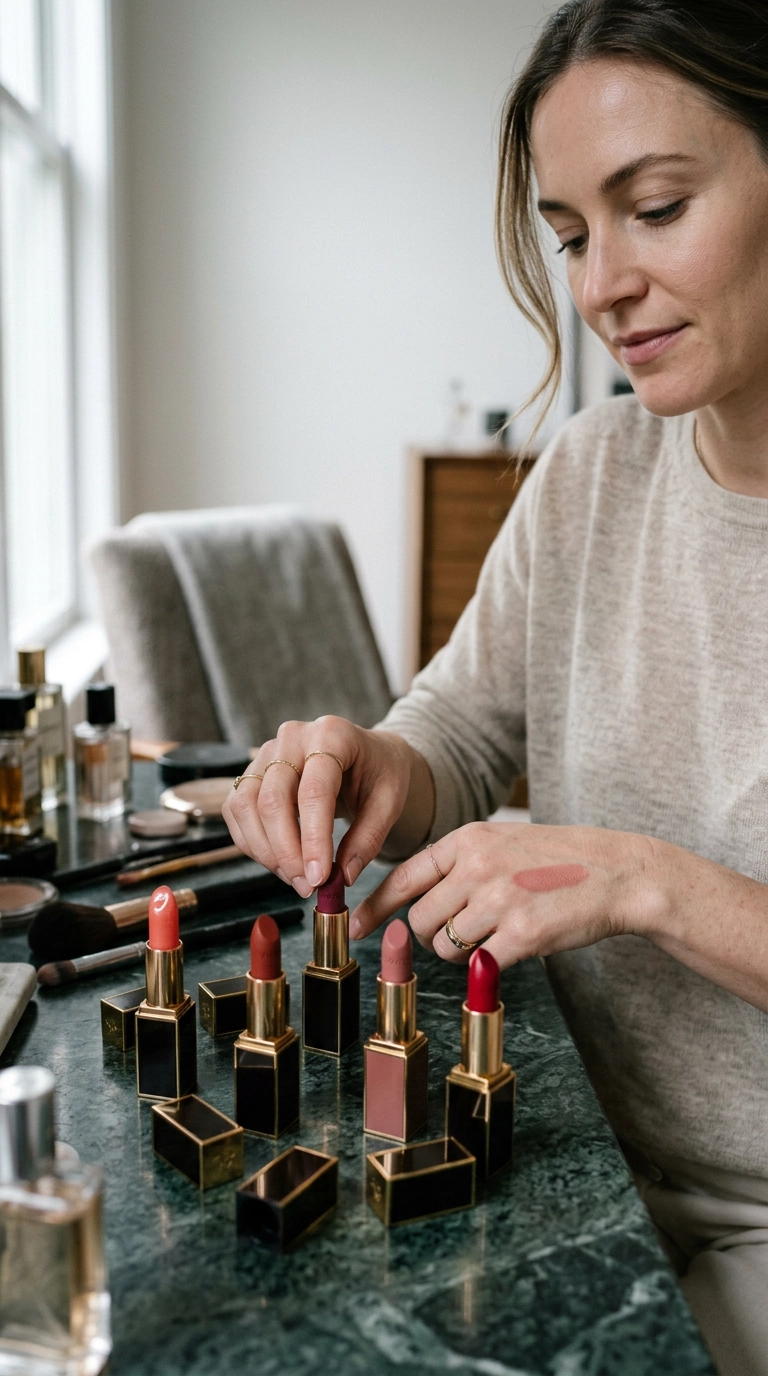
Not all lipsticks are created equal when it comes to volume. Very dark, matte colors tend to make lips look smaller because they absorb light. If you have thin lips, a dark matte plum or chocolate might not be the most flattering choice if your goal is fullness.
Creams and satins are generally the most flattering because they have a slight sheen that reflects some light without being overly shiny. If you love the look of a matte lip, ensure you follow the highlighting and contouring steps mentioned earlier to add back the dimension the matte formula takes away.
Light to medium shades—like peaches, pinks, and warm nudes—are excellent for creating a larger look. These colors are more expansive to the eye and blend more seamlessly with the skin around your mouth.
Lipstick Finishes Ranked for Fullness
- High Shine Gloss: Maximum volume effect.
- Satin/Cream: Great balance of color and dimension.
- Sheer/Stain: Natural but offers less “correction” potential.
- Flat Matte: Can be shrinking if not paired with other hacks.
9. Soften the Edges for a “Blurred” Look
While sharp lines are great for some looks, a slightly blurred edge can actually make lips look bigger. This is often called the “K-Beauty” style or “Popsicle” lips. When the edges of your lipstick are soft and diffused, it is harder for the eye to tell exactly where your lip ends and your skin begins.
After applying your lipstick, use a clean finger or a small blending brush to tap along the outer border. This softens the transition. It creates a dreamy, romantic aesthetic that looks naturally plush rather than strictly painted on.
This method is particularly helpful if you have slightly asymmetrical lips. It is much easier to hide minor differences in shape with a soft edge than with a harsh, precise line that highlights every curve.
10. The Vertical Line Trick

This is a subtle pro secret used on many editorial sets. Take a very light-colored lip liner or a fine eyeliner brush with a bit of pale cream shadow. Draw a tiny, faint vertical line down the center of your bottom lip, then blend it until it is almost invisible.
This tiny bit of light breaking up the horizontal plane of the lip makes the bottom lip look like it is pouting forward. It mimics the natural crease of a full lip while adding a point of light that draws the eye.
Pair this with a bit of clear gloss on top, and you have the most effective combination for a high-impact, three-dimensional pout. It takes about five seconds to do but changes the entire profile of your mouth.
Frequently Asked Questions
Does lip plumper actually work?
Yes, most lip plumpers work by using mild irritants like peppermint, cinnamon, or capsicum to increase blood flow to the lips. This causes temporary swelling and redness, making lips look larger for an hour or two. However, the effects are short-lived compared to makeup techniques.
Can I overline my lips with liquid lipstick?
It is possible, but much harder than using a pencil. Liquid lipsticks dry down quickly and are difficult to blend. If you want to overline with a liquid formula, use a very thin brush and work in small sections to ensure the line stays smooth and even.
What is the best color for making lips look bigger?
Neutral nudes that are slightly pinker or browner than your actual lip color are usually best. These shades look the most natural when you overline them and allow the light and shadow techniques to do the heavy lifting without looking like “too much” makeup.
How do I keep my lipstick from smudging when overlined?
The best way to prevent smudging is to use a waterproof lip liner as your base. After you have drawn your shape, you can lightly dust a translucent setting powder over the edges through a single ply of tissue. This sets the product without dulling the color too much.
Your Path to a Fuller Pout
Achieving a naturally fuller lip look does not require expensive treatments or complex tools. By focusing on how light interacts with your face, you can use these simple techniques to enhance your natural beauty. Remember that makeup is an art form, and it may take a few tries to find the exact balance of overlining and highlighting that works for your specific face shape.
Start by incorporating just one or two of these hacks into your morning routine. You will likely notice a difference in your confidence and your photos almost immediately. Experiment with different textures and shades to see what makes you feel your best, and enjoy the process of discovering your new signature lip look.