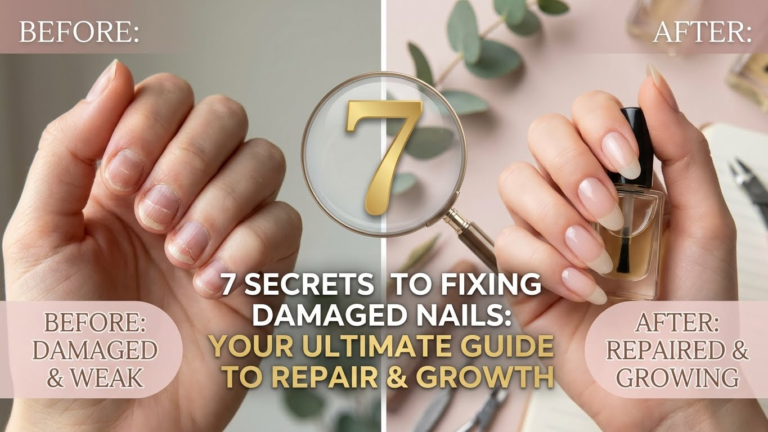
Beginner Guide to Mastering the Douyin Lip Glow
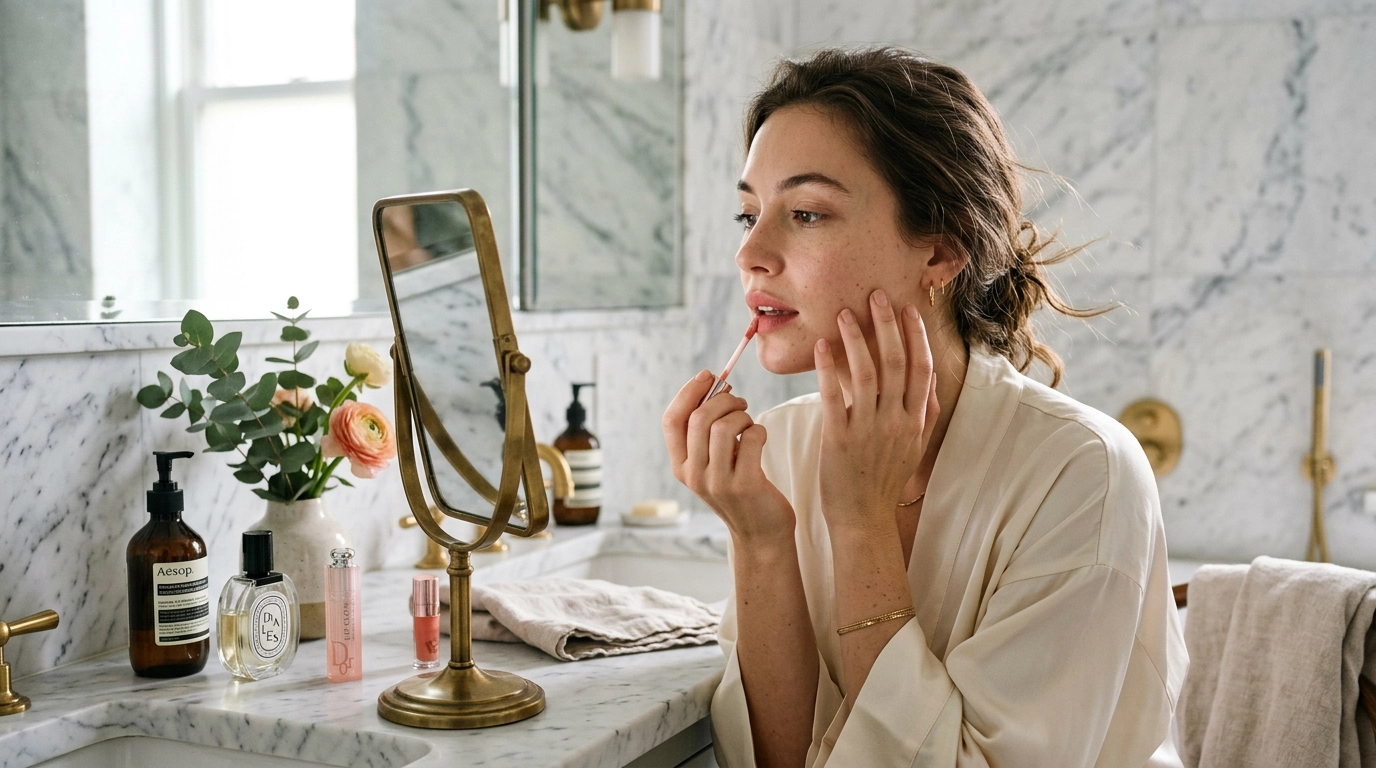
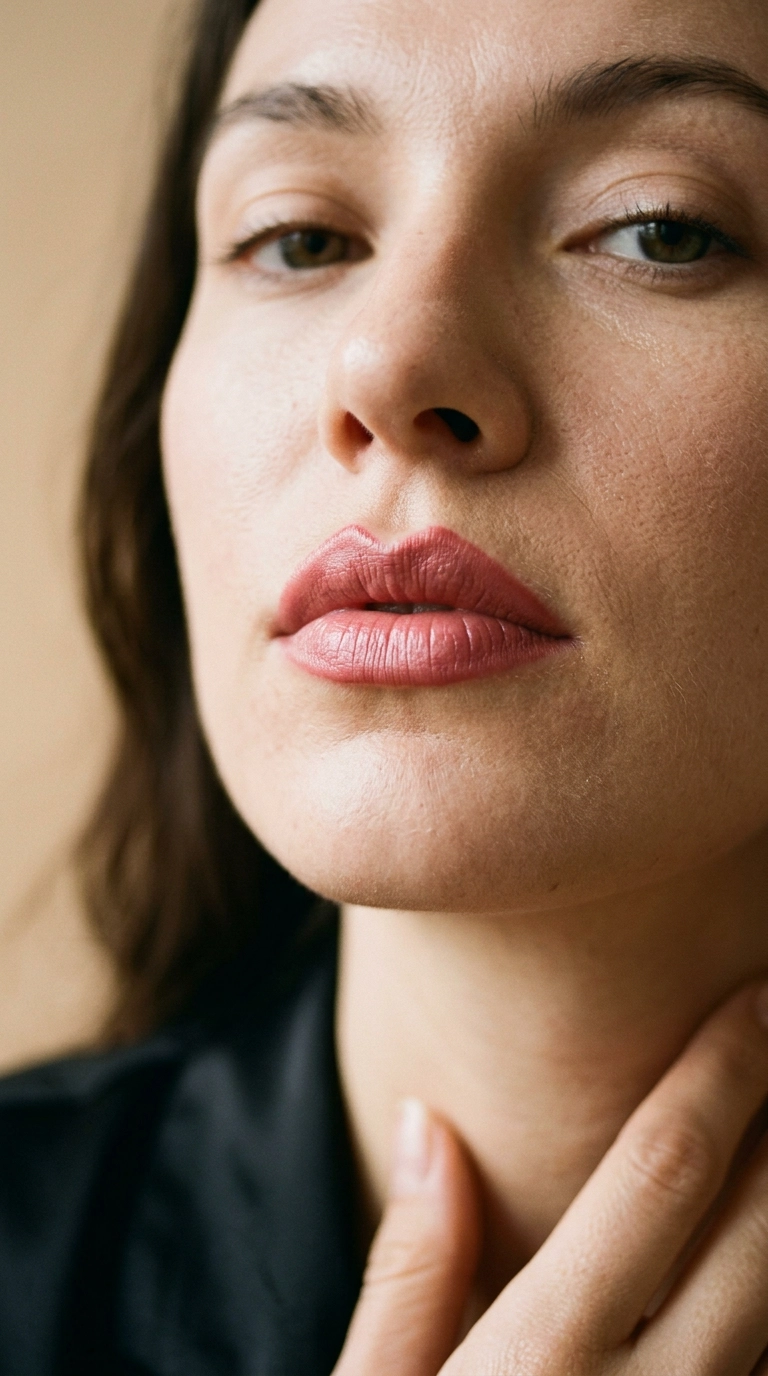
You have likely seen those ethereal, doll-like lip looks taking over your social feeds, characterized by a soft-focus border and a concentrated pop of color. This aesthetic, often called the Douyin lip, focuses on creating a youthful, “just-bitten” effect that mimics the natural flush of a flower petal. It is a refreshing departure from the heavy, over-lined matte looks of previous years, offering a way to enhance your features without looking overdone.
The beauty of this technique lies in its ability to reshape the mouth using light and shadow rather than harsh pencils. By following a specific placement of color and intentional blending, you can achieve a fuller, more pillowy pout that looks modern and sophisticated. Whether you are heading to a casual brunch or a more formal event, this versatile method adapts to any occasion and works beautifully on all lip shapes.
If you have struggled with traditional gradients before, this tutorial simplifies the process into manageable steps that anyone can follow. We will walk through the specific tools you need, the prep work required for a smooth canvas, and the exact “M-shape” placement that defines this look. Get ready to transform your makeup routine with a technique that prioritizes soft textures and a healthy, luminous finish.
The Essential Kit for a Blurred Pout
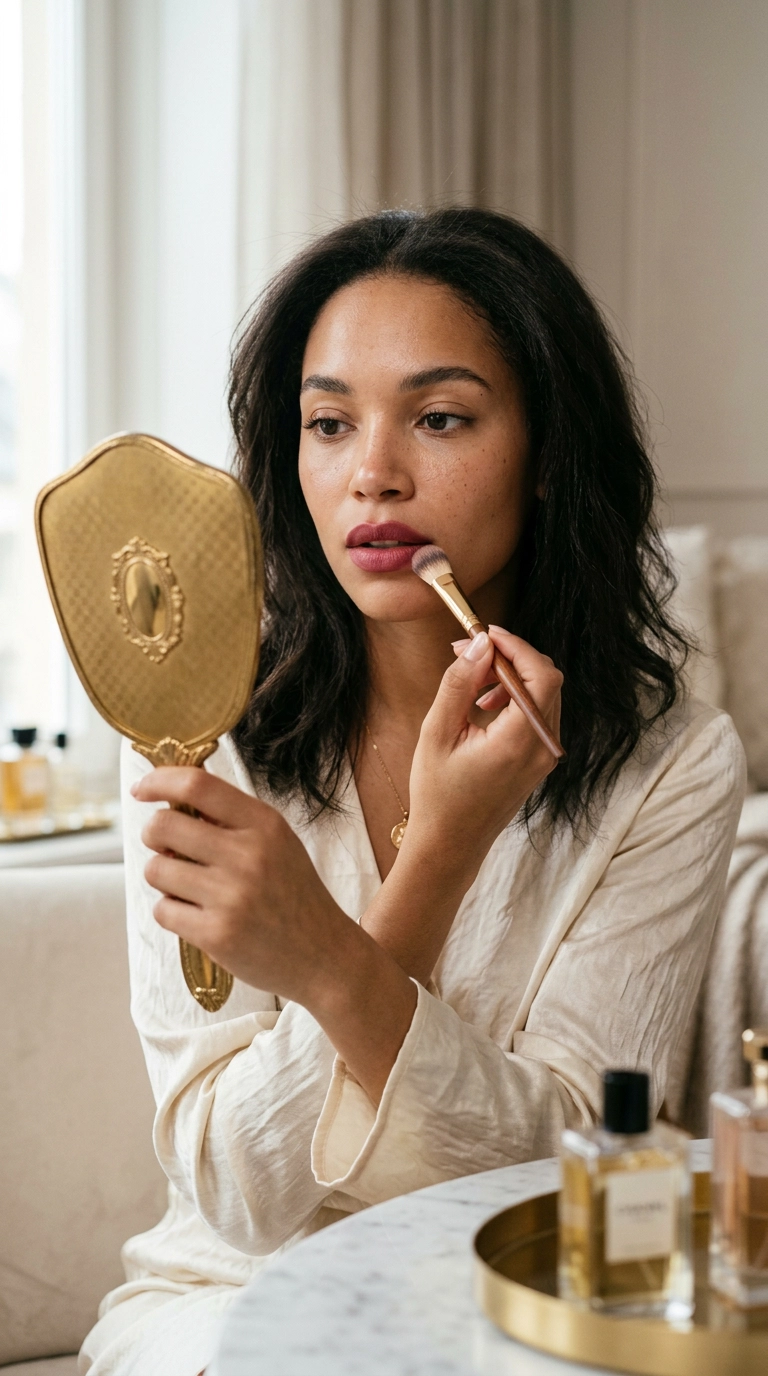
Before you start, gathering the right textures is more important than picking a specific brand. You want products that offer a high pigment payoff but remain easy to smudge along the edges. Traditional wax-heavy lipsticks can sometimes be too stiff for this look, so look for “lip muds” or “cloud tints” that feel weightless.
A small, fluffy blending brush is your best friend for this technique. While you can use your fingers, a brush provides a level of precision that keeps the center of the lip concentrated while the outer edges remain hazy. This contrast is what creates the 3D effect that makes the lips appear naturally voluminous.
Do not forget a high-quality concealer or a neutral lip base. To make the colors pop and the gradient look intentional, you need to neutralize your natural lip line. This creates a blank canvas that allows you to “redraw” the perimeter of your mouth for a more balanced appearance.
- Lip Mud or Velvet Tint: Choose a formula that dries down to a soft, powder-like finish.
- Fluffy Eyeshadow Brush: A synthetic brush used for blending crease shadows works perfectly for lip edges.
- Concealer or Foundation: Use whatever is left on your sponge after doing your base makeup.
- Clear or Shimmering Gloss: This is optional but adds a beautiful dimension to the final look.
- Contour Powder: A cool-toned brown shadow helps create artificial shadows for extra depth.
Choosing the Right Shades
The Douyin style usually relies on two shades within the same color family. A nude or “your lips but better” shade works as the base, while a deeper berry, terracotta, or rose shade sits in the center. This layered approach is what gives the lips a multi-dimensional look rather than a flat wash of color.
If you have cool undertones, lean toward dusty pinks and mauves for your base. For warm undertones, peaches and soft apricots create a stunning, natural foundation. Always ensure the inner color is at least two shades darker than the base to ensure the gradient is visible and effective.
Prepping the Canvas for a Seamless Finish
A blurred lip look can emphasize dry patches or flakes, so preparation is non-negotiable. Start by using a gentle sugar scrub or a damp washcloth to buff away any dead skin. This ensures the tint adheres evenly and doesn’t gather in the fine lines of the lips.
Apply a thick layer of lip balm while you do the rest of your makeup. By the time you reach the lip step, your skin will be hydrated and plump. Blot off any excess balm with a tissue right before you start, as too much slip will prevent the lip mud from staying in place.
The final step of prep is the most important: blurring the edges with concealer. Take a small amount of concealer and tap it over your lip lines, especially at the corners and the cupid’s bow. This “erases” your natural border, allowing the gradient to look like it is fading into your skin.
| Prep Step | Why It Matters | Expected Result |
|---|---|---|
| Exfoliation | Removes dead skin cells | Smooth, even texture |
| Hydration | Plumps the skin layers | Minimized fine lines |
| Neutralization | Hides natural lip pigment | True-to-bottle color payoff |
| Blotting | Removes excess oils | Better product longevity |
The Iconic M-Shape Mapping Technique
The heart of the Douyin lip is the “M” or “W” placement of the darkest pigment. Instead of swiping the product across the entire lip, you want to be very strategic with where the color sits. Focus on the inner “V” of the upper lip and the center of the lower lip.
Start by drawing a small “V” on your cupid’s bow with your darker tint. Then, draw two small lines at the very corners of your mouth, angling them slightly upward. This creates a “smiling” effect that mimics the look of many popular Asian beauty influencers.
On the bottom lip, place the product in a small semi-circle right in the center, close to the opening of the mouth. This concentrated area of color makes the center of the lip look deeper and more recessed, which naturally pushes the outer edges forward. This optical illusion is what creates the sought-after pouty effect.
Mastering the Upward Corner Flick
A common mistake is neglecting the corners of the mouth. By adding a tiny bit of darker tint to the very edge and blending it slightly upward, you lift the face. This tiny detail makes a significant difference in how youthful and energetic the final look appears.
Use a very fine brush for this step if you are a beginner. You only need a dot of product to achieve the desired effect. If you use too much, it can start to look messy or bruised, so start with the smallest amount possible and build up slowly.
The Art of the Soft-Focus Blur
Blending is where the magic happens and where most people tend to rush. Instead of rubbing your lips together, which can ruin the placement, use your fluffy brush to tap the edges. Work from the center outward, using circular motions to diffuse the color into the concealer base.
The goal is to have the most intense color at the center of the mouth, gradually fading until it disappears at the lip line. If you find the edges are still too sharp, take a tiny bit more concealer on your brush and go around the perimeter. This “back-and-forth” blending ensures a perfect, ethereal transition.
Do not be afraid to go slightly outside your natural lip line with the blurred edges. Because the color is so soft and diffused, over-lining in this way looks much more natural than using a sharp pencil. It gives the illusion of fuller lips without the harshness of a defined border.
Using Your Fingertips for Heat
Sometimes the heat from your finger is the best tool for melting the product into the skin. If the lip mud feels too dry or sits on top of the skin, gently tap the area with your ring finger. The warmth helps the pigments bond with the prep layers for a more seamless finish.
Always use a clean finger for the very outer edges to avoid dragging too much dark pigment outward. This keeps the gradient clean and prevents the “smudged after eating” look that can happen if the dark color spreads too far. Precision and patience are the keys to a polished result.
Adding Depth with Shadow and Light
To truly elevate the look, you can add artificial shadows using a cool-toned contour powder. Take a tiny brush and apply a small amount of shadow just under the center of the bottom lip. This deepens the natural shadow and makes the lower lip appear to hang heavier and fuller.
You can also add a tiny bit of this shadow to the “V” of the cupid’s bow to accentuate the dip. This creates a more defined structure that contrasts beautifully with the blurred edges of the color. It is a subtle trick that professional makeup artists use to make lips look three-dimensional on camera.
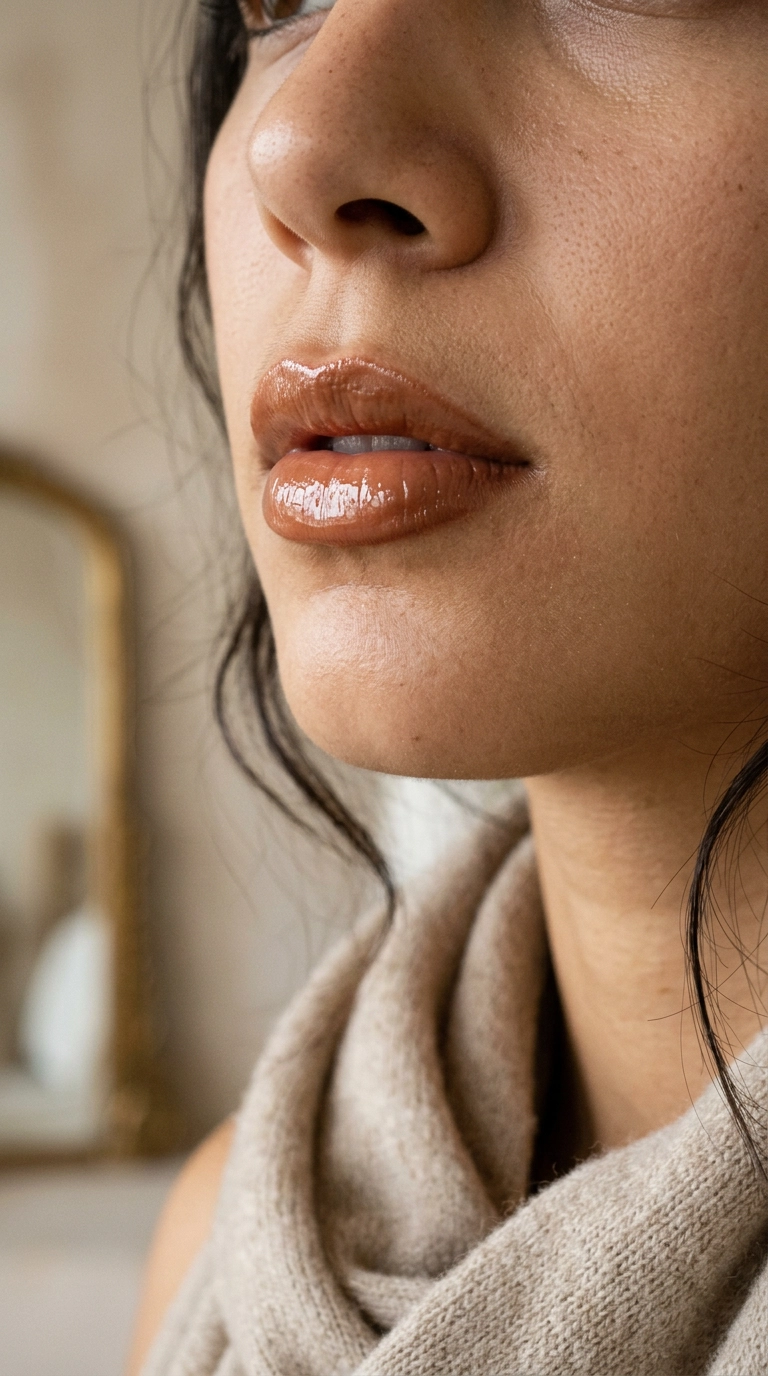
Finally, decide if you want a matte or glossy finish. A matte finish looks more “flower petal” and velvety, while a gloss finish looks like “glass skin” for the lips. If you choose gloss, only apply it to the very center of the lips and the peaks of the cupid’s bow to maintain the gradient’s integrity.
- Inner Gloss: Apply only to the wet line of the lip for a pouty, hydrated look.
- Cupid’s Bow Highlight: A tiny touch of champagne highlighter on the skin just above the lip adds a lift.
Troubleshooting Common Douyin Lip Mistakes
If your gradient looks more like a messy smudge than a soft blur, you might be using too much product. Start with much less than you think you need; it is far easier to add more pigment than it is to remove it once it has been blended. The secret is building thin, transparent layers.
Another common issue is the color fading too quickly. To prevent this, ensure you are using a lip tint or mud that has staying power. If you are using a creamier lipstick, you can set the very edges with a tiny bit of translucent powder to lock the blurred border in place while leaving the center creamy.
Finally, ensure your concealer isn’t too light. If the concealer used to blur the edges is significantly lighter than your skin tone, it can create a “halo” effect that looks unnatural. Use a shade that matches your foundation perfectly to ensure the lips blend into your face seamlessly.
Achieving Balance with the Rest of Your Makeup
This lip style is quite soft, so it looks best when paired with a similar makeup aesthetic. Think glowing skin, a bit of nose bridge blush, and elongated eyeliner. If you wear a very heavy, dark smoky eye, the delicate nature of the Douyin lip might get lost in the overall look.
Try to coordinate your blush color with the inner tint of your lips. This creates a cohesive color story that makes the entire face look harmonious. Using the leftover tint from your brush on the tip of your nose is a classic Douyin trick to pull the whole look together.
Your New Signature Lip Look
Mastering the Douyin lip technique is about embracing softness and learning the power of strategic placement. By focusing on the inner portions of the mouth and blurring the perimeter, you create a look that is both modern and timelessly flattering. It takes a little practice to get the blending just right, but once you do, it becomes an effortless way to enhance your natural beauty.
Remember that makeup is supposed to be an expression of your creativity, so feel free to experiment with different color combinations and gloss levels. Whether you prefer a muted rose for everyday wear or a bold cherry for a night out, the principles of the gradient remain the same. Keep practicing, stay patient with your blending, and enjoy the confidence that comes with a perfectly pillowy, blurred pout.