Mastering Easy Eyeliner for Mature Eyes – A Simple Guide for Women Over 50

There is a specific moment when the makeup techniques we used for decades suddenly feel like they are working against us. You might notice your favorite liquid liner skipping across your lid or a dark pencil making your eyes look smaller rather than more defined. These changes are a natural part of aging, reflecting the beautiful life you have lived and the wisdom you have gained.
Finding a new rhythm with your beauty routine is about adaptation rather than hiding your features. As our skin loses some elasticity and our lids become more hooded, the goal shifts from sharp, harsh lines to soft, face-lifting definition. This guide provides practical, easy-to-follow methods that respect your skin’s texture while bringing back that youthful spark to your gaze.
I want you to feel confident picking up an eyeliner pencil again without the fear of smudging or uneven lines. We will focus on textures that glide effortlessly and placements that visually lift the face. By the end of this article, you will have a toolkit of techniques that make your morning routine faster and your final look more polished.
Why Traditional Eyeliner Methods Change After 50
The skin on our eyelids is some of the thinnest on our entire body, and as we age, it becomes even more delicate. Collagen production slows down, which can lead to a slightly crepey texture or hoods that partially cover the lash line. These physical changes mean that a heavy, thick line can often weigh the eye down or disappear entirely into the folds of the lid.
Many women find that their eyes begin to appear more downturned at the outer corners. Standard “cat-eye” techniques often emphasize this downward slope if not adjusted for mature bone structure. Shifting your focus toward the outer third of the eye and using softer colors can instantly create the illusion of a more awake and lifted appearance.
Environmental factors and hormonal changes can also lead to drier eyes or more frequent watering. This makes the longevity of your products more important than ever. Switching to formulas that set quickly but allow for a few seconds of blending will ensure your hard work stays in place all day without migrating into fine lines.
The Impact of Hooded Lids
Hooded lids occur when excess skin hangs down from the brow bone, often obscuring the moveable part of your eyelid. This can make eyeliner seem like a wasted effort because it gets hidden when your eyes are open. The secret is to apply your liner with your eyes open and looking straight ahead into the mirror.
By keeping your eyes open during application, you can see exactly where the fold falls. This allows you to place your definition slightly above the lash line where it remains visible. It prevents the “disappearing liner” act and ensures your eyes look defined from every angle.
Texture and Elasticity Challenges
When skin is less firm, a traditional pencil can “tug” or “drag,” creating a jagged, uneven line. This often leads to frustration and the feeling that you have lost your touch with makeup. Using a creamy gel-based pencil or a damp angled brush with powder can solve this issue immediately.
Softening the edges of your liner is your best defense against texture issues. A blurred line is much more forgiving than a sharp one and actually looks more modern on mature faces. Using a small smudge brush or a cotton bud to soften the top edge of your liner creates a sophisticated, smoky effect.
Selecting the Best Formulas for Aging Eyes
The product you choose is just as important as the technique you use. For women over 50, I generally recommend moving away from harsh liquid liners with felt tips. These can be too stark against the skin and often emphasize every tiny ripple on the lid.
Gel-pencil hybrids are the gold standard for mature beauty. They offer the pigment of a liquid with the control and blendability of a pencil. Look for formulas labeled as “waterproof” or “long-wear” to ensure they don’t transfer to the upper lid if you have hooded eyes.
Eyeshadow used as a liner is another brilliant option for a soft, daytime look. Using a dark brown, navy, or charcoal shadow with a thin, angled brush provides a very diffused definition. This method is incredibly easy to correct if you make a mistake and is the most comfortable for sensitive eyes.
The Benefits of Gel Pencils
Gel pencils are designed to glide across the skin without any pressure. This is vital because you want to avoid pulling on the eye area, which can cause irritation and long-term sagging. Most high-quality gel liners stay creamy for about thirty seconds, giving you enough time to smudge them before they lock into place.
These pencils are also excellent for the “tightlining” technique. Because they are water-resistant, they stay on the inner rim of the upper lash line much better than traditional kohl. This creates a thicker-looking lash base without taking up any actual lid space.
When to Use Powder Instead of Pencil
If you have very oily lids, even waterproof pencils might occasionally smudge. In this case, a high-pigment eyeshadow applied with a slightly dampened brush is your best friend. The moisture helps the powder adhere to the skin and creates a more vibrant line that dries down to a matte finish.
Powder is also the most forgiving formula for those with shaky hands. You don’t need a single, continuous stroke to make it look good. You can “press” the color into the lash line in small segments, which naturally hides any wobbles in your application.
| Liner Type | Best For | Pros | Cons |
|---|---|---|---|
| Gel Pencil | Daily Definition | Long-wearing, easy glide | Needs sharpening frequently |
| Eyeshadow | Soft, Natural Look | Very forgiving, many colors | Can fade faster than gels |
| Liquid Liner | Dramatic Looks | Sharpest definition | Can look harsh on crepey skin |
| Cream Pot | Precision Blending | Versatile, professional finish | Requires a separate brush |
The Tightlining Technique: Invisible Definition
Tightlining is perhaps the most useful trick for any woman over 50. It involves applying liner directly into the root of the lashes and onto the upper “waterline” (the wet part under your lashes). This creates the appearance of a very thick, lush lash bed without a visible line of makeup on the lid.
This technique is perfect for those who feel that traditional eyeliner makes their eyes look too heavy or “closed in.” It opens up the eye area while providing a subtle contrast that makes the whites of the eyes look brighter. It is the “no-makeup” makeup approach to eyeliner.
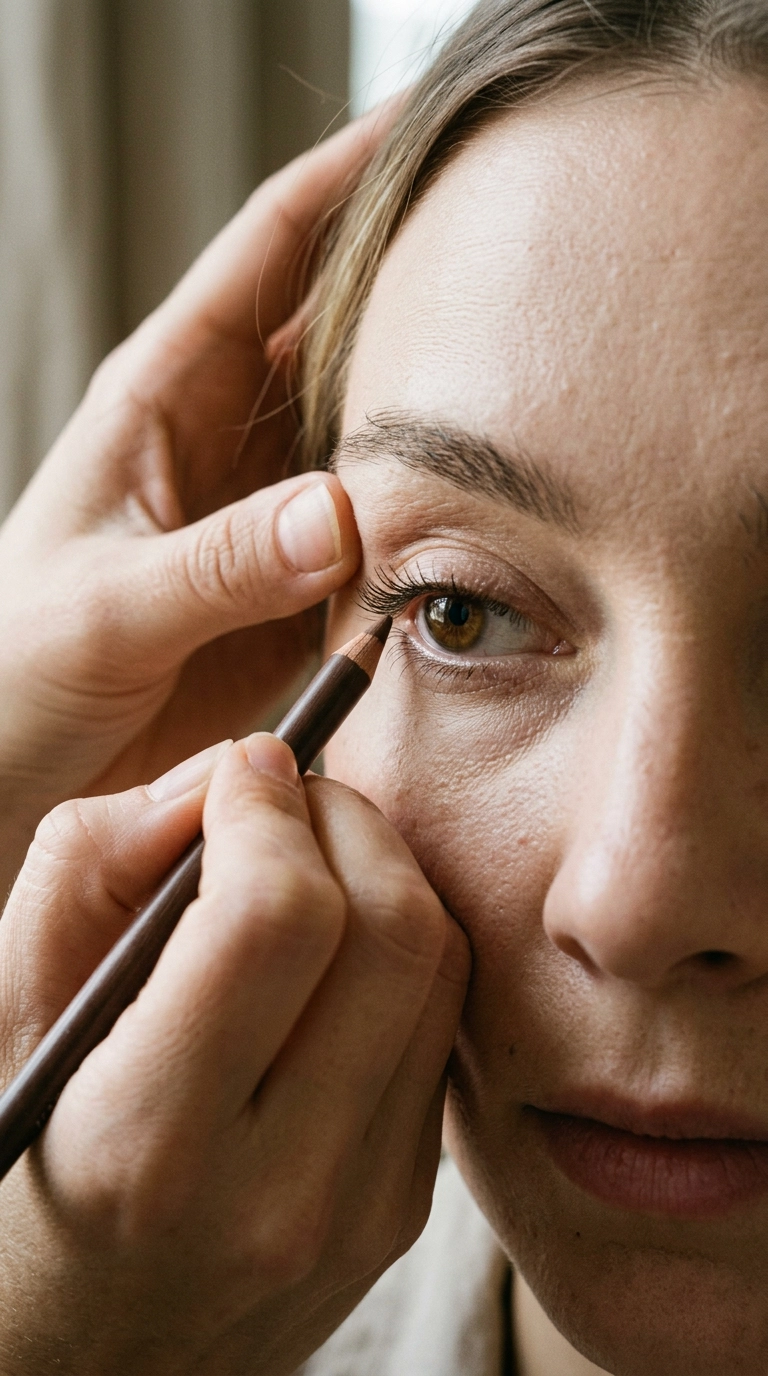
To do this safely, use a clean finger to gently lift your upper lid. Using a waterproof gel pencil, wiggle the color into the gaps between your eyelashes. Focus on the outer two-thirds of the eye to maintain a bright, open look near the tear duct.
Step-by-Step Tightlining
- Ensure your eyeliner pencil is freshly sharpened but then blunted slightly on the back of your hand so it isn’t sharp or scratchy.
- Look down into a mirror while gently lifting your eyelid with your non-dominant hand.
- Press the pencil into the base of the lashes from underneath, using a side-to-side wiggling motion.
- Continue until the entire upper lash line looks darker and more dense.
- Blink a few times to ensure the product has set and doesn’t transfer to the bottom waterline.
Choosing the Right Color for Tightlining
While black is the traditional choice, a deep espresso brown or a dark charcoal often looks more sophisticated on mature skin. These shades provide the same depth but with a softer edge that blends naturally with your lashes. If you have very fair hair and skin, even a medium taupe can be effective.
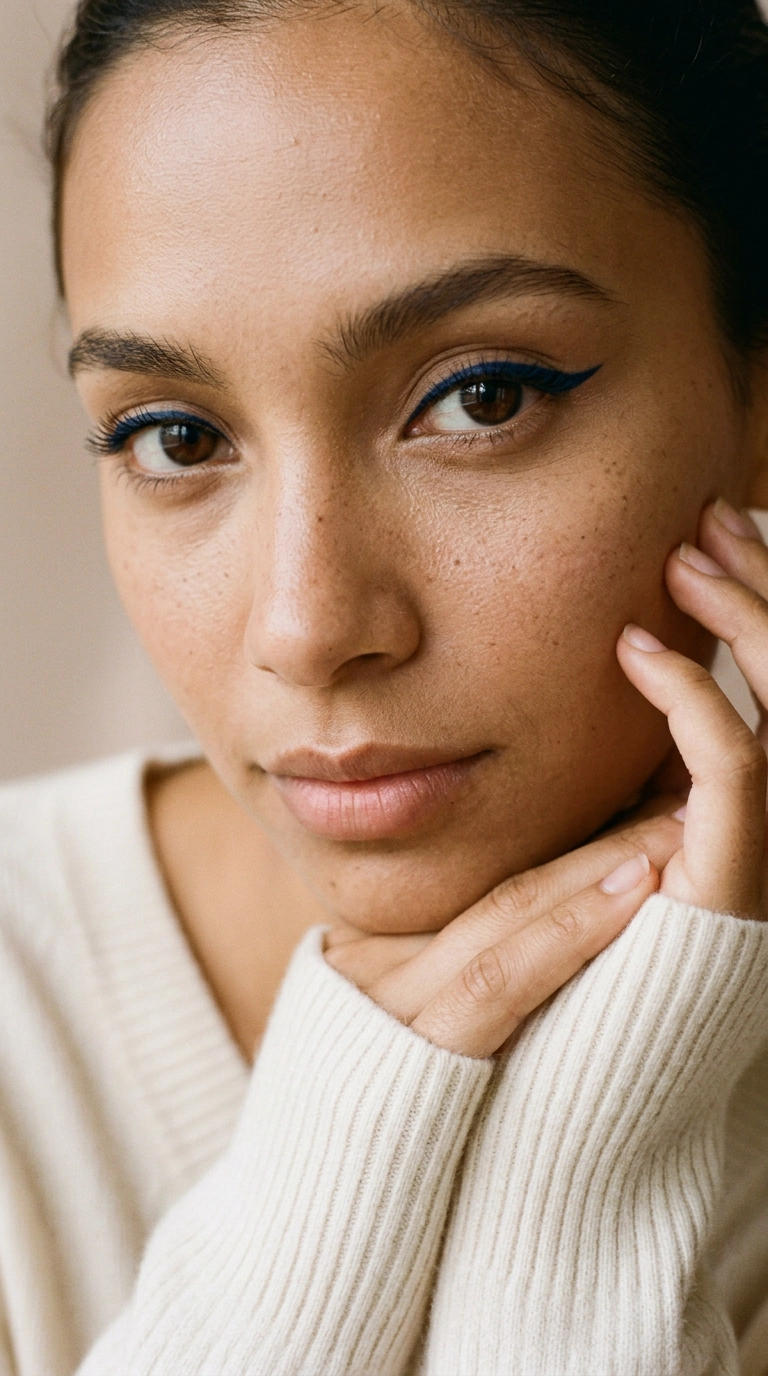
For a special evening look, try a deep navy or a plum shade for tightlining. These colors are fantastic for neutralizing any redness in the eyes and making the iris color pop. Navy is particularly good for making the whites of the eyes look clear and rested.
The Lifted Wing: A Modern Approach for Hooded Eyes
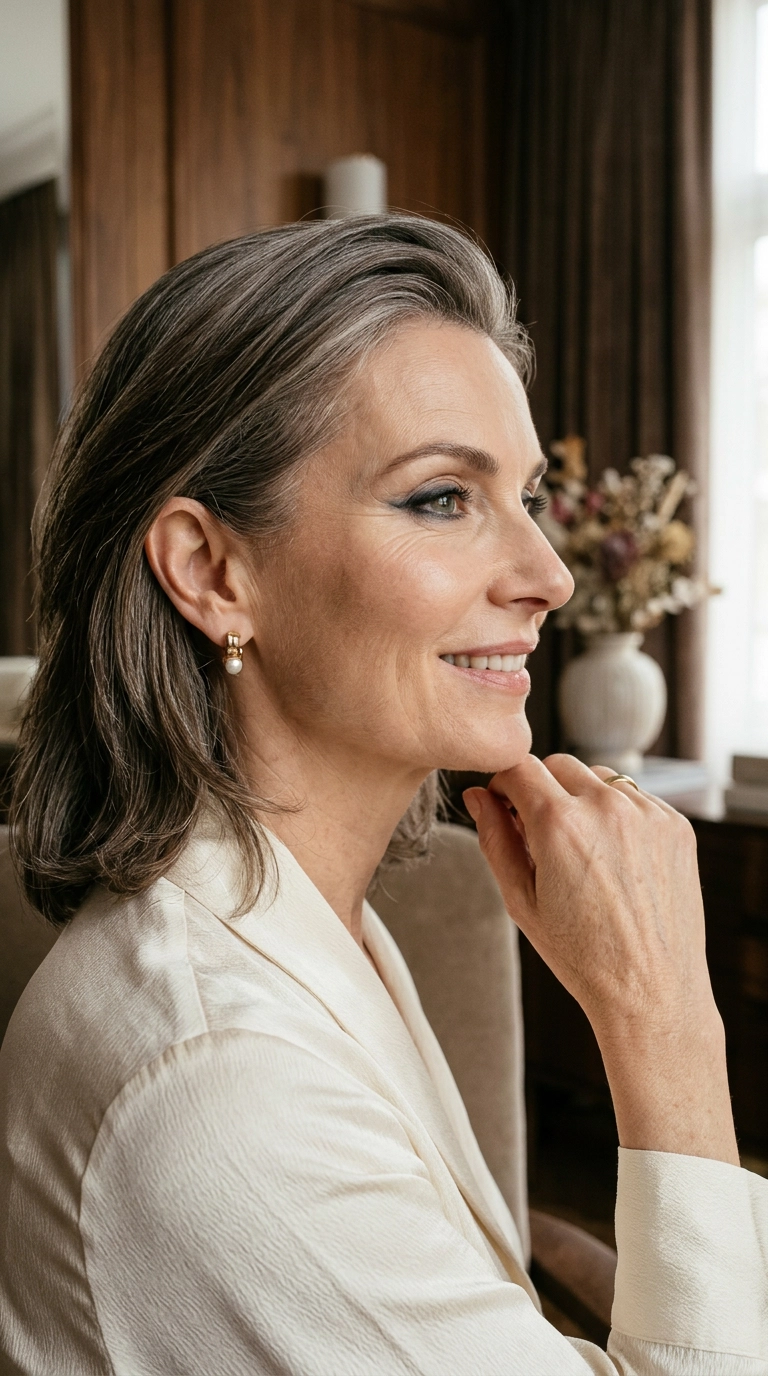
The goal of a wing after 50 isn’t a sharp, graphic point; it is a soft, upward shadow that lifts the outer corner of the eye. Think of it as a “flick” of shadow rather than a line of ink. This mimics the effect of a mini eye-lift without any invasive procedures.
The biggest mistake is following the natural downward curve of the eye at the very end. Instead, stop your liner a few millimeters before the actual corner of your eye begins to drop. From that point, draw a tiny diagonal line upward and outward toward the tail of your eyebrow.
Once you have that small mark, use a tiny smudge brush to soften the edges. The result should be a hazy, lifted corner that disappears into your natural skin tone. This creates a beautiful, almond-shaped eye that looks refreshed and youthful.
Placement Tips for Maximum Lift
Always apply your wing with your eyes open. If you close your eye to draw the wing, the fold of skin will likely cover it when you open your eye again. By keeping your eye open, you can draw right over any folds, ensuring the line looks straight when you are looking at someone.
If you find it difficult to get the angle right, use the “tape trick” or a business card as a guide. Align the edge of the card from the outer corner of your eye toward the end of your brow. Trace along the edge with a soft pencil or shadow, then remove the guide for a perfect, lifted angle every time.
Smudging for a Chic Finish
A “perfect” line is very hard to achieve on textured skin, but a smudged line is effortless. After applying your pencil, use a small, dense brush to buff the outer edge of the wing. This diffuses the pigment and creates a gradient effect that is very flattering.
This technique also helps the liner last longer. By buffing the cream into the skin and perhaps topping it with a tiny bit of matching eyeshadow, you “set” the product. It prevents the liner from moving or settling into fine lines throughout the day.
Color Theory: Beyond Basic Black
As we age, our skin tone and hair color often become softer. Harsh black eyeliner can sometimes look too severe against a more delicate complexion. Exploring different colors can modernize your look and enhance your natural eye color in ways you might not have considered.
Rich browns, soft greys, and even muted metallics like bronze or copper are incredibly flattering. These shades provide definition without the “heavy” look that black can sometimes create. They allow your eyes to take center stage rather than your makeup.
Don’t be afraid of color, but choose “muted” versions. Instead of a bright purple, try a deep plum. Instead of an electric blue, choose a sophisticated navy. These colors have enough grey or brown in them to remain wearable while still offering a unique touch.
Best Shades for Your Eye Color
- Blue Eyes: Try warm browns, bronze, or copper. These orange-based tones provide a direct contrast to blue, making them appear more vibrant.
- Green Eyes: Plum, eggplant, or deep burgundy shades are stunning. Red-based tones make green eyes stand out beautifully.
- Brown Eyes: Navy blue, olive green, or deep charcoal. These cooler tones provide a beautiful contrast to the warmth in brown eyes.
- Hazel Eyes: Emerald green or rich gold. These shades highlight the different flecks of color within the iris.
When to Stick with Black
Black eyeliner isn’t completely off-limits, but it is best used for specific occasions. If you are wearing a very dark outfit or going to a formal evening event, black can provide the necessary drama. In these cases, try to keep the line very thin and very close to the lashes.
Another way to use black is to combine it with brown. Use black for tightlining to create that dense lash look, then use a softer brown on top of the lid. This gives you the depth of black without the harshness on the visible part of your skin.
Pro Tips for Shaky Hands and Easy Correction
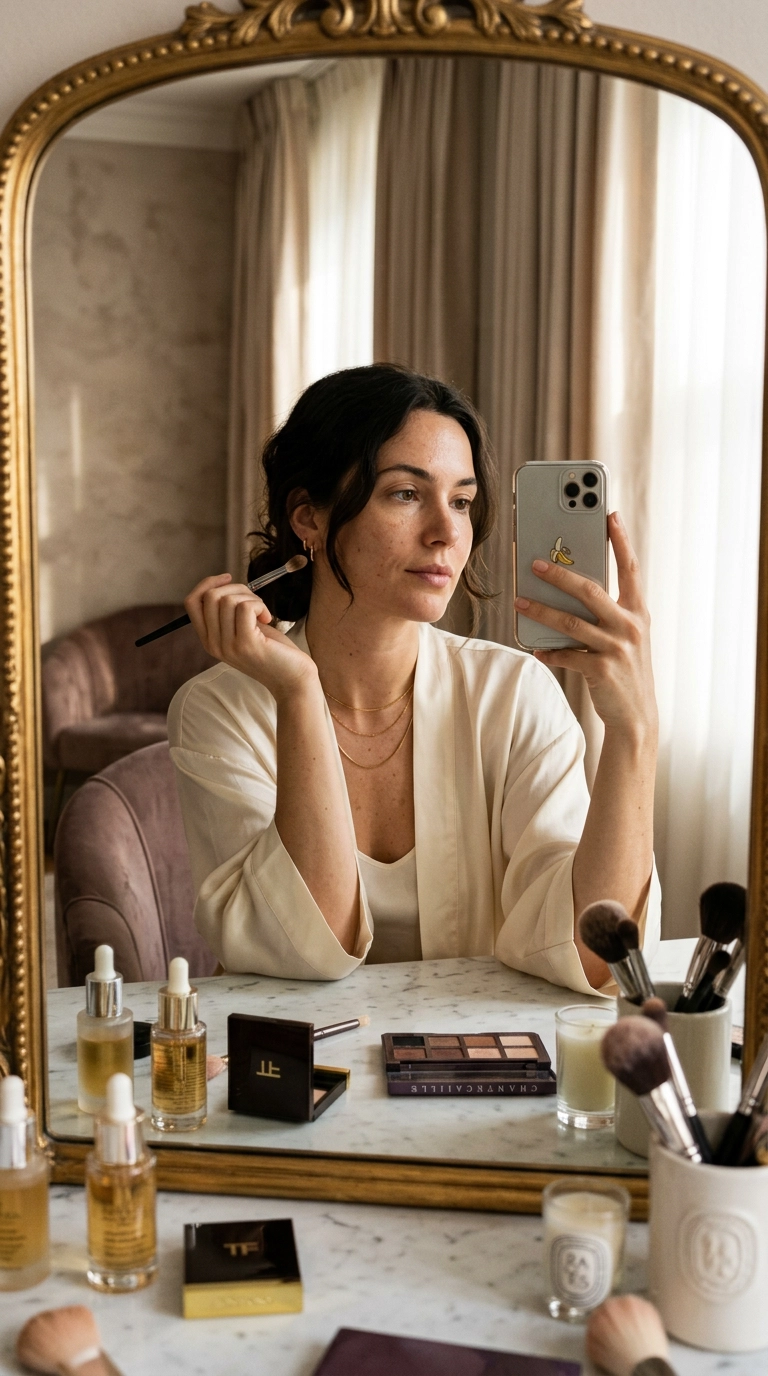
If you find that your hands aren’t as steady as they used to be, don’t worry. This is a common challenge, and there are several ways to work around it. The most important tip is to create a stable environment for your application.
Sit down at a table or vanity rather than standing in front of a bathroom mirror. Rest your elbow on a flat, solid surface and rest your pinky finger against your cheek while you apply your liner. This “tripod” position provides significantly more control and reduces shaking.
Instead of trying to draw one continuous line, use the “dash and connect” method. Draw small, short dashes along your lash line. Once you have the placement right, go back and gently smudge the dashes together. This removes the pressure of getting it right in one go.
The Magic of Correction
Makeup is not permanent, and mistakes are easily fixed. Keep a few pointed cotton swabs and some micellar water nearby. If your line goes astray, simply dip the swab in the water and “erase” the mistake. It is much easier to clean up a line than to try to draw it perfectly the first time.
You can also use a bit of concealer on a flat brush to sharpen the edge of your eyeliner. Think of it like an eraser. If your wing is a bit too thick or shaky, a quick swipe of concealer underneath the line will make it look sharp and professional.
Essential Tools for Precision
- Pointed Cotton Swabs: Better than round ones for getting into tight corners and fixing small mistakes.
- Angled Eyeliner Brush: Perfect for applying eyeshadow as liner or softening a pencil line.
- Magnifying Mirror: A must-have for seeing exactly where you are placing the product without straining your eyes.
- Pencil Sharpener: A sharp pencil is essential for a clean line; never use a dull one on mature skin.
Frequently Asked Questions
Should I use eyeliner on my bottom lash line?
For most women over 50, less is more on the bottom. A heavy line on the lower lid can pull the eye down and emphasize dark circles. If you want lower definition, use a soft shadow on the outer third of the lash line and smudge it well.
How do I prevent my eyeliner from smudging into my concealer?
The best way to prevent smudging is to “set” your eye area. After applying your concealer, use a small amount of translucent powder to lock it in. Then, once your eyeliner is applied, you can lightly tap a matching eyeshadow over the top to keep it in place.
Is liquid eyeliner ever okay for mature skin?
Yes, but it is best used in a very specific way. If you have very smooth lids, a thin line of liquid can look very chic. However, most experts recommend using it only to darken the very base of the lashes rather than creating a large, graphic shape.
What if my eyes are very sensitive?
Look for brands that are ophthalmologist-tested and fragrance-free. Mineral-based eyeliners or those designed for contact lens wearers are usually the gentlest options. If your eyes are very reactive, stick to powder shadow as liner, as it contains fewer binding agents that can cause irritation.
Final Thoughts for a Radiant Look
Updating your eyeliner technique is a small change that makes a significant difference in how you feel about your makeup. By embracing softer formulas, smarter placement, and the power of smudging, you can create a look that is both sophisticated and flattering. Remember that makeup should be a tool for your enjoyment, not a source of frustration.
Experiment with these techniques in the evening before you wash your face. This “practice time” removes the pressure of getting it perfect for an event or a workday. With a little bit of patience and the right products, you will find that defining your eyes is just as easy and rewarding as it ever was.
Your beauty is not fading; it is simply evolving into a new, more refined phase. Use these tips to highlight your eyes and let your confidence shine through. You have earned every one of those expression lines, and the right eyeliner will only make the stories behind them look even more beautiful.