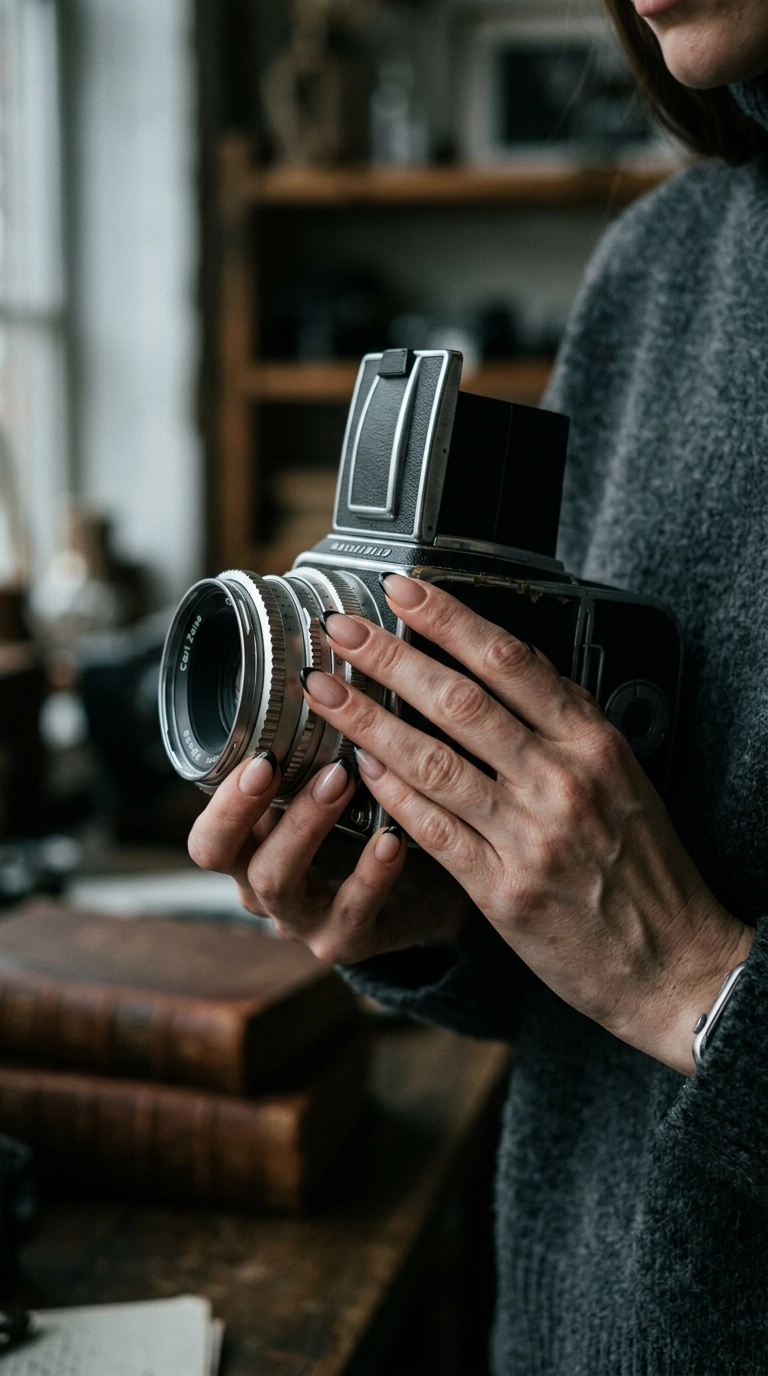
Mastering the Almond Shape – How to Sculpt and Style Professional Nails at Home?

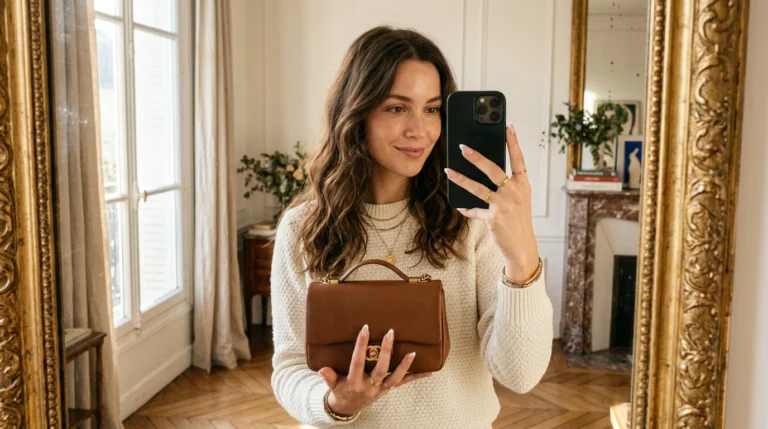
Almond nails are the gold standard for anyone wanting a sophisticated, elongated look that feels both modern and timeless. This shape mimics the actual nut, featuring a wide base that tapers into a soft, rounded point to create the illusion of longer, more slender fingers.
While the silhouette looks like it requires a professional hand, achieving that perfect tapered curve is manageable once you understand the geometry of your own nail bed. You don’t need a salon appointment to get this high-fashion finish; you just need the right tools and a bit of patience.
In this guide, I will walk you through the exact steps to transform your natural nails into this flattering silhouette. We will cover everything from the essential filing techniques to the maintenance routines that prevent breakage and keep your manicure looking polished for weeks.
Building Your Professional Home Nail Kit
Before you touch a single nail, you need the right instruments to ensure a smooth finish. Using a low-quality file can cause micro-tears in the nail plate, leading to peeling and splits later on.
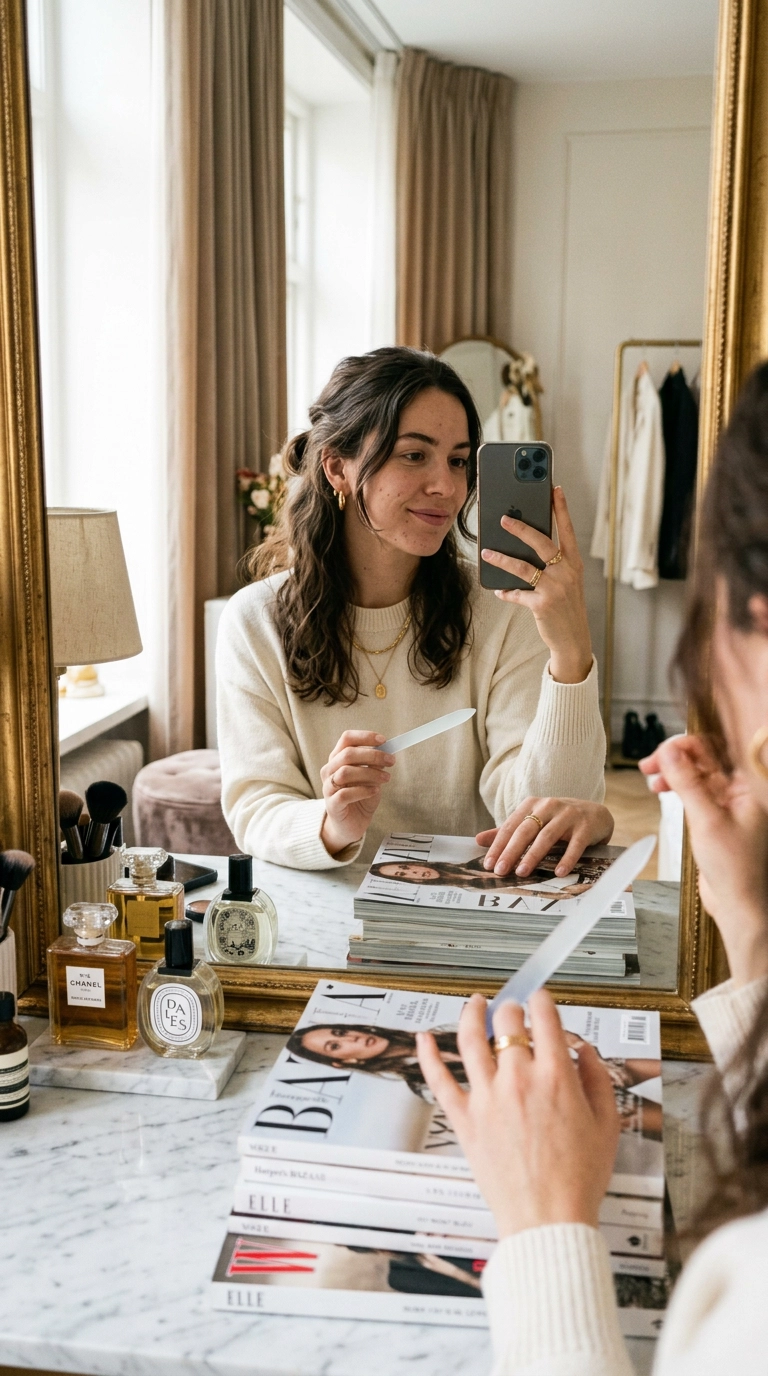
A glass or crystal nail file is your best friend for the almond shape because it allows for precision and seals the edges as you work. These files are much gentler than traditional emery boards and last significantly longer.
You should also have a high-quality buffer, a cuticle pusher, and a pair of sharp nippers specifically for hangnails. Avoid using clippers to create the initial shape, as the pressure can crack the natural nail.
| Tool | Purpose | Pro Tip |
|---|---|---|
| Glass Nail File | Precision shaping and edge sealing. | File in one direction for a smoother finish. |
| 180/240 Grit Buffer | Removing ridges and smoothing the surface. | Don’t over-buff; keep the nail plate strong. |
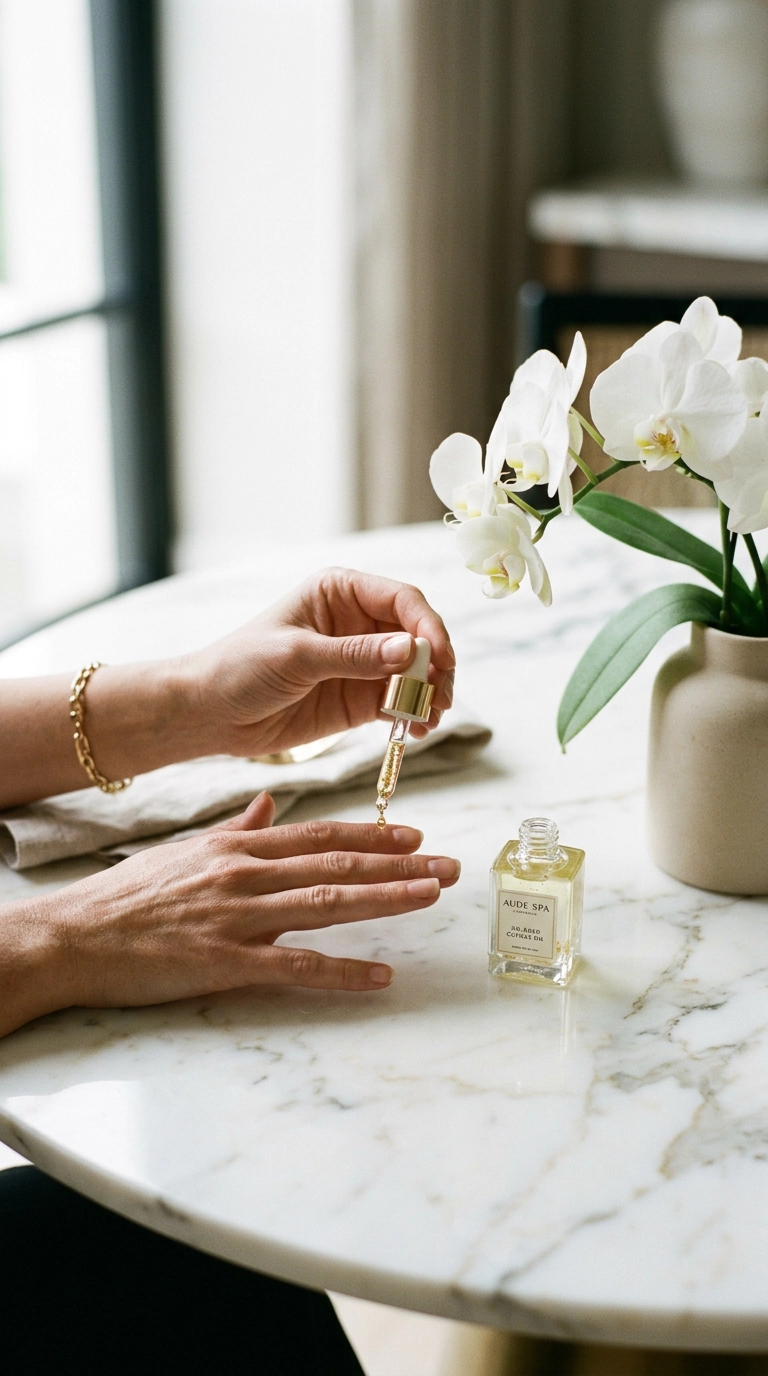
| Cuticle Oil | Hydration and flexibility. | Apply every night before bed. |
| Wooden Manicure Stick | Cleaning and pushing back cuticles. | Wrap the tip in cotton for a softer touch. |
Understanding File Grits
Choosing the right grit is vital for maintaining nail health. A lower number, like 100, is very coarse and meant for acrylics or thick gel extensions.
For natural nails, stick to 180 or 240 grit. These provide enough friction to change the shape without being too aggressive on your delicate natural layers.
The Geometry of the Perfect Almond
The secret to a symmetrical almond nail is finding your center point. If the tip of the almond is even slightly off-center, the entire finger will look crooked.
Look at the very base of your nail, near the cuticle. Imagine a straight line running from the center of your cuticle all the way to the free edge of your nail.
You can use a tiny dot of washable ink or a white eyeliner pencil to mark this center spot at the tip. This serves as your “north star” while you file the sides toward the middle.
Assessing Your Nail Length
Almond shapes require a certain amount of length to look their best. If your nails are too short, the taper will look more like a “squoval” or a rounded square.
Ideally, you want at least 3 to 5 millimeters of free edge extending past your fingertip. This gives you enough real estate to create a graceful, gradual curve without making the tip too sharp.
Step-by-Step Shaping Technique
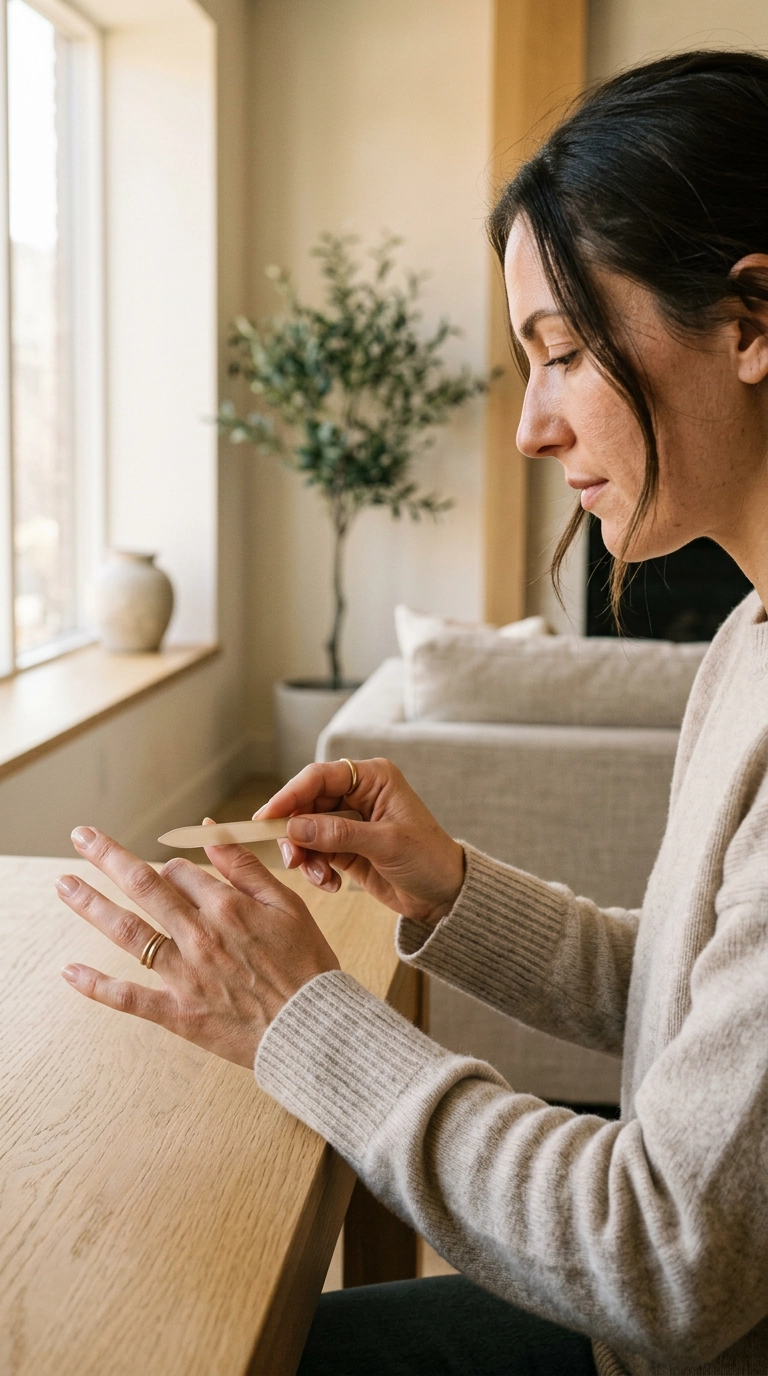
Begin by filing the sides of your nail at a 45-degree angle. Instead of filing straight across the top, you want to move from the side walls toward that center point you marked earlier.
Use long, fluid strokes rather than short, back-and-forth sawing motions. Sawing generates heat and can weaken the protein bonds in your nails, making them prone to snapping.
Check your work frequently from different angles. Flip your hand over so your palm faces you, then turn it back to see how the shape looks from someone else’s perspective.
- File the left side toward the center at a diagonal.
- Repeat the process on the right side to create a V-shape.
- Soften the point of the “V” into a rounded curve.
- Use a buffer to smooth out any jagged edges on the underside.
The “Taper” Rule
The almond shape should be widest at the base and narrowest at the tip, but the transition must be seamless. Avoid creating a “shoulder” where the side of the nail suddenly turns inward.
If you see a sharp corner or a flat spot, gently file that specific area using a circular motion. The goal is a continuous, elegant arc that flows naturally from the nail bed.
Prepping the Canvas for Color

Once you are happy with the shape, the preparation of the nail plate determines how long your manicure will last. Clean the surface with a lint-free wipe soaked in high-quality alcohol or a nail dehydrator.
Removing natural oils is the most effective way to prevent polish from lifting at the edges. Be careful not to touch your nails with your fingertips after cleaning them, as you will just reintroduce oils.
Apply a thin layer of a strengthening base coat. For almond shapes, I recommend a ridge-filling base coat, as the tapered look highlights any imperfections on the nail surface.
Managing Your Cuticles
A clean cuticle area makes the almond shape look even more elongated and professional. Instead of cutting the skin, use a gentle cuticle remover liquid and a wooden stick to push the softened skin back.
This creates more visible nail space and ensures the polish can be applied closer to the root. Only use nippers for actual hangnails or dead, white skin that is visibly peeling away.
Styling and Art for Almond Silhouettes
The almond shape is incredibly versatile when it comes to nail art. It provides enough surface area for intricate designs while maintaining a sleek, minimalist vibe if left plain.
One of the most popular ways to style this shape is with a “micro-French” tip. A very thin line of white or a contrasting color along the very edge emphasizes the graceful curve of the tip.
Velvet finishes and cat-eye polishes also look stunning on this shape because the light catches the curved surface beautifully. The depth of the shimmer adds a three-dimensional quality to the taper.
Choosing Your Color Palette
If you want to maximize the lengthening effect, choose a “mannequin hands” nude that closely matches your skin tone. This creates an uninterrupted line from your wrist to your fingertips.
Darker shades like deep burgundy, forest green, or classic black look edgy and expensive on almond nails. These colors highlight the precision of your shaping and provide a high-contrast look.
Maintaining Strength and Preventing Breaks
Almond nails are generally stronger than stiletto or square shapes because they don’t have sharp corners that get caught on fabric. However, they still need consistent care to stay resilient.
Hydration is the foundation of nail strength. Dry nails are brittle nails; they will snap under pressure rather than bending slightly.
Keep a small bottle of jojoba-based cuticle oil at your desk or in your bag. Applying it twice a day keeps the nail plate flexible and prevents the “side-wall” cracks that often plague longer nails.
Protective Habits
Use your knuckles or a tool to open soda cans and boxes. Your nails should never be used as a substitute for a screwdriver or a scraper.
If you do notice a tiny snag, fix it immediately with your glass file. If you leave a rough edge, it will eventually catch on something and lead to a deep tear that might require you to cut all your nails short.
Troubleshooting Common Shaping Issues
If you find that your nails are looking more like “claws” than almonds, you are likely filing the tip into too sharp of a point. Simply take your file and round off the very peak of the nail to soften the look.
If your nails look unbalanced, it is often because one side wall is filed higher than the other. Hold your hand directly in front of your face and compare the “slope” of each side; they should be mirror images of one another.
For those with wider nail beds, a slightly more dramatic taper can help slim the appearance of the finger. Just be careful not to file too far into the stress area where the nail attaches to the skin, as this can cause discomfort.
Achieving the perfect almond shape at home is a skill that improves with every session. By taking your time and focusing on symmetry, you can create a high-end look that complements any outfit or occasion. Keep your tools clean, your nails hydrated, and enjoy the confidence that comes with a perfectly executed DIY manicure.