
How to Style a Wavy Wolf Cut for Effortless Volume and Texture?

You have likely seen the wolf cut taking over your social feeds, and if you are blessed with natural waves, you are already one step ahead. This specific haircut relies on movement and volume, two things that wavy hair provides without much extra effort. I want to help you master this look so you can stop fighting your texture and start working with it.
Many people struggle with layers looking choppy or flat when they try this style at home. The secret lies in the balance between hydration and hold, ensuring your waves stay defined but never crunchy. This guide will walk you through the exact routine needed to keep your hair looking like you just stepped out of a high-end salon.
Whether you have loose 2A ripples or tighter 2C waves, the wolf cut is surprisingly versatile for your hair type. We will look at the specific products, drying techniques, and daily refresh habits that make this style sustainable for your lifestyle. Let’s get into the details of making your natural texture the star of the show.
Understanding the Architecture of a Wavy Wolf Cut
The wolf cut is essentially a modern blend of a vintage shag and a classic mullet. It features heavy layers around the crown to create height and thinning out toward the ends for a tapered finish. On wavy hair, these layers act as a weight-release system, allowing your natural pattern to spring upward.
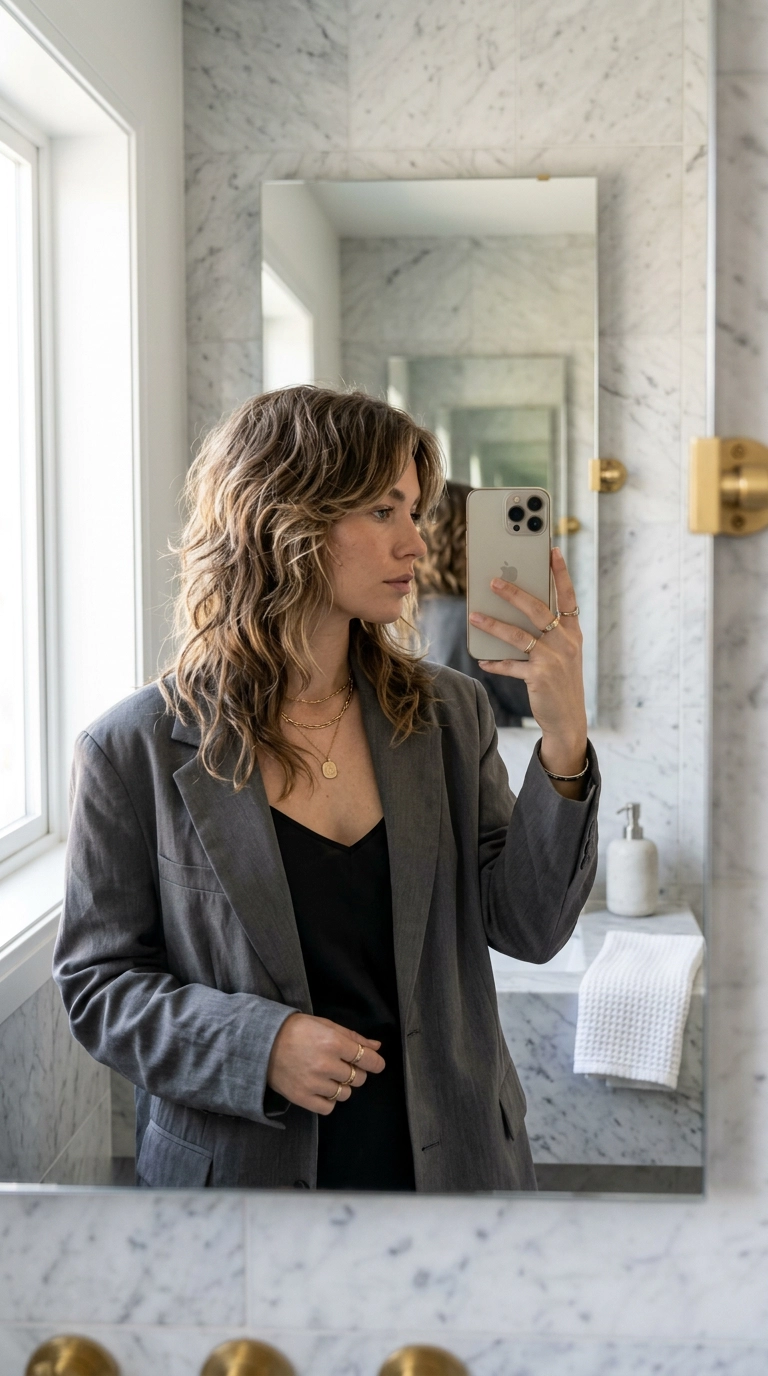
Unlike straight hair, which requires a lot of styling products to hold this shape, wavy hair has a natural “memory.” This means your hair wants to be voluminous if you give it the right environment. The shorter pieces around your face should frame your eyes and cheekbones, highlighting your bone structure effortlessly.
When you talk to your stylist, ask for internal layers that remove bulk without sacrificing length. This prevents the “poodle” effect where the hair becomes too wide at the sides. You want the weight to sit at the top and back of the head for that signature wild, wolf-like silhouette.
Why Waves and Wolf Cuts Are a Perfect Match
Wavy hair provides the “grit” and “body” that straight-haired people often have to buy in a bottle. Because your hair naturally bends, the layers of a wolf cut will stack on top of each other beautifully. This creates a 3D effect that makes your hair look much thicker than it actually is.
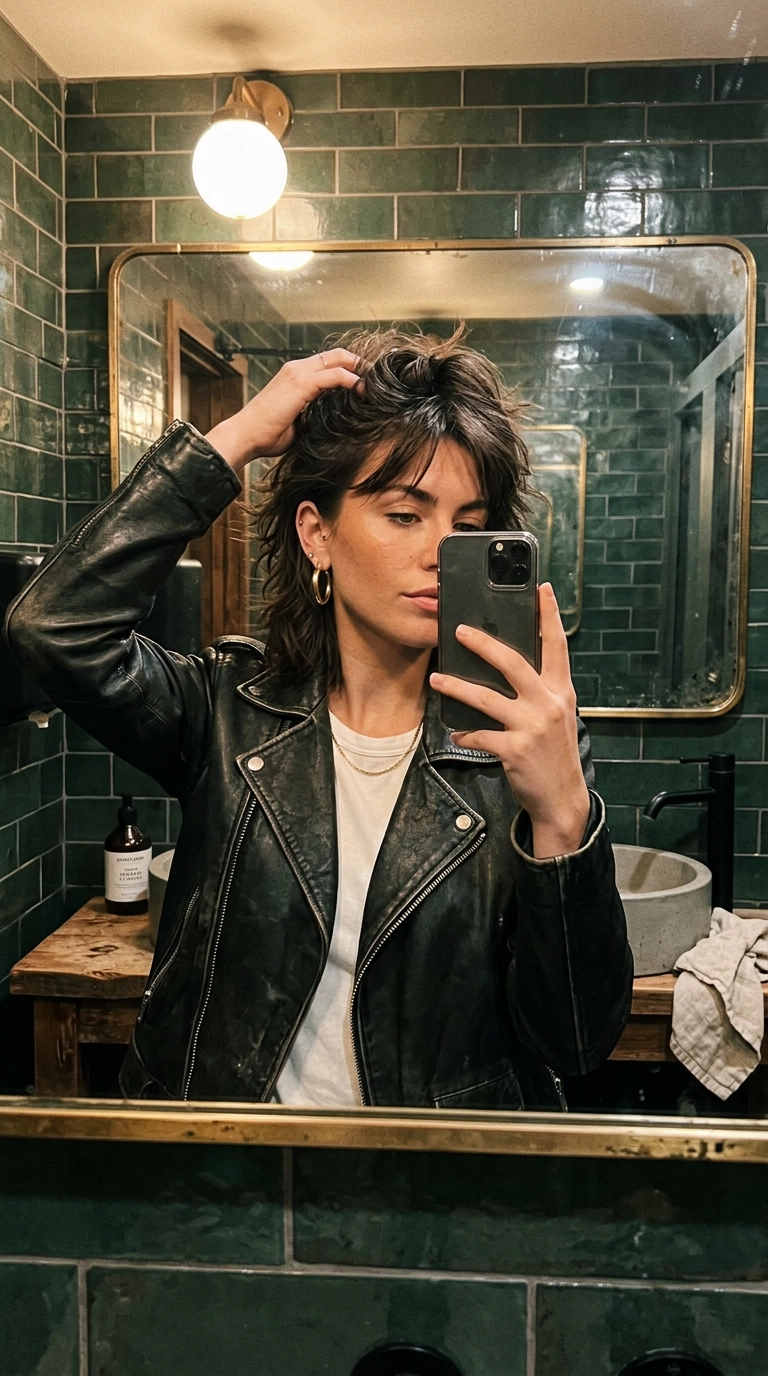
You also get the benefit of “lived-in” texture, which is the hallmark of this aesthetic. If a few strands go rogue or frizz up slightly, it actually adds to the cool, effortless vibe of the cut. It is a very forgiving style for anyone who doesn’t want to spend forty minutes with a blow dryer every morning.
Essential Products for Your Wavy Hair Kit
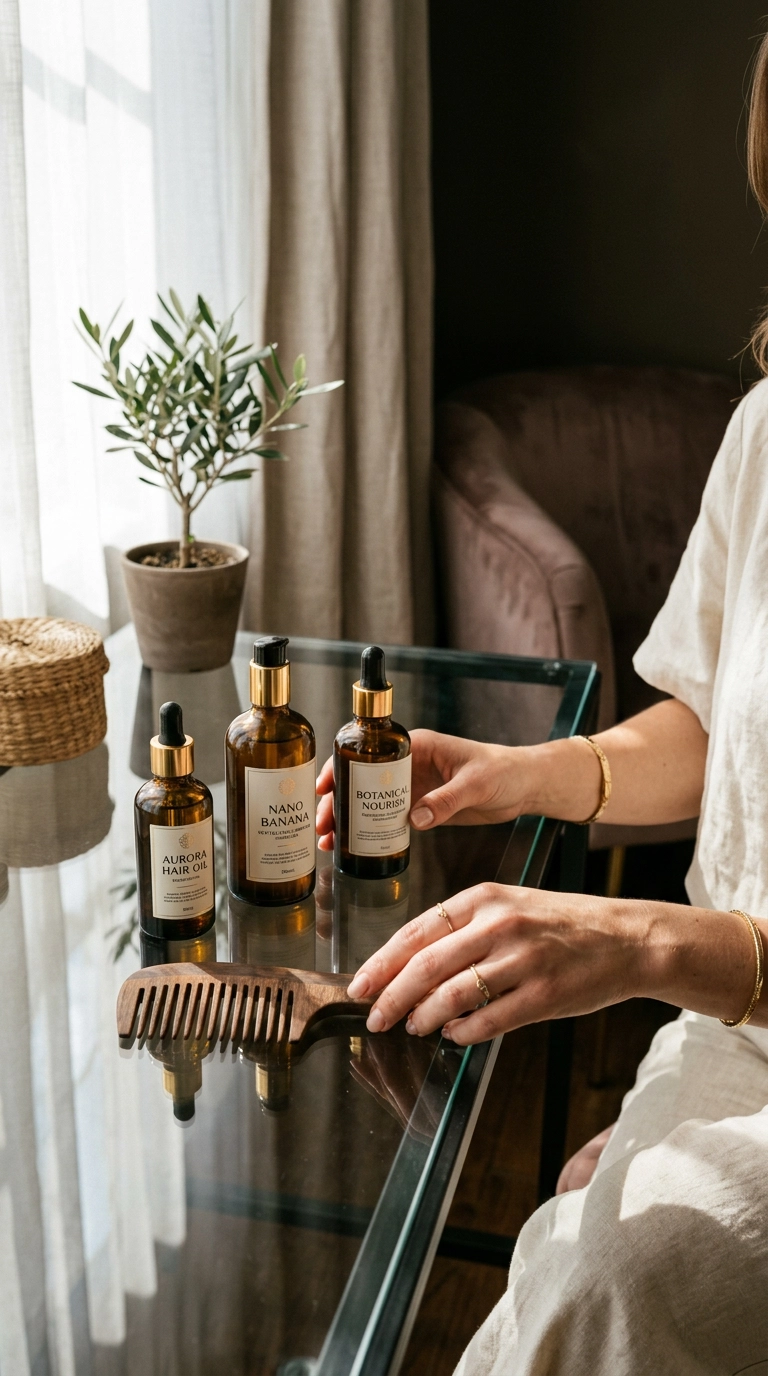
The success of your style depends heavily on the foundation you build in the shower. Wavy hair is notoriously prone to dryness, which can lead to frizz rather than defined clumps. You need products that provide moisture without using heavy silicones that might weigh down your layers.
Look for lightweight leave-in conditioners and salt-free texturizing sprays. These will help define your waves while keeping the “airiness” of the wolf cut intact. If your hair is on the finer side, a volumizing mousse applied to the roots will be your best friend for maintaining that crown height.
| Product Type | Purpose for Wolf Cut | Application Tip |
|---|---|---|
| Lightweight Mousse | Adds lift to the crown layers | Apply to damp roots before drying |
| Sea Salt Spray | Creates “piecey” texture | Mist onto mid-lengths and ends |
| Hair Oil | Seals cuticles and adds shine | Use two drops on dry ends only |
| Microfiber Towel | Reduces frizz during drying | Scrunch hair upward, never rub |
Choosing the Right Cleanser
Avoid heavy, buttery shampoos that are designed for extremely curly or coily hair. These can often make waves look greasy and flat by midday, ruining the wolf cut’s volume. A clarifying shampoo used once a week will remove product buildup and keep your layers bouncy.
On other days, use a sulfate-free shampoo that focuses on scalp health. A healthy scalp leads to better lift at the root, which is vital for the shaggy top section of your hair. Always follow up with conditioner only on the bottom two-thirds of your hair to avoid flat roots.
The Step-by-Step Styling Tutorial
Start with soaking wet hair right after your shower. Do not towel dry it first, as this can break up the wave clusters and cause instant frizz. Instead, apply your leave-in conditioner or curl cream while you are still standing in the bathroom.
Use the “praying hands” method to coat your strands evenly. This involves placing the product on your palms and smoothing them over the hair from top to bottom. Once the product is in, start scrunching the hair from the ends up toward the scalp to encourage the waves to form.
Next, use a microfiber towel or an old cotton T-shirt to gently squeeze out the excess water. This technique, often called “plopping,” helps the hair dry in its natural shape. Avoid using a standard terry cloth towel, as the loops can snag your hair and create static.
Air Drying vs. Diffusing
If you have the time, air drying is the gentlest way to maintain the integrity of your waves. To keep the volume at the top, use small hair clips to lift the roots while the hair is damp. This prevents the weight of the water from pulling your crown layers flat against your head.
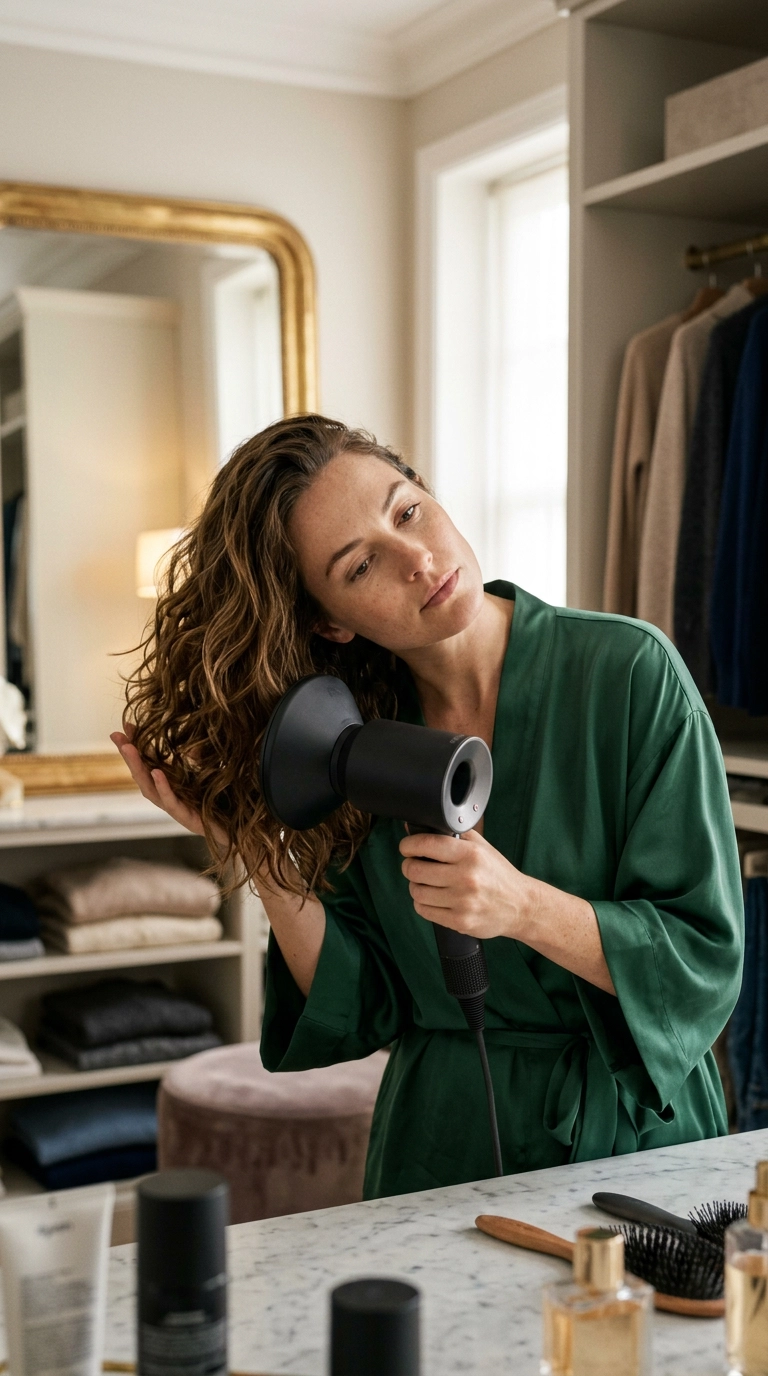
For those who want maximum drama, a diffuser is the way to go. Set your dryer to low heat and low airflow to prevent blowing the waves apart. Place your hair into the bowl of the diffuser and push it up toward your scalp, holding for thirty seconds in each section.
Once your hair is about 90% dry, stop and let the rest air dry. This prevents the hair from getting too parched and helps keep that soft, touchable finish. You can finish with a tiny bit of lightweight oil to break up any “crunch” left behind by your styling products.
Refreshing Your Waves Between Washes
Day two and day three hair can often look better than wash day because the natural oils provide extra grip. However, your waves might get flattened or lose their shape after sleeping. Instead of washing your hair again, use a spray bottle filled with water and a tiny bit of leave-in conditioner.
Mist the flat areas until they are damp, but not dripping wet. Use your fingers to twirl specific sections that have lost their definition, especially the pieces framing your face. This “spot styling” saves time and keeps your hair from becoming over-processed with heat.
If your roots are looking a bit flat, a dry shampoo or a volume powder is essential. Apply it directly to the crown and massage it in with your fingertips to create that “shaggy” height again. This also helps absorb any excess oil that might be weighing down your top layers.
The Power of a Texture Spray
A dry texture spray is the “secret sauce” for a wolf cut. Unlike hairspray, which can be stiff, texture spray adds “grit” and helps your layers stand out from each other. It creates that cool, messy look that makes the wolf cut so iconic.
Flip your head upside down and spray it through the mid-lengths while shaking your hair out. When you flip back up, you will have instant volume and a slightly lived-in feel. This is perfect for a midday refresh when your hair starts to look a bit too “polite.”
Choosing the Right Layers for Your Face Shape

The beauty of the wolf cut is that it can be tailored to suit any face shape. If you have a rounder face, you might want longer layers that start below the chin to elongate the look. For those with heart-shaped faces, more volume around the jawline can balance out a narrower chin.
Bangs are a huge part of the wolf cut aesthetic, and they work brilliantly with wavy hair. Curtain bangs are the most popular choice because they blend seamlessly into the side layers. If you have a high forehead, a full, wispy fringe can be very flattering and adds to the “wolfy” vibe.
Square face shapes benefit from soft, feathered layers that break up the strong line of the jaw. Ask your stylist to use a razor for some of the face-framing pieces to give them a softer, more diffused edge. This keeps the look from feeling too heavy or blocky.
Customizing for Different Wave Patterns
If your waves are very loose, you might need more layers to encourage them to curl up. Thinner, more frequent layers create more “ends” that can bend and move independently. This prevents the hair from looking like one solid mass of straight-ish hair.
For those with very thick, coarse waves, you need “sliding” layers. This technique involves the stylist sliding the scissors down the hair shaft to remove weight from the inside. It allows the hair to sit flatter against the head where needed while still having that shaggy exterior texture.
Troubleshooting Common Wavy Hair Woes
Frizz is the most common complaint with this style, but it is often just a sign of thirsty hair. If your waves are fuzzy, you might need to increase your deep conditioning sessions to once a week. Using a silk or satin pillowcase at night will also drastically reduce the friction that causes frizz.
Another issue is the “triangle” shape, where the bottom is wide and the top is flat. This usually happens when the layers at the top are too long. Don’t be afraid to go shorter with the crown layers; that is where the “wolf” personality lives.
If your hair feels sticky or gummy, you are likely using too much product. Wavy hair needs a “less is more” approach compared to curly hair. Start with a dime-sized amount of cream and only add more if your hair feels like it can handle it without becoming heavy.
Dealing with Flat Roots
If your hair naturally grows flat against your head, you might need to change your part frequently. Flipping your hair from one side to the other throughout the day can manually create volume. This prevents the hair from “settling” into a flat position.
You can also try “root clipping” while your hair dries. Use long metal duckbill clips to pinch the hair at the root and hold it upright. By the time the hair is dry, the roots will have set in a lifted position, giving you that effortless height without backcombing.
Nighttime Care for Lasting Volume

How you sleep is just as important as how you style your hair. To keep your wolf cut layers from being crushed, try the “pineapple” method. This involves gathering your hair loosely at the very top of your head with a silk scrunchie.
This keeps the waves on the top and sides from being rubbed against the pillow all night. In the morning, you simply shake it out and the volume is still there. It is the best way to extend the life of your style without having to restart the whole process.
If your hair is too short for a pineapple, a silk bonnet is an excellent alternative. It might feel a bit extra, but it keeps every layer in place and prevents moisture loss. You will wake up with hair that needs only a quick mist of water to look perfect again.
The Morning After Routine
When you take your hair down in the morning, let it settle for ten minutes before touching it. This allows the waves to drop naturally into place. If you start messing with it immediately, you might create unnecessary frizz or static.
Once it has settled, flip your head over and give the roots a quick massage with your fingertips. This wakes up the volume and helps the layers blend back together. Use a tiny bit of hair spray or texture spray if you need to lock in the height for a long day ahead.
Embracing the Wavy Wolf Cut Journey
Switching to a wolf cut is a commitment to your natural texture, and it might take a few weeks to find your perfect rhythm. Wavy hair is temperamental and can change based on the weather, humidity, and even the water quality in your shower. Be patient with yourself as you learn which products your specific waves love the most.
The goal of this style is to look a bit wild and unpolished, so do not stress over every single strand being in place. The more you embrace the natural movement of your hair, the more confident you will feel. This cut is about freedom and personality, so let your waves do their thing and enjoy the low-maintenance beauty of the wavy wolf cut.