How to Style a Long Wolf Cut for Effortless Texture and Volume?
The long wolf cut is the perfect blend of 70s rock-and-roll shag and 90s layered volume, offering a silhouette that feels both rebellious and polished. While the cut does a lot of the heavy lifting with its choppy layers and face-framing fringe, knowing how to style it at home is what makes the look truly stand out. If you have been struggling to get that perfect “cool-girl” messiness without looking unkempt, you are in the right place.
This guide is designed to help you navigate the various ways to wear your layers, whether you prefer a sleek blowout or a gritty, lived-in texture. We will look at the specific tools and products that work best for this particular shape so you can feel confident styling it every single morning. Your long hair has so much potential for movement, and these techniques will help you highlight every jagged edge and soft curve of your cut.
We are going to focus on practical, wearable styles that fit into a busy schedule while still looking like you just stepped out of a high-end salon. From mastering the air-dry to using velcro rollers for maximum height, these steps are easy to follow and highly effective. Let’s get started on making your wolf cut the most versatile hairstyle you have ever had.
The Essential Styling Kit for Layered Hair
To get the most out of a long wolf cut, you need products that provide hold without weighing down those shorter top layers. This haircut relies on “lift” at the crown and “piecey-ness” at the ends, so look for lightweight formulas. A good sea salt spray or a dry texturizing spray is your best friend for that signature gritty finish.
Heat protection is non-negotiable, especially since the layers in a wolf cut are often thinned out with a razor or thinning shears, making them more prone to heat damage. A light leave-in conditioner can help keep the longest sections looking healthy and hydrated. For the styling process itself, a medium-sized round brush and a high-quality blow dryer with a nozzle attachment are essential for directing the hair.
Consider adding these items to your vanity to make the process easier:
- Texturizing Spray: Adds grit and volume to the crown and mid-lengths.
- Velcro Rollers: Perfect for getting that retro 90s lift in the fringe and top layers.
- Lightweight Hair Oil: Smooths the very ends of the hair to prevent a “frizzled” appearance.
- Crepless Clips: Useful for holding face-framing pieces in place while they cool.
Choosing the Right Product for Your Hair Type
Not all wolf cuts are styled the same way; your natural hair texture dictates which products will work best. If you have fine hair, you want to avoid heavy waxes or creams that will make your layers look greasy and flat. Instead, lean into mousses and powders that build internal structure and keep the hair bouncy.
For those with thick or coarse hair, a smoothing cream or a light pomade can help define the layers and stop the hair from becoming too “poofy.” You want the volume to look intentional, not accidental. Using a small amount of product and building it up is the best way to ensure you don’t over-style the hair.
Mastering the Effortless Air-Dry Method
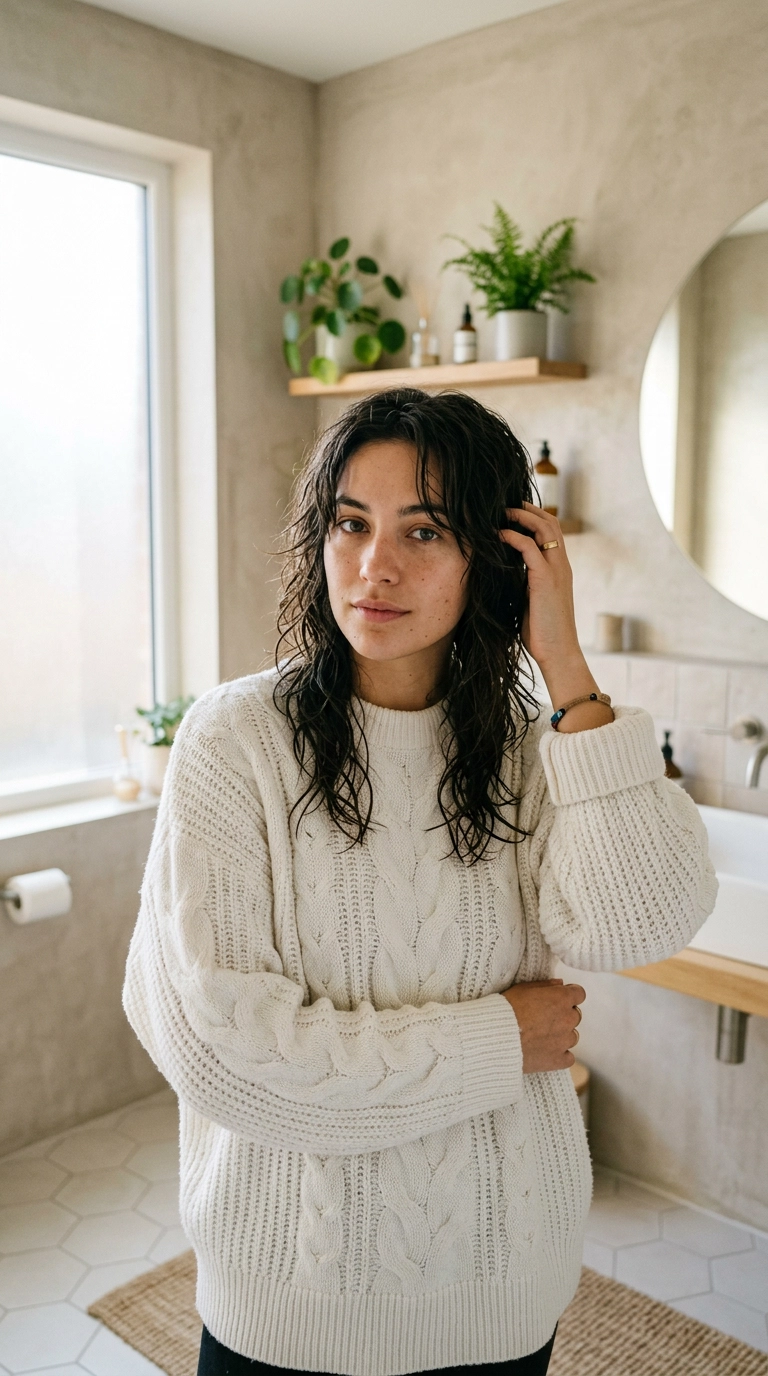
One of the biggest draws of the long wolf cut is its ability to look great with very little effort, provided you use the right air-drying technique. When your hair is damp, avoid rubbing it with a heavy towel, as this creates frizz and disrupts the natural layer pattern. Instead, use a microfiber towel or an old cotton t-shirt to gently squeeze out excess water.
Apply a small amount of curl-enhancing cream or a wave-defining spray while the hair is still quite wet. Use your fingers to “scrunch” the hair upwards toward the scalp, focusing on the mid-lengths and ends. This encourages the choppy layers to “clump” together slightly, which creates that desirable piecey look once it is dry.
To keep the top layers from lying flat against your head, try “pinning” the roots. Take small sections at the crown and lift them up, securing them with a small clip while they dry. This creates natural height at the base of the hair without needing any heat. Once the hair is 100% dry, shake it out with your fingers to break up any product cast.
| Product Type | Best For | Benefit |
|---|---|---|
| Sea Salt Spray | Fine to Medium Hair | Adds “grit” and beachy texture. |
| Styling Mousse | Flat or Thin Hair | Provides long-lasting root lift. |
| Smoothing Serum | Frizzy or Thick Hair | Controls flyaways and adds shine. |
The Polished 90s Blowout Technique
If you want a look that feels more “expensive” and polished, the 90s-inspired blowout is the way to go. This style emphasizes the dramatic difference between the short face-framing layers and the long back sections. Start by applying a volumizing spray to your roots and a heat protectant to your ends.
Use a round brush to blow dry your hair in sections, starting from the bottom and working your way up. The key to the wolf cut is to blow dry the hair *away* from your face. When you reach the top layers and the fringe, pull the hair forward and wrap it around the brush, then blow dry it while rolling the brush back towards your crown. This creates that iconic “flick” that defines the style.
For extra longevity, place your top sections into velcro rollers while they are still warm from the hair dryer. Let them sit for about ten to fifteen minutes while you do your makeup. When you take them out, your hair will have incredible bounce and a soft, rounded shape that highlights the layered architecture of the cut.
Handling the Fringe and Face-Framing Pieces
The “curtain bang” or heavy fringe area is the focal point of a wolf cut. If this part looks good, the whole style looks good. Use a smaller round brush for these sections to get a tighter bend. If your bangs tend to separate or look greasy quickly, use a tiny bit of dry shampoo right after styling to act as a barrier against skin oils.
Adding Waves and Texture with Heat Tools

When you want a bit more edge, adding messy waves is a great option. Instead of using a curling iron to create perfect ringlets, use a flat iron or a wide-barrel wand to create “S-waves.” The goal is to make the hair look wavy rather than curly, keeping the ends relatively straight for a more modern, shaggy appearance.
Take random sections of hair and twist them away from your face. Only hold the heat for a few seconds; you want a loose, lived-in feel. Once you have finished the whole head, let the hair cool completely before touching it. This is a crucial step to ensure the waves don’t drop out immediately.
After the hair has cooled, flip your head upside down and spray a generous amount of dry texturizing spray through the layers. Massage your scalp with your fingertips to create even more volume at the roots. When you flip your hair back up, you will have that perfect, “just rolled out of bed but make it fashion” look.
Defining the Jagged Ends
To make the choppy layers pop, use a tiny amount of hair wax or pomade on your fingertips. Gently “pinch” the ends of your layers to group them together. This prevents the hair from looking like one solid mass and instead showcases the intricate work your stylist did with the shears. It adds a “shredded” look that is very popular on Pinterest right now.
Updos and Half-Up Styles for Long Layers
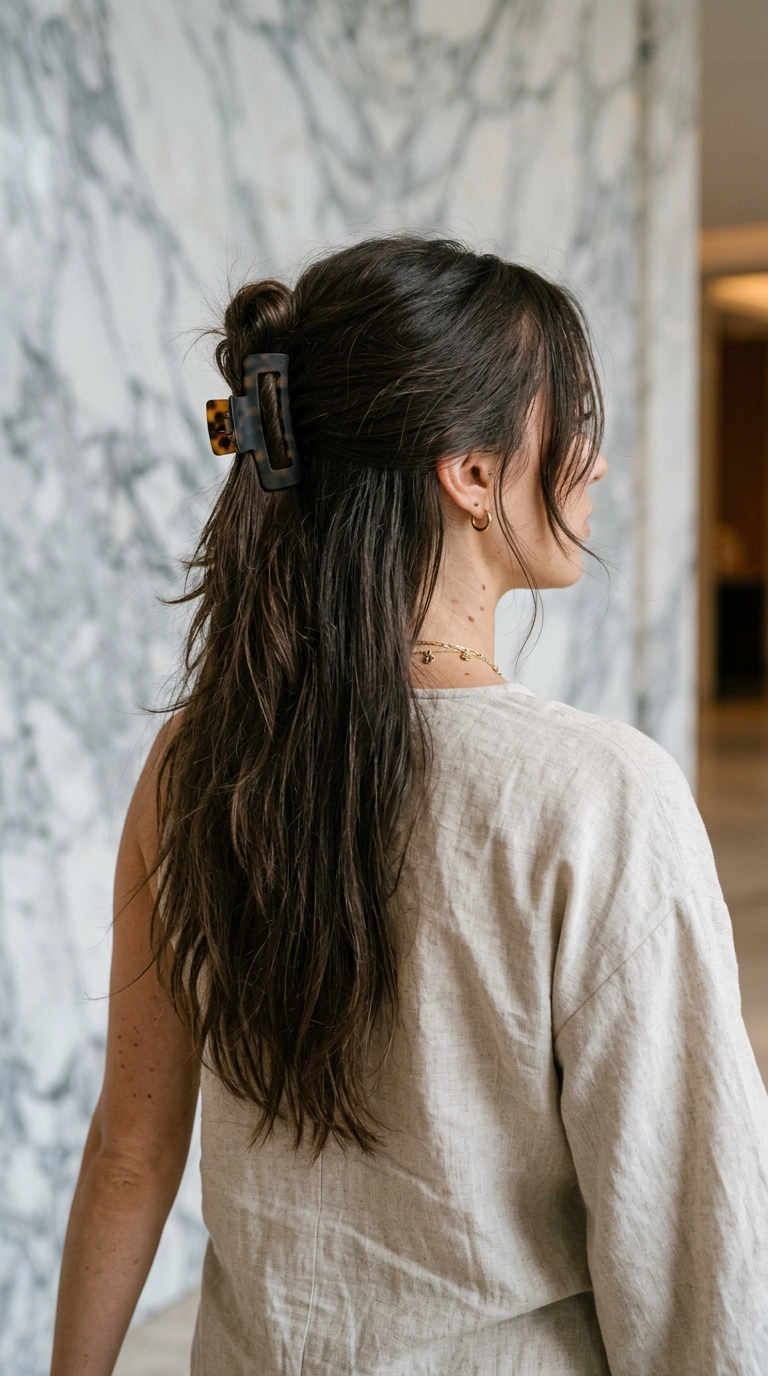
Sometimes you want your hair out of your face, but you don’t want to hide your layers. The half-up, half-down style is the ideal solution for a wolf cut. Because the top layers are shorter, they naturally want to fall out of a traditional ponytail, which actually works in your favor. Use a claw clip to secure the top half of your hair at the back of your head, letting the shorter face-framing pieces fall forward.
A “spiky” bun is another great way to style this cut. Pull your hair into a high ponytail but on the last loop of the hair tie, only pull the hair halfway through to create a loop. Let the layered ends stick out of the top and sides of the bun. This creates a very 2000s-inspired look that complements the rebellious nature of the wolf cut perfectly.
If you prefer a full updo, a low, messy bun works well. Don’t worry about making it perfect; the charm of a wolf cut updo is the “strays.” Let the shortest layers around your ears and forehead hang loose. You can use a curling iron to give these pieces a slight bend so they frame your face beautifully.
Maintaining the Health of Your Wolf Cut
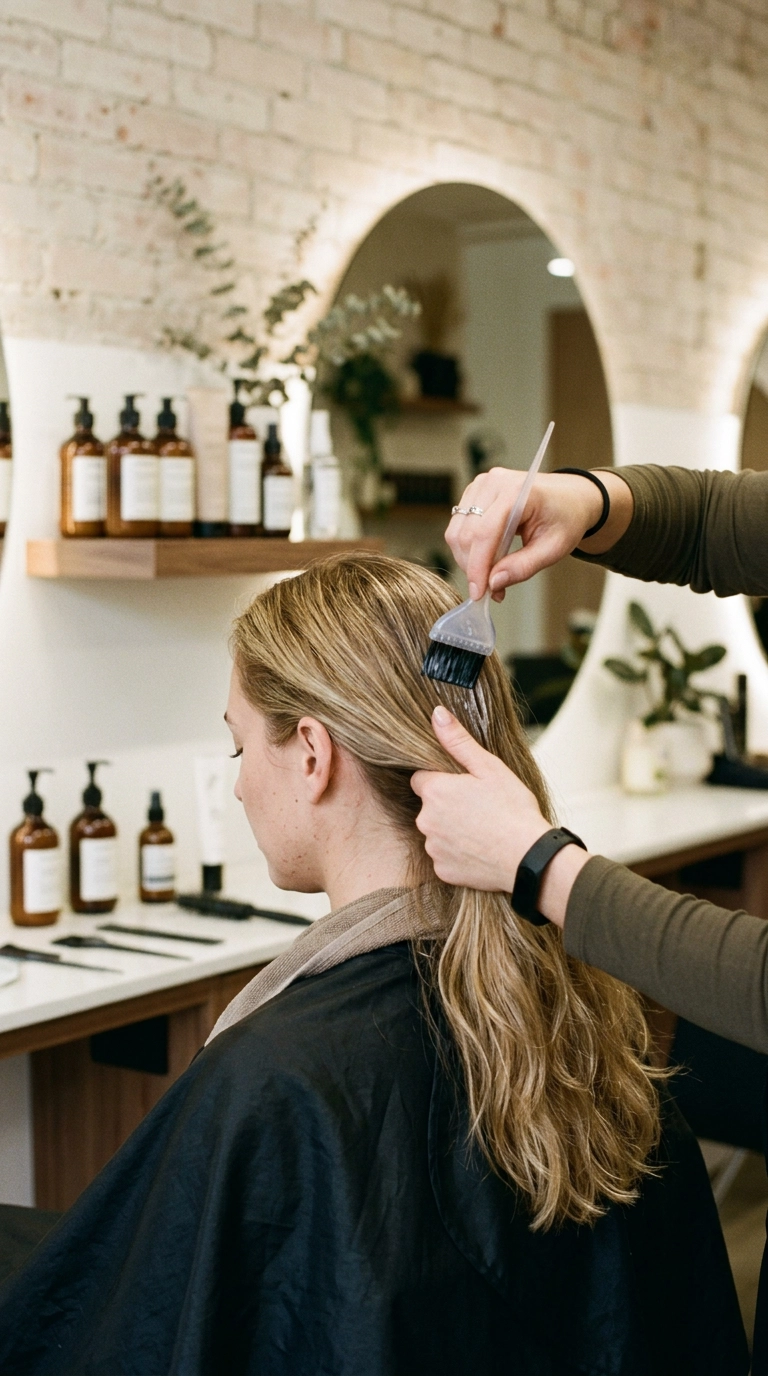
Because the wolf cut involves a lot of thinning and layering, the ends of your hair can become dry or split more easily than with a blunt cut. To keep your style looking intentional rather than damaged, regular trims are necessary. Aim to see your stylist every six to eight weeks to freshen up the layers and keep the “flick” at the ends looking sharp.
In between salon visits, use a deep conditioning mask once a week. Focus the product on the mid-lengths and ends, avoiding the roots so you don’t lose that essential volume. A clear hair gloss or “glaze” can also be used at home to add a high-shine finish, which makes the layers look more defined and healthy.
Remember that the wolf cut is all about movement. If your hair feels stiff or “crunchy” from too much product, it won’t have that signature sway. Always start with less product than you think you need and add more as you go. This keeps the hair touchable and soft while still maintaining the structure of the cut.
Finding Your Signature Wolf Cut Look
Styling a long wolf cut is all about experimenting with different textures until you find what makes you feel most like yourself. Some days you might love the high-volume drama of a blowout, while other days call for a gritty, air-dried vibe. The beauty of this haircut lies in its adaptability and the way it brings out the natural character of your hair. By using the right tools and leaning into the “perfectly imperfect” nature of the layers, you can make this trend look timeless and chic. Enjoy the process of learning your new hair, and don’t be afraid to let those layers run a little wild.