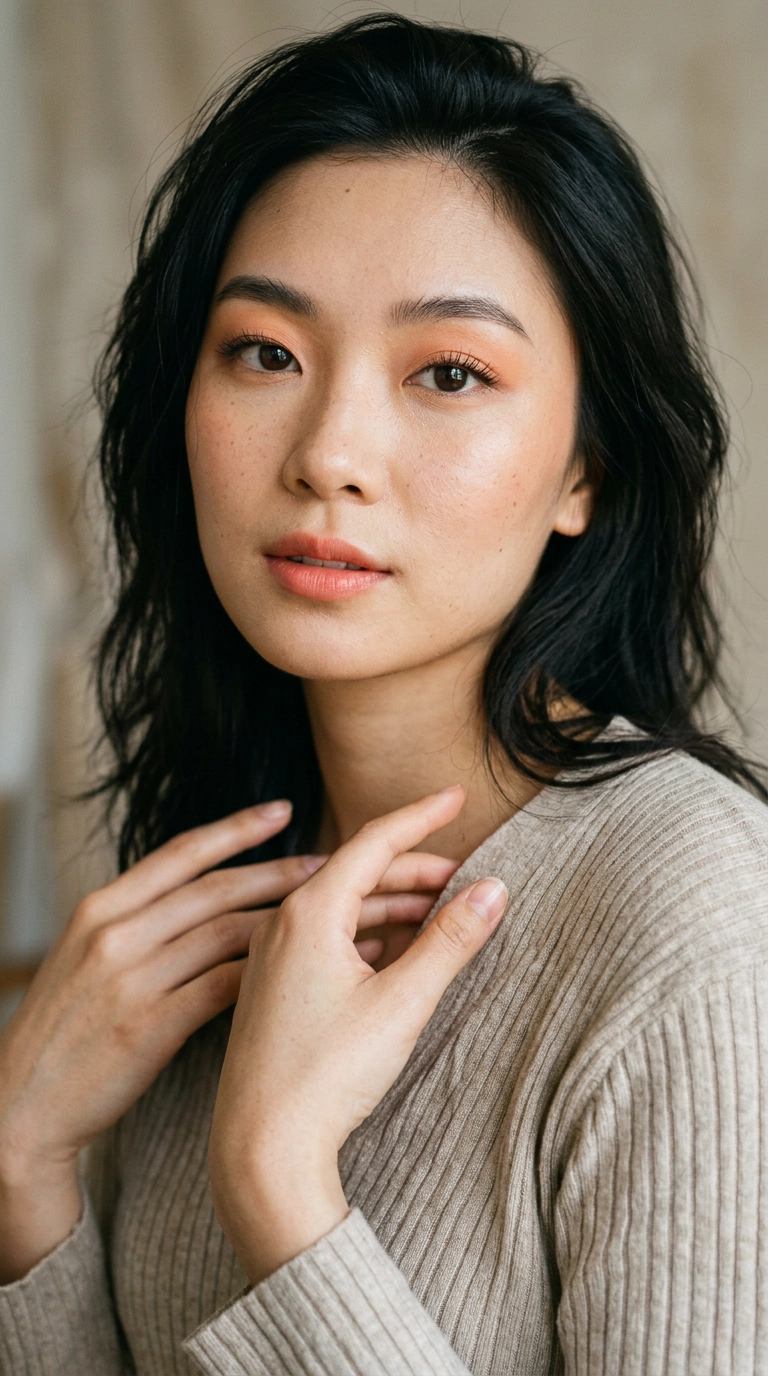
Secret to Flawless Eyeshadow – Identifying Your True Eye Shape

Ever wonder why that viral eyeshadow tutorial looks like a masterpiece on your favorite creator but looks a bit messy when you try it? The answer usually comes down to anatomy rather than skill. Every eye is a different canvas, and understanding your specific shape allows you to place color and liner in a way that truly enhances your features.
I have spent years helping people realize that their “makeup fails” are actually just techniques meant for a different eye shape. Once you learn how your lids are structured, you can stop fighting against your natural lines. You will start creating looks that make your eyes pop with much less effort.
This guide will walk you through the simple steps to diagnose your shape and provide tailored techniques for each one. We will look at everything from lid space to the tilt of your corners. Prepare to see your reflection in a whole new light and find the styles that make you feel your most confident.
Foundation: How to Analyze Your Eyes in the Mirror
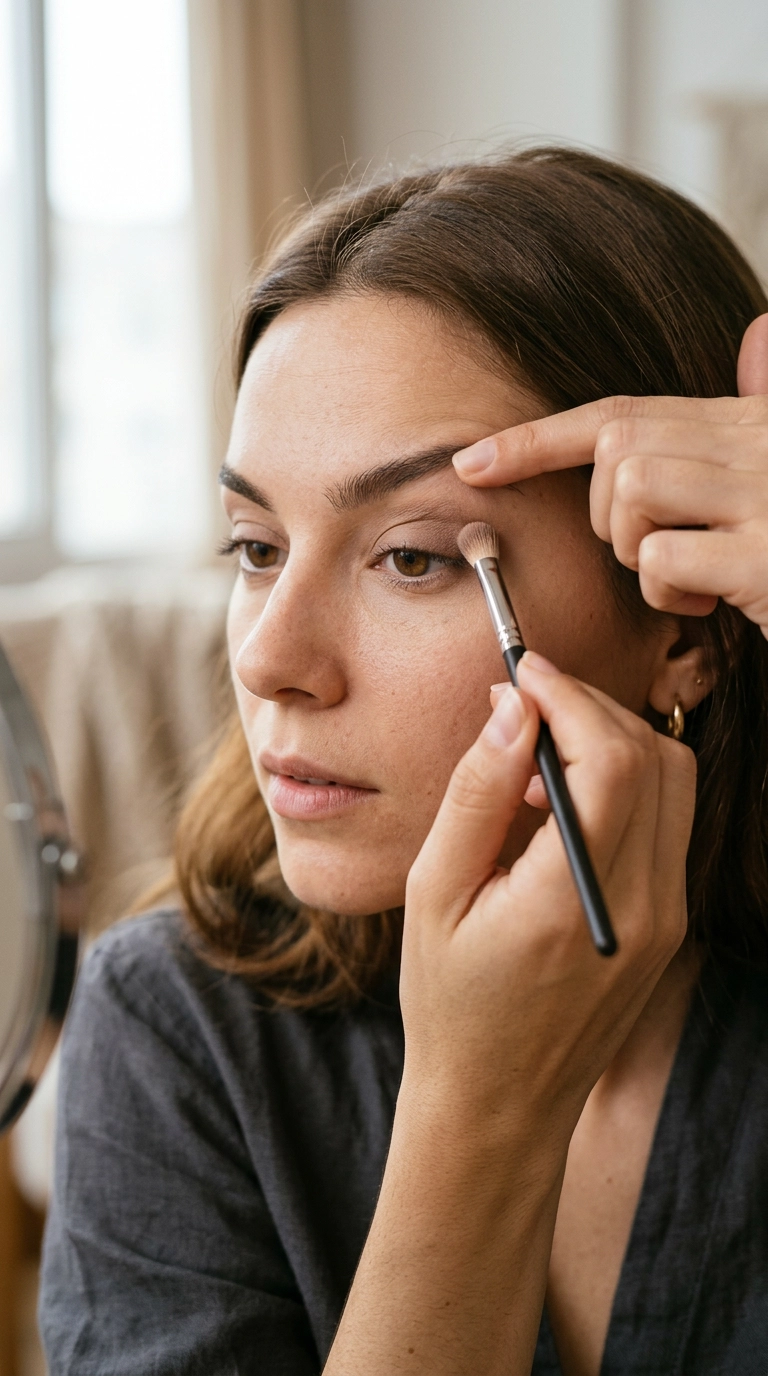
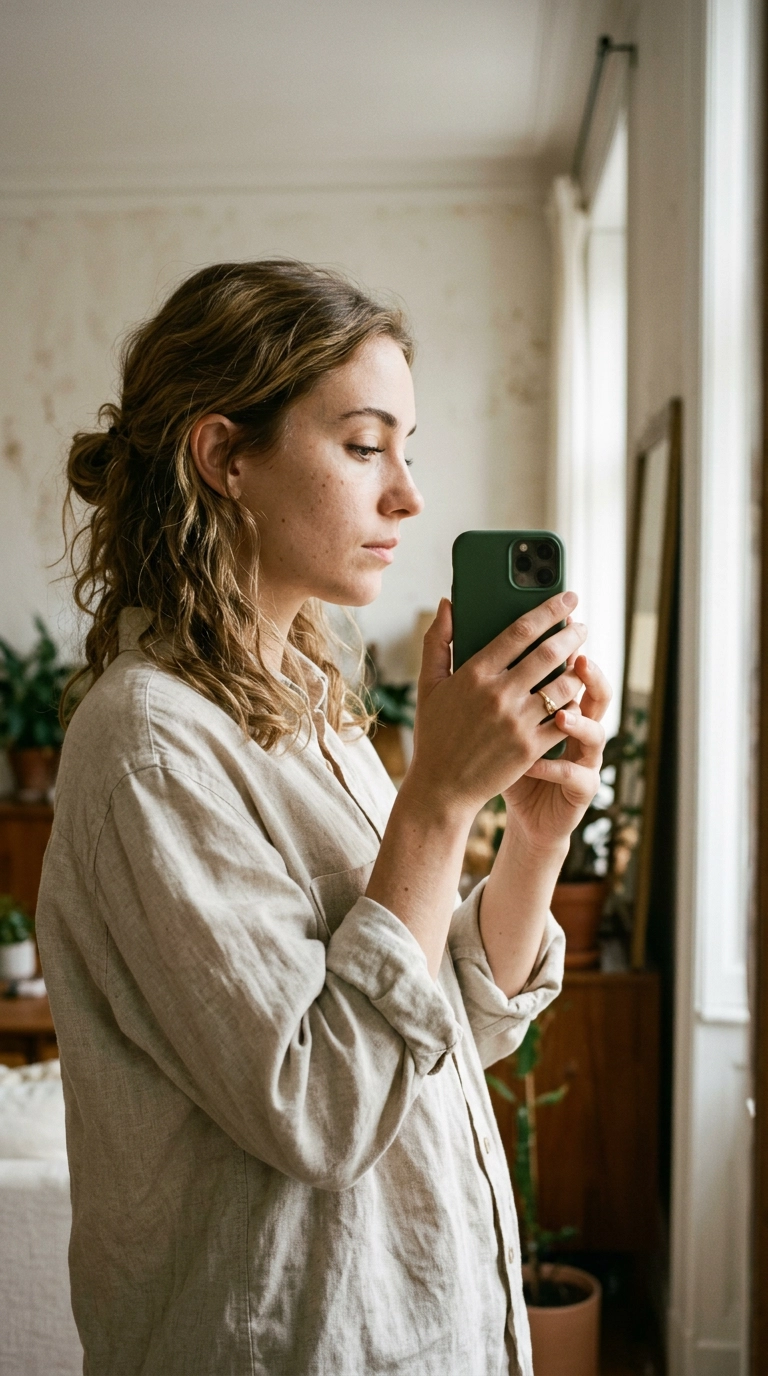
To get started, find a spot with plenty of natural light and grab a hand mirror. Look straight ahead with a neutral expression and your eyes fully open. This is the most accurate way to see where your skin naturally folds and where your lashes sit.
First, check for a crease in your eyelid. If you see a fold of skin but it is hidden by the upper part of your lid or brow bone, you likely have one of two specific shapes. If there is no visible crease at all, you have a monolid, which provides a beautiful, flat surface for artistic blending.
Next, imagine a straight horizontal line running through the center of your pupils. Look at the outer corners of your eyes in relation to that line. Do the corners turn up toward your temples, or do they dip slightly toward your cheekbones? This determines the “flick” you should use for your liner.
Questions to Ask Yourself
- Can I see the crease when my eyes are open?
- Does the skin of my brow bone touch my lash line?
- Is the white of my eye visible below the iris?
- Do my eyes appear to “pull” toward my nose or my ears?
Mastering the Monolid
Monolid eyes are characterized by a smooth surface with no visible crease line. This shape is incredibly versatile because you have a large, uninterrupted space to play with color and gradients. Many people with monolids find that a vertical gradient works best to add dimension.
Instead of trying to “cut” a crease where one doesn’t exist, try a “smoky” approach. Apply your darkest shadow closest to the lash line and blend it upward, fading into lighter tones as you reach the brow. This creates a soft, hazy effect that looks modern and polished.
Because the lid can sometimes overlap the lash line, waterproof products are your best friends. Look for long-wearing gel liners that won’t smudge when you blink. A tightline—applying liner to the upper water line—is also a great way to define the eye without taking up lid space.
Pro Tips for Monolids
- Use a primer to prevent shadow from transferring or disappearing.
- Focus on your lash game; a high-quality lash curler is essential for this shape.
- Try an “ombre” liner look by smudging your pencil for a softer finish.
Working with Hooded Eyes
Hooded eyes have a fold of skin that hangs over the crease, making the mobile lid look smaller or disappearing altogether. This is a very common shape that can be either genetic or a result of the natural aging process. The key here is to create “fake” real estate for your shadows.
When applying shadow, always keep your eyes open and look straight into the mirror. If you apply shadow with your eyes closed, it will likely disappear once you open them. Apply your transition shades slightly higher than your actual crease so the color is visible above the fold.
Avoid heavy, dark shadows on the mobile lid, as this can make the eyes look heavy or tired. Instead, use light-reflecting shimmers on the inner half of the lid and keep your darker, matte colors on the outer “hood” to create the illusion of depth.
Essential Hooded Eye Techniques
- Apply eyeliner in a very thin line to avoid “eating up” your visible lid space.
- Extend your eyeshadow outward toward the tail of your brow to lift the eye.
- Use matte shades for the “fake crease” to avoid drawing attention to the fold.
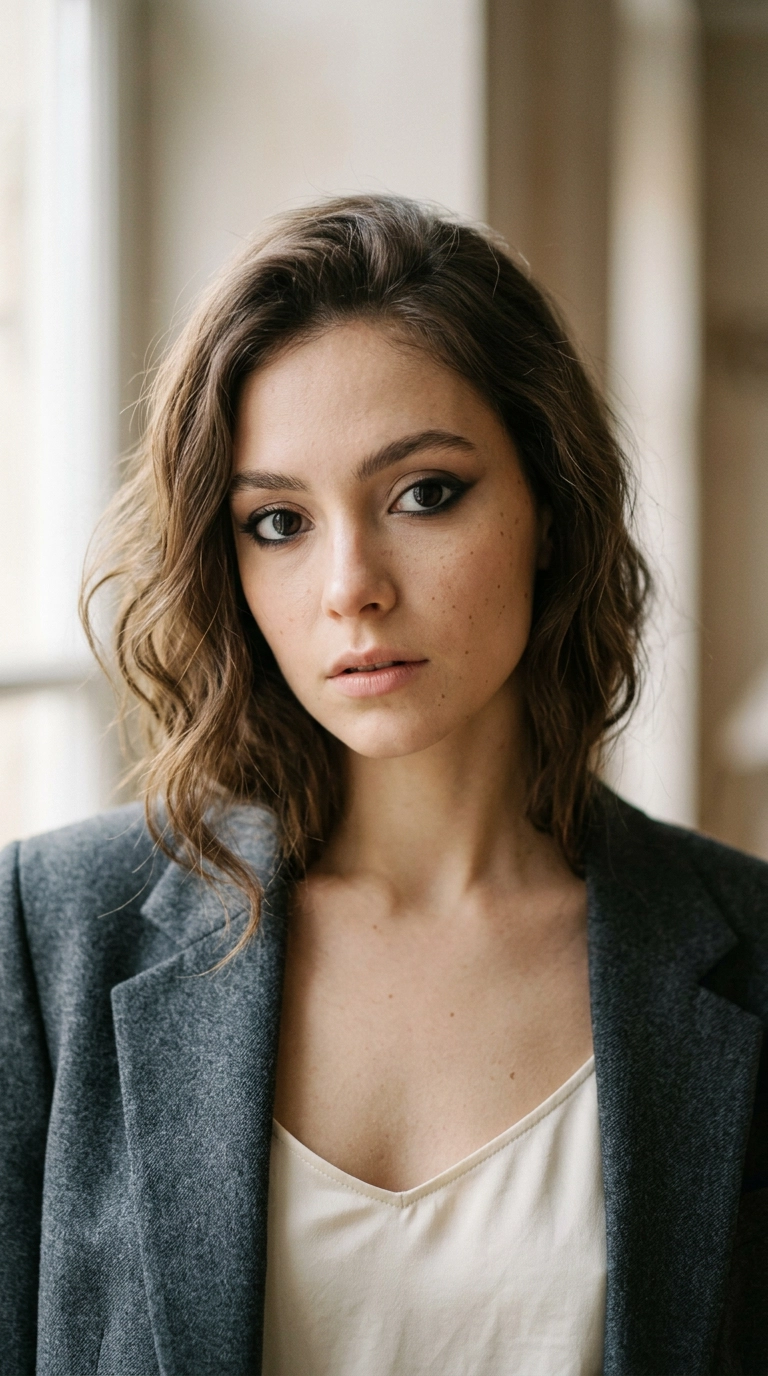
The Classic Almond Eye
Almond eyes are generally considered the most symmetrical shape. They are oval-shaped with slightly pointed corners and usually have a visible crease. The outer corners of the eyes usually tilt upward slightly, giving them a natural “lifted” look.
If you have almond eyes, you can pull off almost any makeup trend. You have enough lid space for complex looks and enough height for bold liner. A classic “cat eye” is particularly flattering for you because it follows the natural upward curve of your outer corner.
To enhance this shape, focus on the “outer V.” Apply a darker shade in the corner and blend it into the crease to emphasize the almond curve. This adds drama and makes the eyes appear larger and more piercing.
Almond Eye Favorites
- The classic wing: A sharp line that starts thin and thickens toward the edge.
- Halo eyes: Applying a bright shimmer in the center of the lid and darker tones on both sides.
- Defined lower lash lines: Using a bit of shadow under the eye to balance the look.
Opening Up Round Eyes
Round eyes are often large and bright, and you can usually see the white of the eye below or above the iris when looking straight ahead. While this shape is naturally expressive, the goal of makeup is often to elongate the eye to create a more “feline” or balanced look.
To do this, focus your application on the outer thirds of the eye. Instead of following the round curve of your lashes with liner, pull the liner straight out toward your temple. This creates a more horizontal silhouette that balances the vertical height of your eyes.
Avoid using very light or white liners in the waterline, as this will make your eyes look even rounder and more prominent. Instead, try a bronze or chocolate brown pencil in the waterline to add a bit of sultry definition without making the eyes look smaller.
How to Style Round Eyes
- Keep the inner corners light and neutral.
- Apply mascara primarily to the outer lashes to pull the shape outward.
- Use a dark shadow to “smoke out” the outer corner into a soft wing.
Upturned vs. Downturned: The Tilt Factor
The tilt of your eyes can change your entire expression. Upturned eyes have a natural lift at the outer corners, which is a highly sought-after look. To balance this, you can apply a bit of dark shadow or liner to the outer lower lash line to bring the eye down slightly.
Downturned eyes feature outer corners that sit lower than the inner corners. This shape is often associated with a vintage, “doe-eyed” glamour. To lift a downturned eye, ensure your eyeliner flick starts slightly *before* the eye actually ends. This creates a visual lift that counters the natural droop.
Blending is your secret weapon for both shapes. For downturned eyes, always blend your shadows upward and outward at a 45-degree angle. Never let your eyeshadow dip below the imaginary line connecting your nose to the corner of your eye.
Quick Comparison Table
| Feature | Upturned Eyes | Downturned Eyes |
|---|---|---|
| Liner Focus | Follow the natural lift | Start the wing early |
| Lower Lash Line | Darker tones to balance | Light tones to keep it open |
| Mascara | Even across lashes | Focus on the center/top |
Spacing: Wide-Set and Close-Set Eyes
Spacing is just as important as shape. If the distance between your eyes is more than one eye-width, you have wide-set eyes. To bring them closer together, use darker shadows on the inner corners and avoid bright, shimmering highlights near the bridge of your nose.
If the distance is less than one eye-width, you have close-set eyes. The goal here is to pull the attention outward. Use a bright, reflective highlight on the inner corners and concentrate your darkest shadows on the outermost edges of the eyes.
Understanding spacing helps you decide where to start your brows as well. For close-set eyes, keeping the start of the brows slightly further apart can help create the illusion of more space. For wide-set eyes, bringing the brow start slightly inward can help “ground” the face.
Frequently Asked Questions
Can my eye shape change over time?
Yes, your eye shape can change due to age, weight fluctuations, or health. Many people find that their eyes become more “hooded” as they get older because the skin on the brow bone loses elasticity and begins to rest on the lid.
What if I have two different eye shapes?
Asymmetry is completely normal! Most people have one eye that is slightly more hooded or more downturned than the other. Use your makeup to create balance by applying a bit more liner or a slightly higher crease shadow to the more hooded eye.
Which eye shape is the best?
There is no “best” eye shape. Every shape has its own unique beauty and allows for different creative expressions. The most famous models and celebrities represent every single shape on this list, proving that any eye can be stunning with the right technique.
Ready for Your Best Makeup Day
Identifying your eye shape is the first step toward a more efficient and rewarding beauty routine. Instead of following generic tutorials, you now have the knowledge to adapt any look to suit your unique anatomy. Remember that makeup is a tool for self-expression, and there are no hard rules, only guidelines to help you feel your best.
Take some time to experiment with these techniques in front of the mirror. You might find that a small adjustment in your liner angle or shadow placement makes a world of difference. Embrace your natural shape and enjoy the process of highlighting what makes your eyes uniquely yours.