Pro Guide to Salon Quality Gel Nails at Home
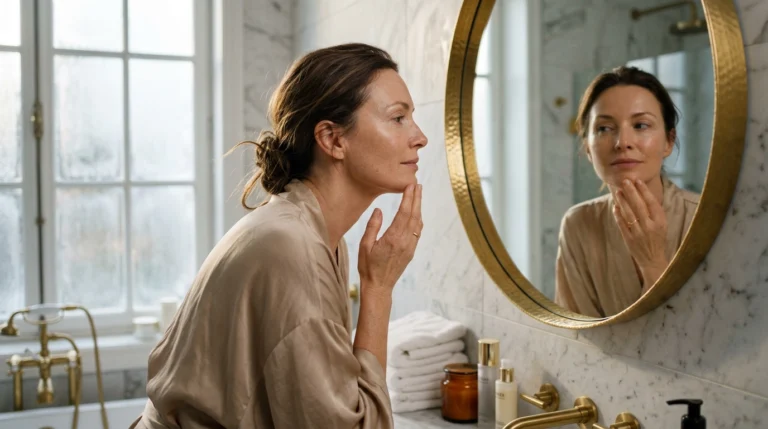
There is a specific kind of confidence that comes with a fresh, high-shine manicure that refuses to chip for weeks. While the salon experience is lovely, the cost and time commitment can quickly become a burden on your monthly schedule and budget. Learning to master the gel process at home gives you the freedom to change your look whenever inspiration strikes.
Transitioning to DIY gel might seem daunting if you have ever dealt with premature lifting or messy cuticles in the past. The secret lies not in the brand of polish you buy, but in the precision of your preparation and the thinness of your layers. Most people rush the process, but taking an extra ten minutes on the foundation ensures your nails stay flawless for twenty-one days.
This guide breaks down the professional techniques used by manicurists so you can achieve that glassy, hard-wearing finish in your own living room. We will cover everything from the chemistry of the curing process to the specific tools that make the difference between a “home job” and an editorial-ready set. Grab your kit, and let’s build a routine that actually lasts.
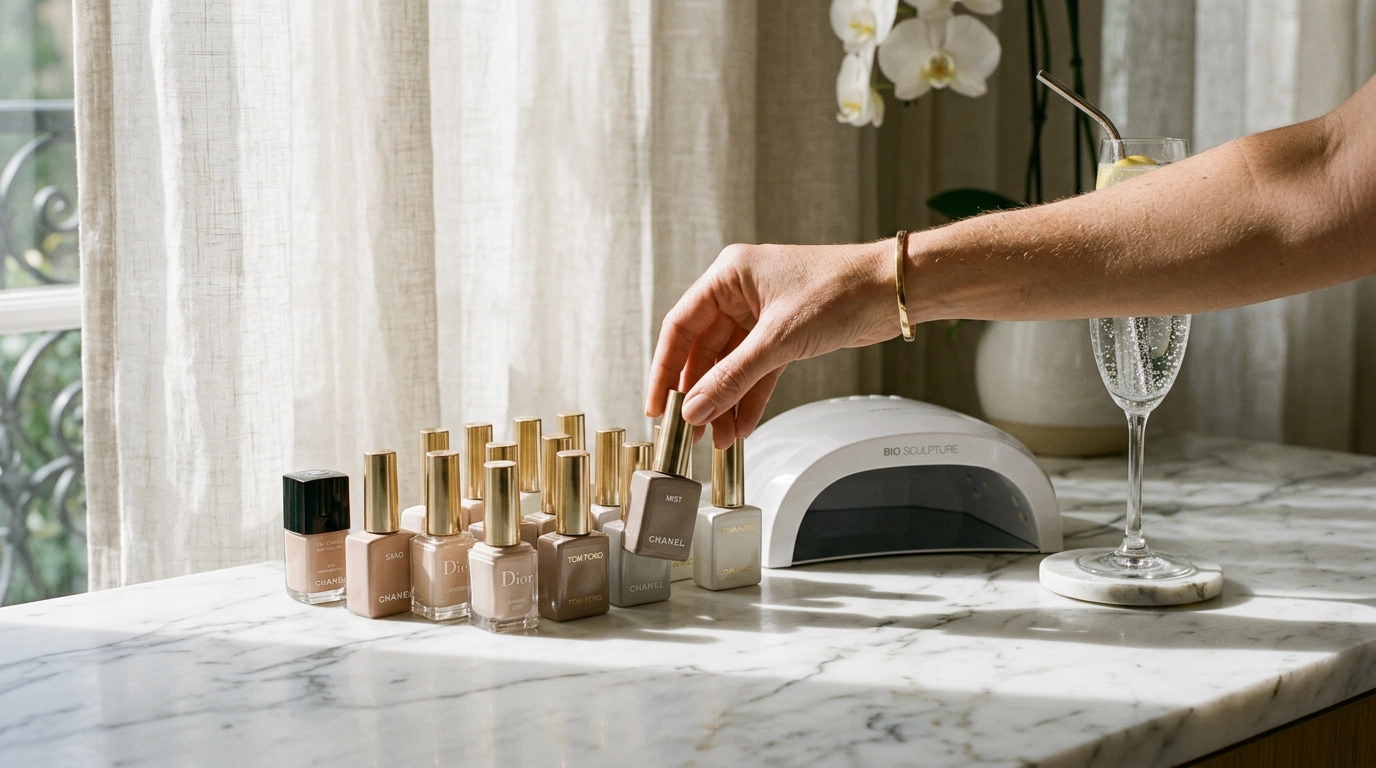
Building Your Professional Home Gel Kit
Before you even open a bottle of color, you need the right hardware. Many beginner kits come with low-wattage lamps that fail to cure the polish all the way through, leading to “smushy” nails or allergies. You want a lamp with at least 48 watts to ensure the photo-initiators in the gel react properly and harden completely.
The grit of your nail files also matters more than you might think. A 180-grit file is perfect for shaping the natural nail, while a 220-grit buffer is ideal for gently removing the shine without thinning the nail plate. Using a file that is too coarse will cause microscopic tears in your nail, which leads to breakage once the gel is removed.
| Tool Name | Purpose | Professional Tip |
|---|---|---|
| LED Nail Lamp | Cures and hardens the gel | Choose a lamp with a removable bottom for easier pedicures. |
| 180/240 Grit File | Shaping and smoothing | Always file in one direction to prevent splitting. |
| 91% Isopropyl Alcohol | Dehydrating the nail | Avoid “scrubbing” with cotton balls; use lint-free wipes instead. |
| Gel Base & Top Coat | Adhesion and shine | Use a “no-wipe” top coat to save time and increase gloss. |
Don’t overlook the importance of a high-quality cuticle pusher. A dual-ended metal pusher allows you to gently lift the dead skin (the eponychium) off the nail plate. This is the single most important step for preventing lifting, as gel polish will not stick to skin; it only bonds to the keratin of the nail.
The Art of the Dry Manicure

Traditional manicures often involve soaking your hands in warm water, but for gel, this is a recipe for disaster. Nails are porous and expand when they absorb water. If you apply gel to a “swollen” nail, the polish will crack or lift once the nail dries and shrinks back to its original size.
Instead, we use a “dry manicure” technique. Start by pushing back your cuticles gently after applying a drop of cuticle remover. Once the skin is soft, use the sharp end of your tool or a pair of nippers to remove only the translucent, dead skin that is stuck to the nail plate. Leave the live, fleshy proximal fold alone, as cutting it can lead to infection.
- Step 1: Shape the free edge of your nails while they are completely dry.
- Step 2: Gently buff the surface of each nail to remove the natural oils and shine.
- Step 3: Use a stiff brush to remove all dust, then wipe twice with alcohol.
- Step 4: Apply a pH bonder or dehydrator to ensure a bone-dry surface.
Once your nails are prepped, avoid touching your hair, face, or clothes. The natural oils on your skin or the lint from your sweater will ruin the adhesion immediately. If you do accidentally touch something, wipe the nail again with alcohol to be safe.
Mastering the Base Coat Application
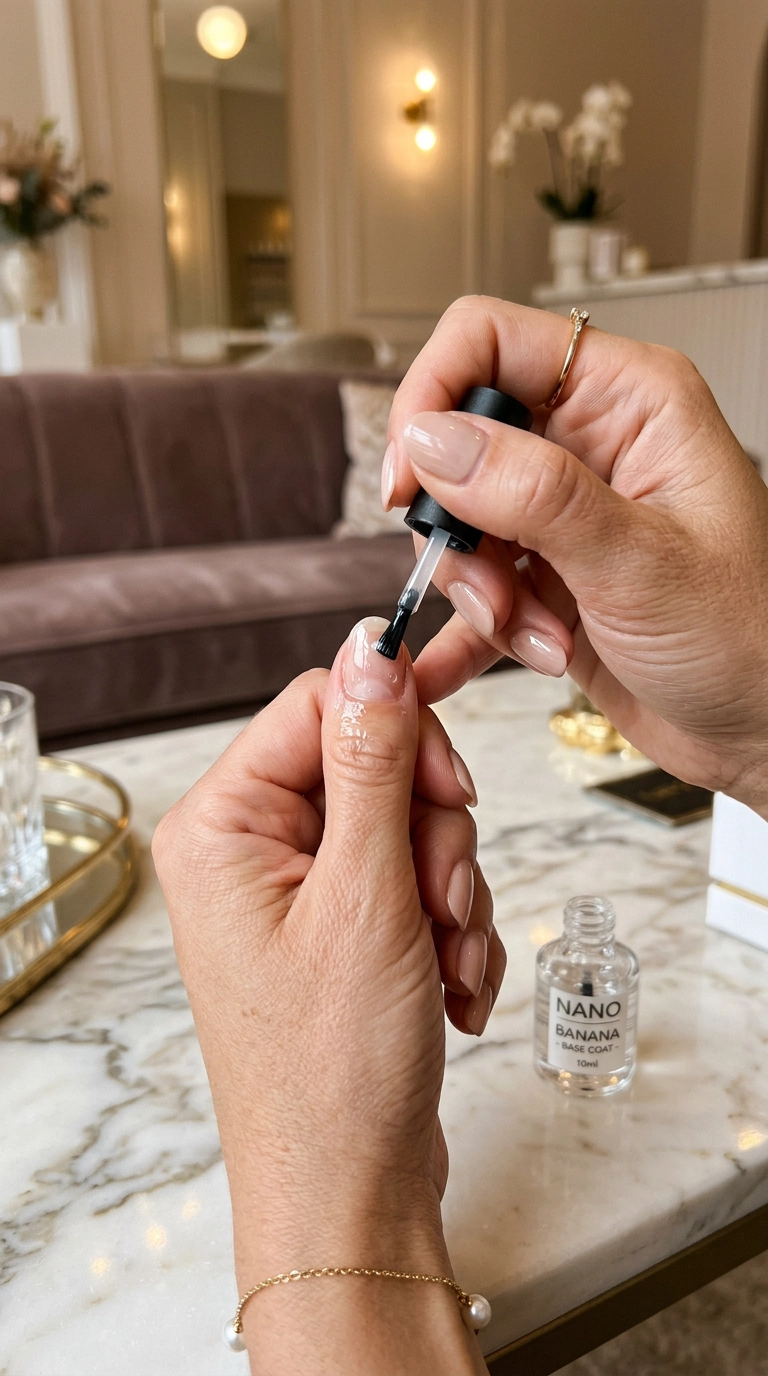
The base coat acts as the double-sided tape between your nail and the color. The most common mistake is applying this layer too thickly. Thick base coats tend to pool in the sidewalls and cuticles, which creates a “ledge” that will snag on your hair and cause the entire manicure to peel off within days.
Dip your brush into the bottle and wipe almost all the product off on the neck. You only need a tiny bead of gel. Start in the center of the nail, push the brush slightly toward the cuticle without touching the skin, and then pull it down toward the tip. This “push and pull” method gives you maximum control over the perimeter.
Capping the Free Edge
Every single layer you apply—base, color, and top—must be “capped.” This means running the brush along the very edge of your nail tip. This creates a seal that prevents water and oils from getting under the polish, which is the primary cause of chipping at the tips.
After you have capped the edge, take one final light stroke over the top of the nail to smooth out any bulk the capping might have left. Cure this layer for at least 30 to 60 seconds depending on your lamp’s instructions. It will remain “tacky” after curing; do not touch it or try to wipe this stickiness off.
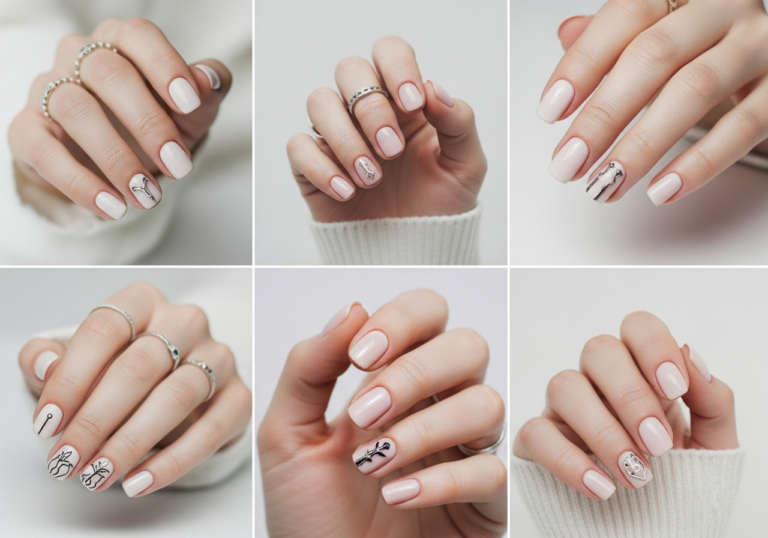
Color Application Without the Mess
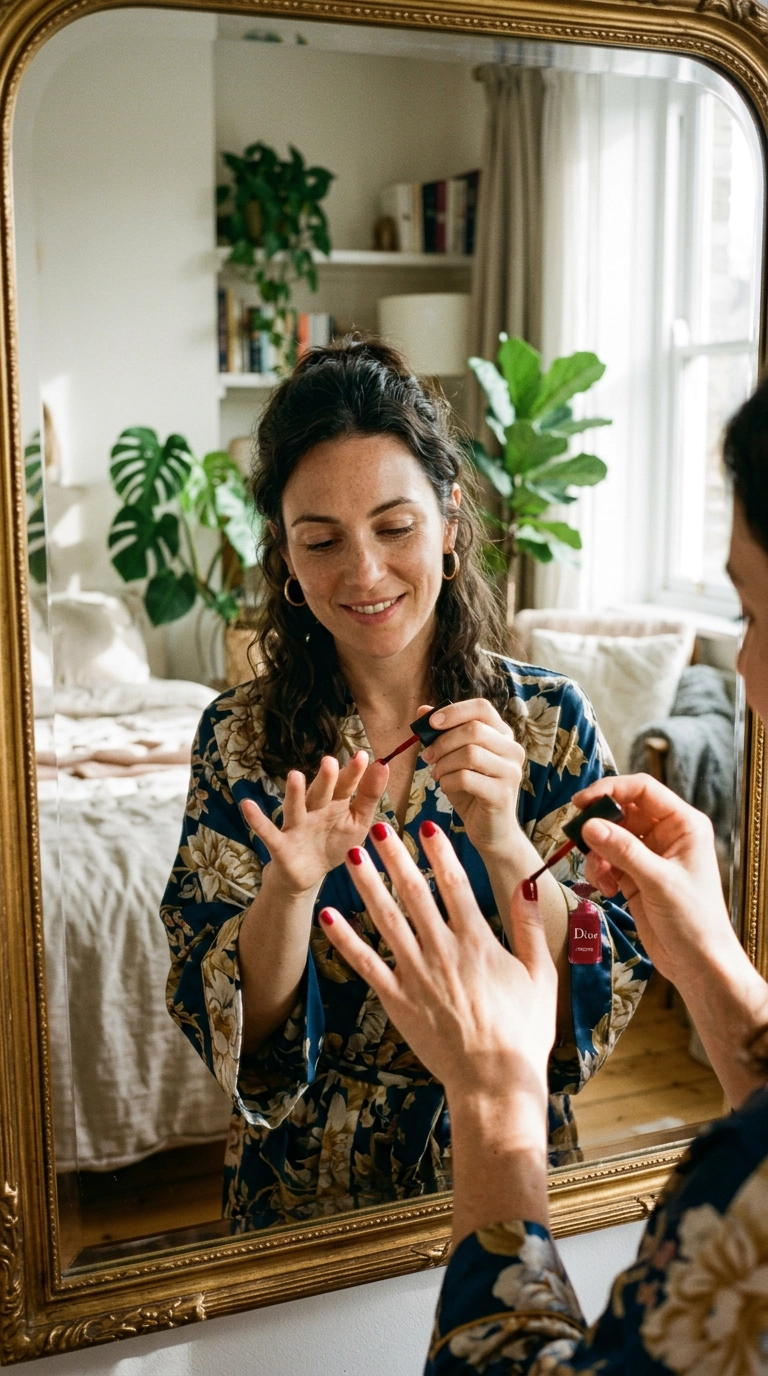
When it comes to color, two thin coats are always better than one thick coat. Darker pigments especially need thin layers so the UV light can penetrate through to the bottom. If the layer is too thick, the top will harden while the bottom remains liquid, leading to “wrinkling” or “bubbling” during the cure.
Use the three-stroke method: one down the middle, one on the left, and one on the right. If you get any polish on your skin, use a small brush dipped in acetone to clean it up *before* you put your hand in the lamp. Once gel is cured onto the skin, it is much harder to remove and will almost certainly cause lifting later that day.
Dealing with Sheer Shades
If you are using a milky or sheer “clean girl” aesthetic polish, it can sometimes look streaky. To fix this, apply your layer and wait five seconds before curing. Gel is self-leveling, meaning it will naturally smooth itself out if given a moment to sit. If streaks persist, a third very thin layer usually solves the problem.
Always check your work from different angles. Look at your nails from the side to ensure there are no humps or dips in the polish. If the light reflecting off the nail shows a straight, continuous line, you have achieved a perfectly smooth surface.
The Final Seal: Top Coat and Shine
The top coat is what protects your color from scratches and fading. Most modern kits use a “no-wipe” top coat, which means it comes out of the lamp completely dry and shiny. If your top coat has an “inhibition layer” (it feels sticky after curing), you must wipe it with a lint-free pad soaked in 91% alcohol to reveal the shine.
When applying the top coat, be sure to cover every millimeter of the color. If any color is left exposed, it will look dull and may wear away faster. Pay special attention to the corners of the free edge, as these areas take the most impact during daily tasks like typing or opening packages.
After the final cure, wait about sixty seconds before touching your nails. Even though they are “dry,” the polish is still slightly soft as it cools down from the chemical reaction of the lamp. Giving them a minute to “set” ensures you don’t leave any accidental fingerprints in your perfect gloss.
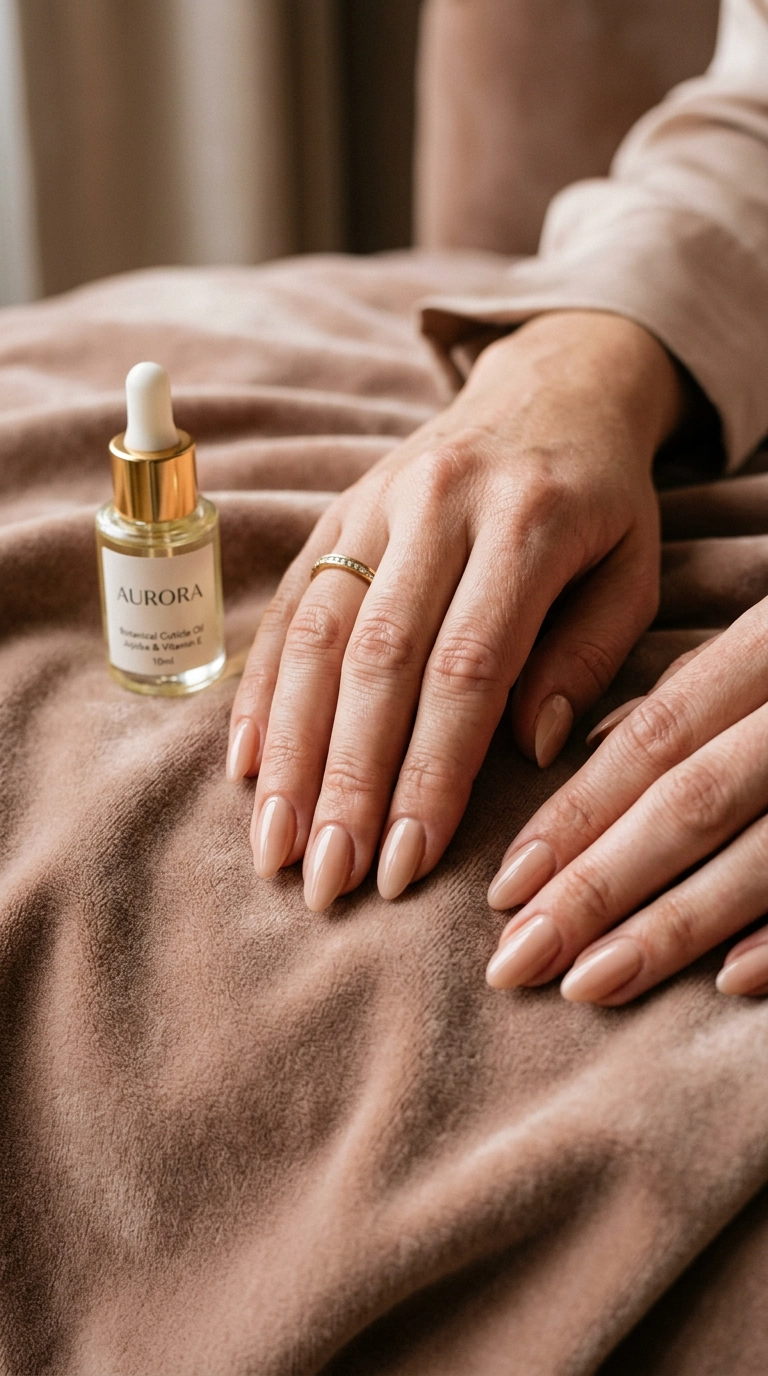
Maintaining Your Manicure and Safe Removal

Once your nails are done, your main job is hydration. Gel polish is non-porous, but your skin and the natural nail underneath still need moisture. Apply a high-quality cuticle oil containing jojoba oil twice a day. Jojoba has a small molecular structure that can actually penetrate the skin and keep your natural nails flexible, preventing them from becoming brittle and snapping off the gel.
Never, under any circumstances, peel off your gel polish. When you peel gel, you are ripping off the top layers of your natural nail plate. This results in thin, painful, “papery” nails that won’t be able to support another manicure for months. If a nail starts to lift, clip the lifted part away or soak it off immediately.
The Proper Soak-Off Method
To remove your gel safely, start by filing through the shiny top coat layer with a coarse file. This allows the acetone to penetrate the color. Soak cotton balls in 100% pure acetone (not regular nail polish remover), place them on the nails, and wrap each finger in aluminum foil. Wait a full 15 minutes before checking.
The gel should look like it is “flaking” or “crumbling” off the nail. Use a wooden orange stick to gently push the product away. If it doesn’t budge, wrap it back up for another five minutes. Your natural nails will thank you for being patient, leaving them strong and ready for your next creative color choice.
Common Troubleshooting Tips
- Lifting at the base: Usually caused by polish touching the cuticle or improper dehydration.
- Chipping at the tips: Usually caused by forgetting to “cap” the free edge or using your nails as tools.
- Bubbles in the polish: Usually caused by shaking the bottle. Roll the bottle between your palms instead.
- Dull finish: Usually caused by under-curing or using a dirty wipe to remove the sticky layer.
Mastering the home gel manicure is a skill that pays for itself within the first few months. By focusing on the health of your natural nail and the precision of your application, you can achieve results that rival the most exclusive boutiques. It takes practice, but the ability to have perfect nails on your own terms is well worth the effort.