How to Style and Shape Wide Nails to Look Longer and Slimmer?
Having wide or broad nail beds is a common trait that many people find frustrating when they want a delicate, elongated look. You might feel like your hands look shorter or less “elegant” than the manicures you see on social media, but the truth is that any hand can look slender with the right techniques. These simple styling shifts can completely change the silhouette of your fingers.
This guide focuses on optical illusions through shaping, color choices, and cuticle care to help you achieve your dream aesthetic. You do not need naturally long nail beds to get that slender, sophisticated appearance. By understanding how the eye perceives lines and borders, you can master a manicure that looks tailored specifically for your unique hand shape.
Whether you prefer a minimalist nude look or bold designs, these tips will give you the confidence to embrace your hands while enhancing their natural beauty. We will walk through the best shapes for wide nails, the colors that add height, and the maintenance routines that keep your nails looking healthy. Let’s start transforming your manicure routine into a professional-level styling session.
Choosing the Best Shapes for Wide Nails

The shape of your nail is the single most important factor in how wide or narrow your hands appear. When you have a broad nail bed, the goal is to draw the eye toward a central point rather than across the width of the finger. If you keep your nails square or blunt, you are essentially highlighting the widest part of your hand, which can make fingers look stubby.
Focusing on tapered shapes allows the sides of the nail to “shrink” visually. By narrowing the tip, you create a triangle-like effect that mimics the natural extension of the finger bone. This subtle shift in geometry makes a massive difference in how long your hands look in photos and in person.
The Almond Shape: Your Secret Weapon
Almond nails are widely considered the most flattering option for wide nail beds. This shape mimics the actual shape of an almond, being wider at the base and tapering gently to a soft, rounded point. It provides an immediate lengthening effect because it removes the sharp corners that typically add bulk to the look of your fingertips.
To achieve this at home, find the center point of your nail tip and file from the sides toward that center. Avoid making the point too sharp, as a soft curve looks more natural and is less prone to breaking. The gradual taper forces the eye to follow the length of the nail rather than focusing on the width of the base.
The Oval Shape for a Classic Feel
If you prefer a shorter length, the oval shape is a fantastic alternative to almond. It still offers a slimming effect by rounding off the corners, but it feels more practical for daily tasks. Oval nails work best for people who have naturally wider nails but do not want to commit to the extra length required for a full almond taper.
When filing an oval shape, keep the sidewalls straight for just a few millimeters before starting the curve. This ensures the nail remains strong while still providing that soft, elongated silhouette. It is a timeless, feminine look that works beautifully on any hand size.
The Coffin or Ballerina Shape
For those who love a bit of drama and length, the coffin shape—also known as ballerina—is an excellent choice. This shape features straight, tapered sides that lead to a flat, square tip. Because the sides are pulled inward so significantly, the width of the nail bed is effectively masked.
You need a decent amount of length for this shape to work effectively. If the nail is too short, the flat tip can actually make the nail look wider again. Aim for at least a medium length to ensure the taper has enough space to create that desired slimming effect.
| Nail Shape | Effect on Wide Nails | Difficulty Level |
|---|---|---|
| Almond | Maximum Lengthening | Medium |
| Oval | Softens and Slims | Easy |
| Coffin | Modern and Tapered | High |
| Square | Widens (Avoid) | Easy |
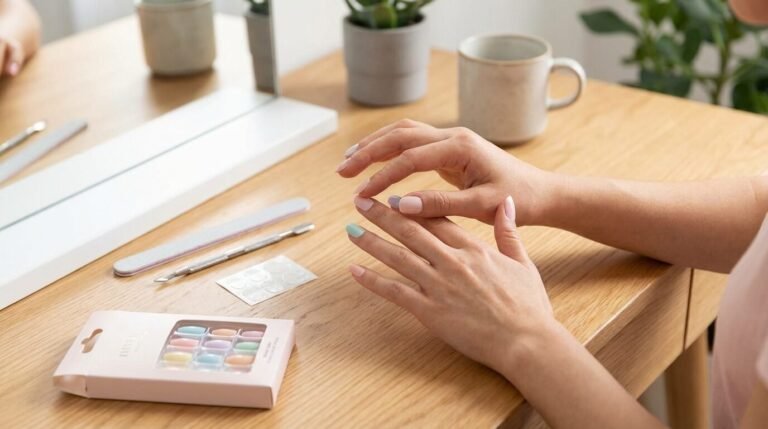
Maximizing Length Through Cuticle Care
Many people underestimate how much “hidden” length they have tucked under their cuticles. By properly caring for your nail base, you can uncover several millimeters of nail plate that were previously covered by overgrown skin. This creates a longer canvas for polish and makes the nail bed itself appear more rectangular and less square.
Regular maintenance is key to keeping this area looking clean and extended. When the cuticle is pushed back and hydrated, the transition between your finger and your nail is seamless. This creates a continuous line that the eye follows, contributing to the overall illusion of longer fingers.
The Proper Way to Push Back Cuticles
Never go in with a metal pusher on dry skin, as this can cause damage to the nail matrix. Start by soaking your hands in warm water or using a dedicated cuticle remover gel to soften the skin. Gently use a wooden orange stick or a silicone pusher to move the skin back toward the knuckle.
Use small, circular motions rather than one aggressive shove. You will notice the base of your nail looks cleaner and more defined almost immediately. This simple step can add a significant amount of visual length to even the shortest nail beds.
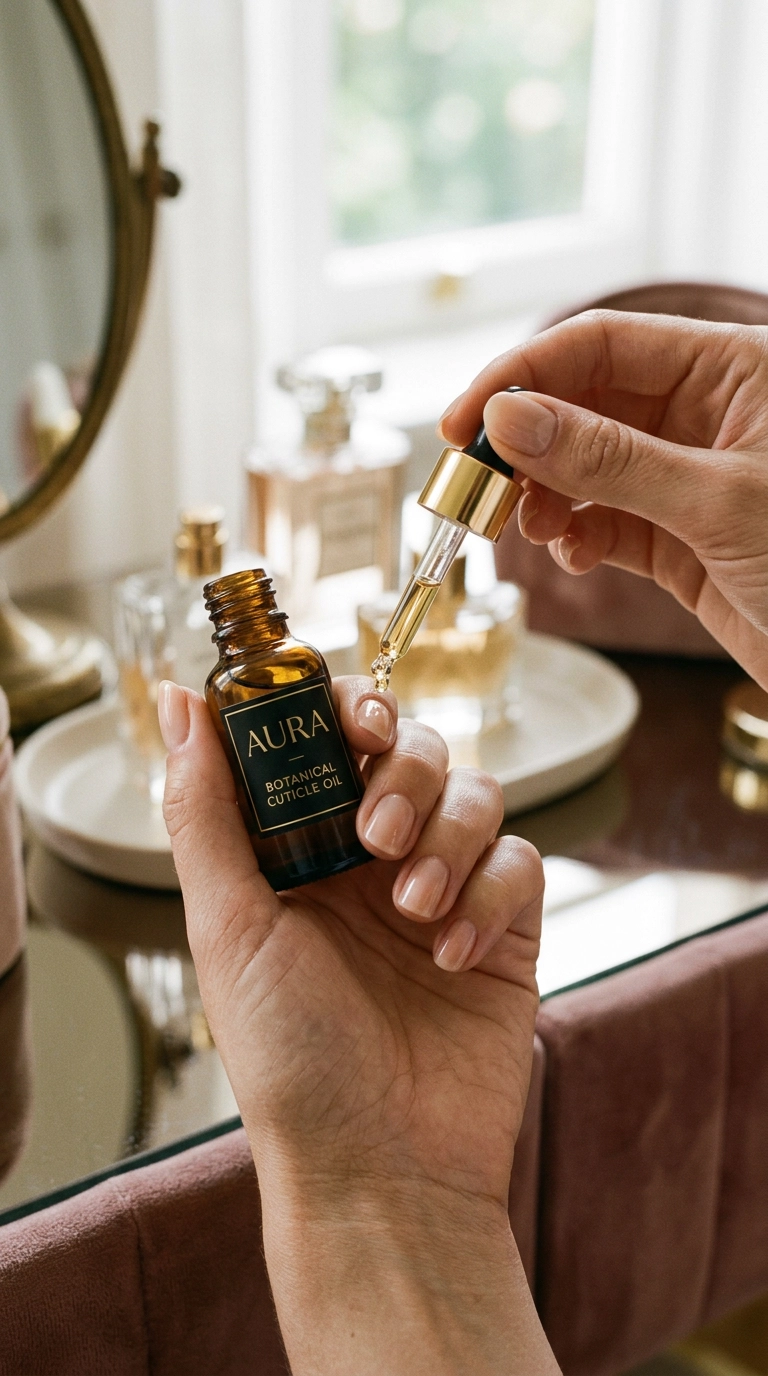
Hydration for a Slender Appearance
Dry, ragged cuticles draw negative attention to the widest part of your nail. When the skin around the nail is white, flaky, or inflamed, it creates a “border” that stops the eye, making the nail look shorter. Keeping the area moisturized with high-quality oils ensures the skin stays flat and translucent.
Apply a jojoba-based oil twice a day to keep the skin supple. This prevents the “puffy” look that can sometimes happen when cuticles become irritated or overgrown. A smooth, hydrated perimeter is essential for a polished, professional look.
Avoiding the Over-Trim
While it is tempting to nip away at every bit of skin, try to avoid cutting the live tissue of the proximal nail fold. Over-trimming can lead to thickening of the skin as it heals, which actually makes the base of your nail look wider over time. Stick to pushing back the skin and only trimming the dead, hanging pieces (hangnails).
Using Color Theory to Narrow the Nail
The color you choose can either emphasize the width of your nail or help it blend into the rest of your hand. When you use high-contrast colors, you are defining the exact borders of the nail. For wide nails, the goal is often to blur those borders so the nail feels like a natural extension of the finger.
Think of nail polish as a tool for contouring. Just as you might use makeup to shape your face, you can use polish to shape your hands. Certain shades and finishes have a natural slimming effect that can be used to your advantage every time you paint your nails.
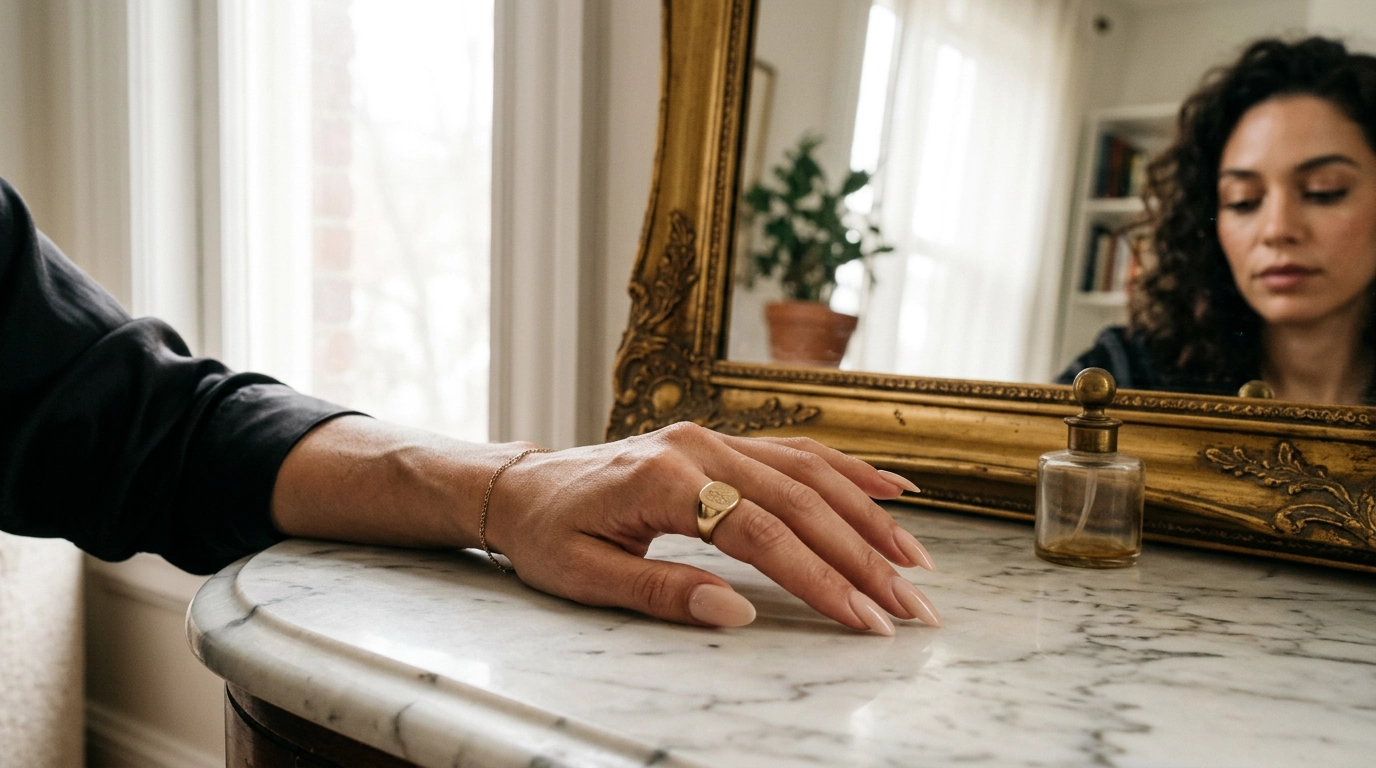
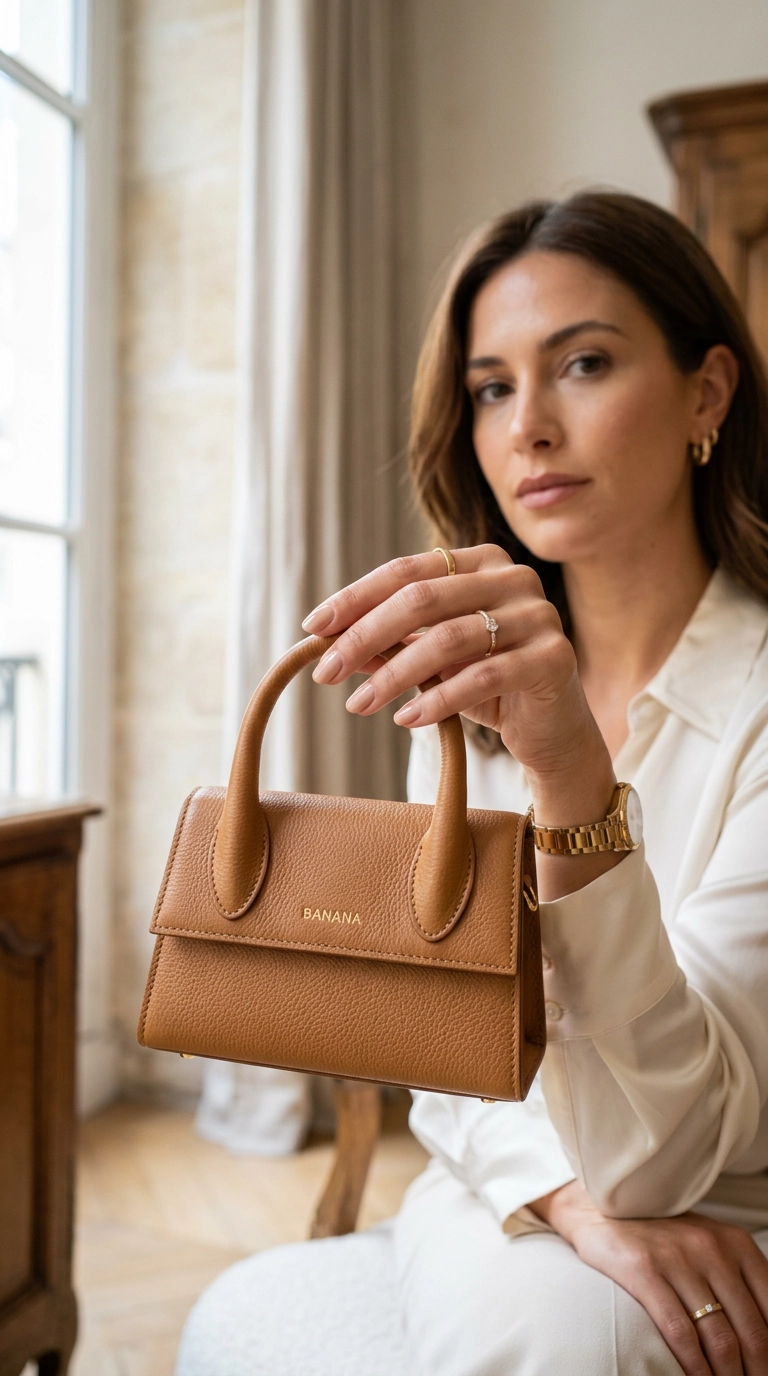
The Power of Skin-Tone Nudes
Nude polish is perhaps the most effective way to make fingers look miles long. When the polish color closely matches your skin tone, the visual break between the finger and the nail disappears. This creates one long, uninterrupted line from your knuckle to the very tip of your nail.
Look for nudes that match your undertone—cool, warm, or neutral. If the nude is too gray or too yellow compared to your skin, the lengthening effect is lost. When you find the perfect match, it acts like a “nude heel” for your hands, providing height and elegance effortlessly.
Strategic Use of Darker Shades
You don’t have to stick to nudes to slim down wide nails. Darker colors like navy, forest green, or deep burgundy can also be slimming if applied correctly. The key is to leave a tiny, microscopic gap between the polish and the sidewalls of your nail.
By not painting all the way to the very edge of the nail bed, you create a new, narrower border. This “Italian Manicure” technique is a favorite among professional technicians for clients with broad nails. From a distance, the eye only sees the colored portion, making the nail appear significantly thinner than it actually is.
Finishes That Add Length
Sheer and jelly finishes are often more forgiving than flat, opaque creams. They allow some of the natural nail to peek through, which prevents the nail from looking like a heavy “block” of color on the end of your finger. A light, shimmering finish can also catch the light in the center of the nail, acting like a highlight that draws the eye upward.
- Choose sheer pinks or “your nails but better” shades for everyday wear.
- Avoid heavy glitters, which can add visual bulk to the surface of the nail.
- Experiment with vertical ombre effects to draw the eye toward the tip.
Nail Art Techniques for Elongation
Nail art isn’t just for decoration; it can be used to redirect the viewer’s gaze. For wide nails, you want to avoid horizontal patterns at all costs. Anything that goes across the nail—like horizontal stripes or chunky French tips—will immediately make the nail look broader and shorter.
Instead, look for designs that emphasize the vertical axis. By placing details in a way that points toward the free edge, you reinforce the illusion of length. Minimalist designs are often the most effective for this purpose because they don’t clutter the nail plate.
Vertical Lines and Stripes
A single, thin line running down the center of the nail is one of the most effective slimming tricks in the book. This can be done with a fine liner brush and a contrasting color, or even with a strip of metallic nail tape. This line acts as an anchor for the eye, making the nail appear split into two narrower sections.
You can also try “side-stripe” designs where color is only applied to the center of the nail, leaving the sides bare or nude. This is a more modern, editorial look that is specifically designed to minimize the appearance of width. It’s a bold choice that looks incredibly high-fashion.
The Micro-French Tip
Traditional French manicures with thick white bands are generally not recommended for wide nails because they “cap” the nail and stunt its growth visually. However, the micro-French—a very thin, delicate line at the very edge—is a different story. It adds a touch of polish without shortening the nail bed.
For an even better effect, try a “V-tip” or “Chevron” French. Instead of a rounded curve, the white tip comes to a point in the center of the nail. This mimics the almond shape’s geometry and adds even more length to the appearance of the finger.
Negative Space Designs
Using your natural nail as part of the design can break up the width of a broad nail bed. Half-moon manicures, where the base of the nail is left bare in a semi-circle, can actually help elongate the nail by making the colored portion start higher up. This shifts the focus away from the widest part of the base.
Practical Maintenance for Lasting Results

Maintaining the shape is just as important as the initial styling. As nails grow, they tend to lose their tapered shape and can start to look “flared” at the ends. This is especially true for wide nails, which can naturally widen as they extend past the fingertip.
A weekly “tune-up” with a file will keep your almond or oval shapes looking sharp and effective. You don’t need to remove much length; just a few passes on the sidewalls to maintain that inward taper will keep the slimming effect intact between full manicure appointments.
Switching to Glass Files
Standard emery boards can be too harsh and can cause the nail layers to peel, leading to a wider, thicker-looking edge. Glass or crystal files are much gentler and allow for more precision when tapering the sides. They seal the keratin layers as you file, which prevents fraying and keeps the tip looking thin and refined.
When filing, always move in one direction rather than sawing back and forth. This gives you more control over the shape and prevents you from accidentally taking off too much from one side. Consistency in your filing technique is what leads to that professional, uniform look.
Managing Nail Thickness
Sometimes wide nails also happen to be quite thick, which can add to the “bulky” look. If you use gel or acrylics, ask your technician to keep the application thin near the sidewalls. A thick layer of product on the sides of the nail will add literal millimeters of width that you don’t want.
A well-structured nail should have an “apex”—a slight curve in the center for strength—but the edges should be filed thin. This creates a more delicate profile when viewed from the side and the front. It’s a small detail that separates a bulky DIY job from a high-end, slimming manicure.
The Role of Strength
Longer nails naturally look slimmer, but they can only be long if they are strong. If your nails are prone to breaking, you will be stuck with a shorter, wider look. Use a strengthening base coat or a biostimulating treatment to keep your nails from snapping.
Protecting your nails while doing chores is also vital. Wear gloves when washing dishes or using cleaning chemicals. Water is the enemy of nail strength, as it causes the nail to swell and then contract, which weakens the bond between the cells and leads to peeling.
Final Thoughts on Styling Wide Nails
Mastering the art of the manicure for wide nails is all about embracing a few clever optical illusions. By choosing tapered shapes like almond or oval, you immediately change the geometry of your hands. Combined with the power of skin-matching nudes and vertical art, your nails will look longer and more elegant than ever before.
Remember that the health of your nails and cuticles provides the foundation for any style. Consistent hydration and gentle care allow you to maximize every millimeter of your nail bed. With these professional techniques in your routine, you can turn your broad nail beds into a beautiful canvas for any trend you want to try.