
Mastering Eyeshadow – 10 Step-by-Step Tutorials for Every Eye Shape
Finding the perfect eyeshadow look often feels like a guessing game when you are following generic tutorials. Most techniques assume a standard eye shape, leaving those with unique features feeling frustrated by muddy blending or hidden pigments.
Learning how to work with your specific anatomy is the secret to a polished, professional finish every single morning. This guide provides tailored instructions to help you highlight your natural beauty and express your personal style with confidence.
Whether you have hooded lids or a wide-set gaze, these methods ensure your shadow stays visible and flattering. Get your favorite palette ready as we break down the exact placements and colors needed for your best look yet.
Identify Your Natural Eye Shape First
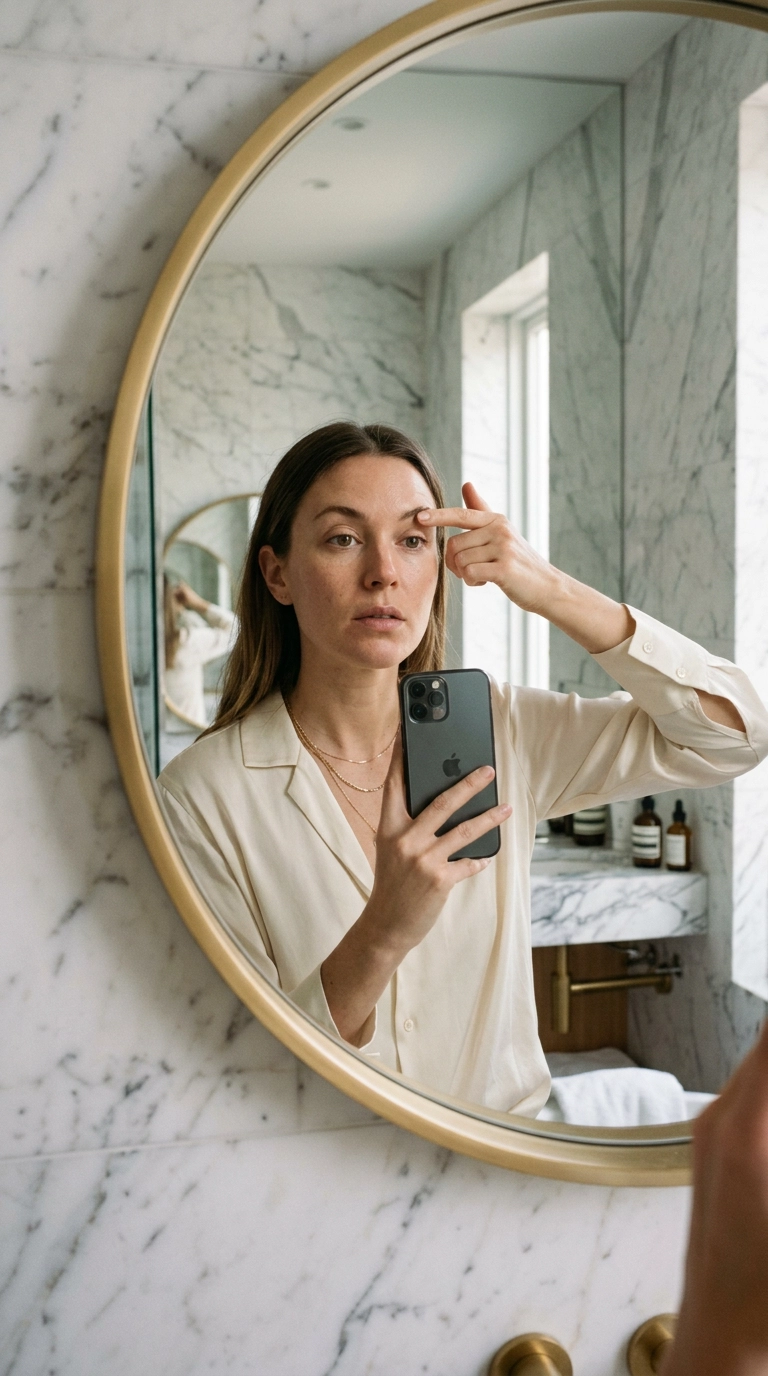
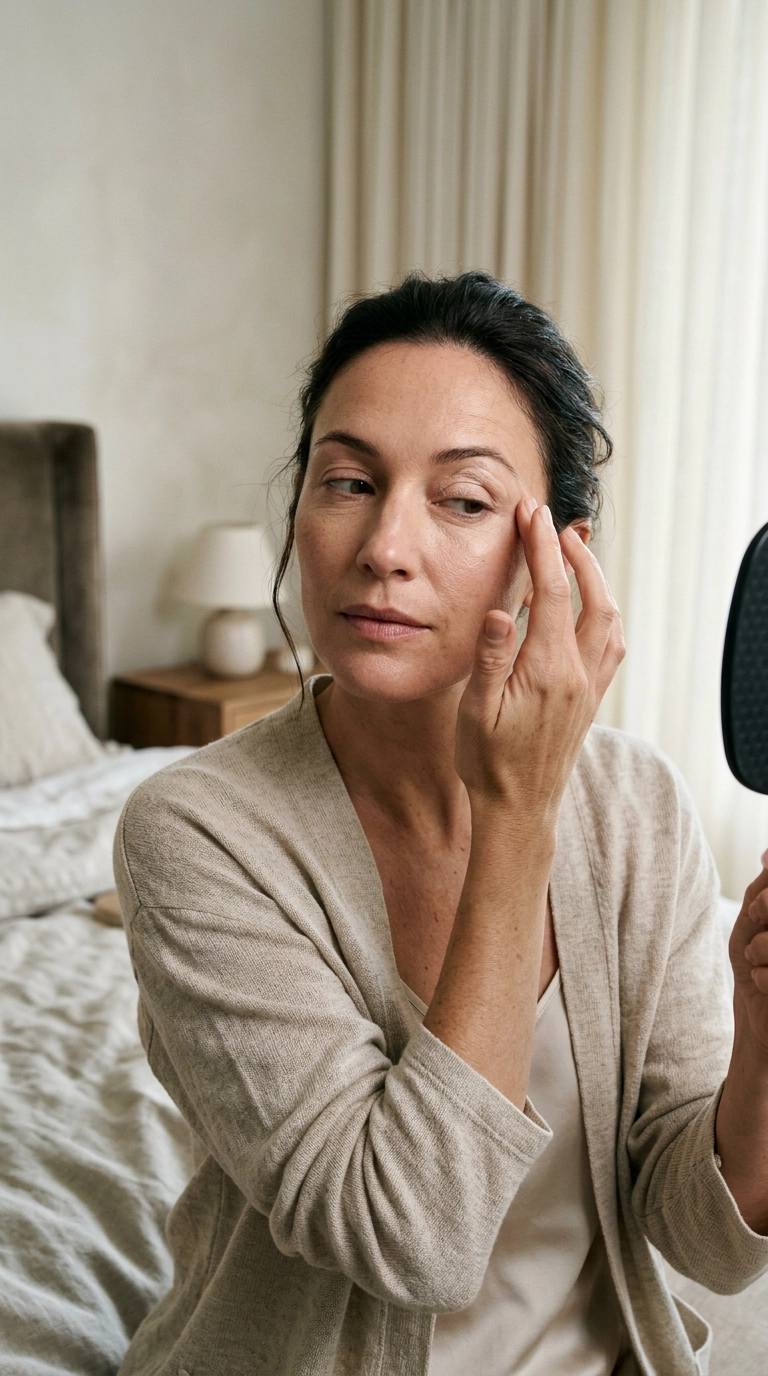
Before grabbing your brushes, you need to understand the canvas you are working with. Stand in front of a mirror with a neutral expression to see where your crease sits and how your lids behave.
Look for the visible amount of lid space when your eyes are open and notice the direction of your outer corners. Check if your crease is hidden or if your brow bone is prominent, as these factors dictate where you should place your transition shades.
1. The Monolid Masterclass
Monolids have a smooth surface without a visible crease, providing a beautiful flat canvas for bold colors. Start by applying a primer to prevent any sliding throughout the day.
Apply your darkest shade closest to the lash line and blend it upward in a vertical gradient. This creates a soft, smoky effect that adds depth without needing a physical fold in the skin.
Add a pop of shimmer right in the center of the lid near the lashes. This catches the light and gives the illusion of a more rounded dimension.
2. The Hooded Eye Lift
Hooded eyes feature a fold of skin that hangs over the crease, often hiding your hard work when your eyes are open. The key here is to apply your transition shade slightly above your actual crease.
Keep your eyes open while blending your “fake” crease so you can see exactly where the color will sit. Use matte shades for this area to recede the brow bone and make the lid appear more prominent.
Finish with a thin line of eyeliner. Thick liner can take up all the visible lid space, so keep it tight to the lashes for the best results.
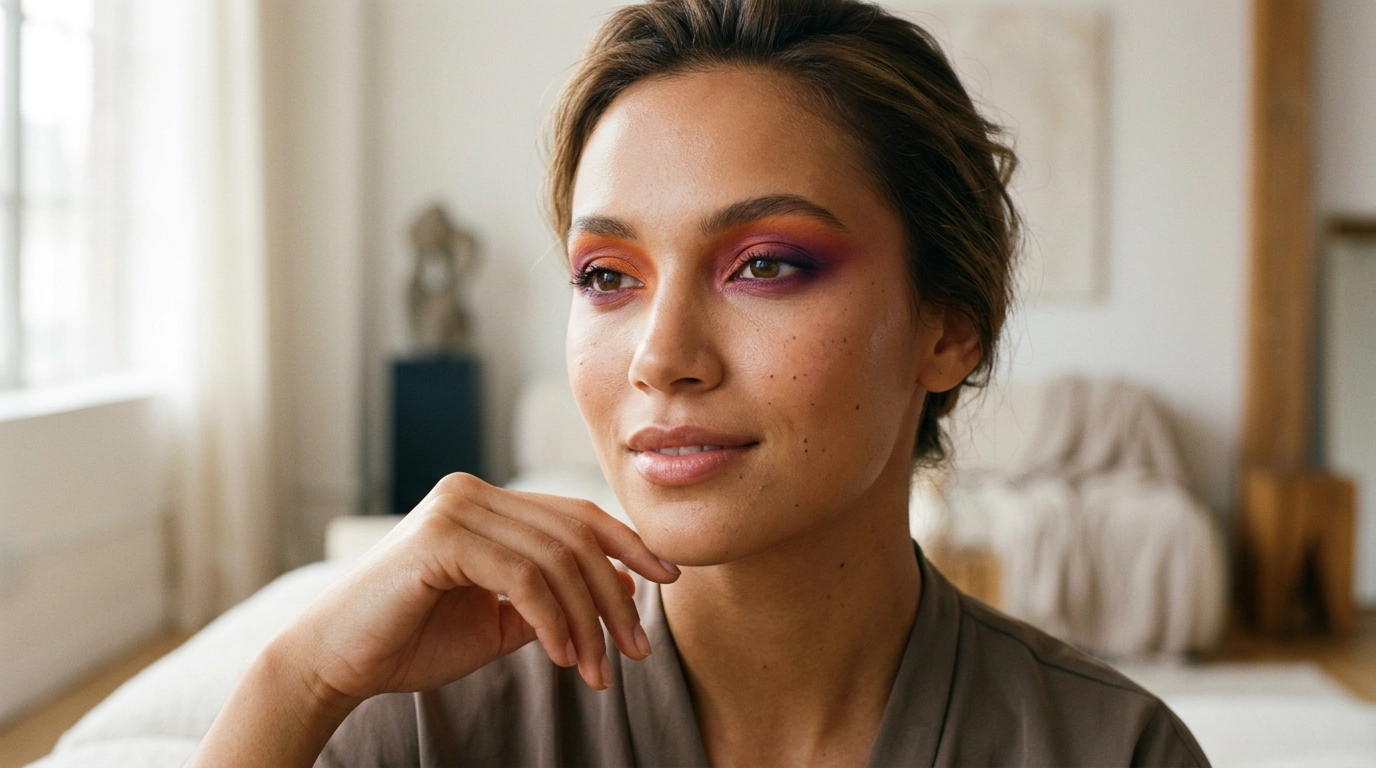
3. Almond Eye Symmetry
Almond eyes are typically symmetrical with a visible crease and slightly pointed outer corners. This shape is incredibly versatile and can handle almost any trend or technique.
Apply a medium transition shade through the crease and a darker “V” shape at the outer corner. This emphasizes the natural lift and length of the eye.
Swipe a light shimmer across the inner two-thirds of the lid. This classic three-shade approach creates a balanced, timeless aesthetic perfect for any occasion.
4. Round Eye Elongation
Round eyes are often large and bright, but you might want to create a more feline, elongated appearance. Focus your darkest shadows on the outer third of the eye.
Blend the shadow outward toward the tail of your brow rather than following the roundness of your socket. This lateral blending pulls the shape horizontally for a sultry finish.
Avoid putting heavy dark colors in the very center of your lower lash line. Instead, keep the lower shadow on the outer corner to maintain that winged-out effect.
5. The Downturned Eye Refresh
Downturned eyes feature outer corners that sit slightly lower than the inner corners. Your goal is to use shadow to create a visual lift.
Always blend your eyeshadow upward and outward at a 45-degree angle. Imagine a line connecting the end of your nose to the end of your eyebrow and never blend below it.
Apply a bright highlight to the inner corner and keep the heaviest pigment on the upper outer corner. This draws the gaze upward and creates an energetic, refreshed look.
6. Upturned Eye Balance
Upturned eyes have a natural “cat-eye” tilt that is highly sought after. To enhance this, focus on adding some weight to the lower lash line.
Apply a medium-toned shadow along the outer half of your lower lashes to mirror the upper lid. This creates a cohesive, almond-like symmetry that looks incredibly polished.
Use a soft shimmer on the top lid but keep the wing of your shadow subtle. The natural shape already provides the lift, so you just want to emphasize the contour.
7. Deep-Set Eye Brightening
Deep-set eyes sit further back in the socket, which can make the brow bone look very heavy. You want to bring the eyes forward using light and shadow.
Avoid using very dark shades all over the lid, as this can make the eyes look even deeper. Stick to light and medium tones with a subtle sheen to reflect light.
Apply a shimmering champagne or pale gold to the entire mobile lid. Use a very light touch with your crease color, placing it slightly higher than your natural fold.
8. Protruding Eye Contouring
Protruding or prominent eyes have a lot of lid space and can sometimes look “bulgy” if not styled correctly. Use dark, matte shades to visually recede the lid.
A smoky eye is your best friend because dark colors minimize the appearance of space. Apply a medium-to-dark matte shade over the entire lid and blend it softly into the crease.
Line both the upper and lower waterlines with a dark kohl pencil. This “closes” the eye slightly and adds a high-fashion, moody intensity to your look.
9. Close-Set Eye Widening
If the distance between your eyes is less than the width of one eye, you have close-set eyes. You want to pull the focus outward toward your temples.
Keep the inner corners very light and bright with a frosted highlight or a pale matte cream. This creates the illusion of more space between the eyes.
Concentrate your darkest colors and your eyeliner on the outer third of the eye. Extending your shadow slightly past the outer corner will help widen your overall gaze.
10. Wide-Set Eye Centering
Wide-set eyes have a larger gap between the inner corners. To bring them closer together, you should focus your pigment toward the bridge of the nose.
Apply your transition shade all the way into the inner part of the crease. Do not be afraid to bring a bit of soft shadow toward the start of your eyebrows.
Avoid long, extended wings that pull the eyes further apart. Keep your shadow contained within the natural frame of the eye for a balanced look.
Essential Tools for Precision Blending
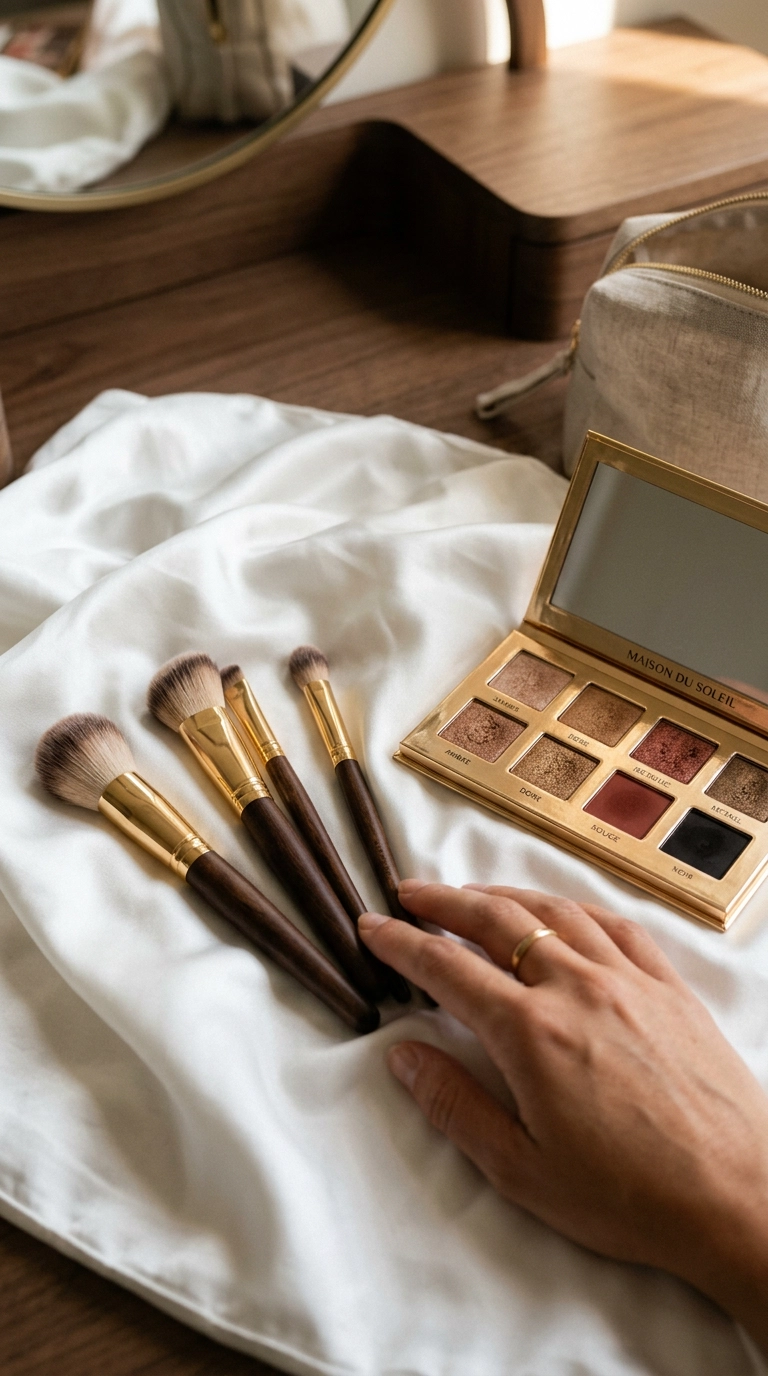
The right tools make a significant difference in how your shadow translates from the palette to your skin. Investing in a few high-quality brushes will save you time and prevent patchy application.
You do not need dozens of brushes to achieve a professional result. A core set of four or five specific shapes will cover almost every technique mentioned in these tutorials.
| Brush Type | Primary Function | Best For |
|---|---|---|
| Fluffy Blending Brush | Diffusing harsh lines in the crease | Transition shades |
| Flat Shader Brush | Packing pigment onto the lid | Shimmers and metallics |
| Pencil Brush | Detailed work and lower lash line | Outer “V” and smudging |
| Angled Brush | Precise lines and brow filling | Winged shadow and liner |
Pro Tips for Long-Lasting Wear
Even the best technique will fail if your shadow creases or fades within two hours. Always start with a dedicated eye primer rather than just using concealer.
Concealers are often too oily for the lids and can cause the shadow to slide into the fine lines. A primer creates a tacky base that grabs the pigment and holds it in place all day.
If you have oily lids, try dusting a tiny amount of translucent setting powder over your primer before applying shadow. This creates a smooth surface that allows your blending brush to glide without sticking.
Common Eyeshadow Mistakes to Avoid
One of the most frequent errors is over-blending your colors until they turn into a single muddy shade. Use a clean brush for the final transition to keep your colors distinct and vibrant.
Another mistake is neglecting the lower lash line, which can make a look feel top-heavy. Always bring a bit of your transition shade downstairs to ground the look and add balance.
Finally, pay attention to your brow bone highlight. Avoid using a stark white shimmer unless you are going for a vintage look; a soft matte cream or a subtle satin shade is much more modern.
Frequently Asked Questions
How do I stop my eyeshadow from fallout?
Try tapping your brush to remove excess powder before touching your face. You can also apply your eye makeup before your foundation so you can easily wipe away any fallen pigment without ruining your base.
Can I use shimmer in my crease?
While matte shades are better for creating depth and receding areas, a satin or shimmer can work if you want a more ethereal look. However, for most eye shapes, mattes provide the most flattering structure.
What colors suit my eye color?
Warm tones like copper and gold make blue eyes pop, while purples and plums enhance green eyes. Brown eyes are lucky as they can wear almost any color, especially rich blues and teals.
How often should I clean my brushes?
Ideally, you should deep clean your brushes once a week to prevent bacteria buildup and color mixing. For daily use, a quick-dry brush spray can keep things fresh between washes.
Finding Your Signature Look
Mastering these tutorials is about more than just following steps; it is about discovering what makes you feel most like yourself. Do not be afraid to experiment with different textures and intensities until you find the combination that sparks joy. Your eye shape is a beautiful, unique feature that deserves to be highlighted with the right techniques. With a little practice and the right placement, you will be able to create stunning editorial looks every single day.